
How convenient the idea of accessing all of your local data from anywhere in the world sounds like? In this article I will show you how to setup a VPN Server on your Synology NAS as a way to access your LAN from any remote location.
Creating New User
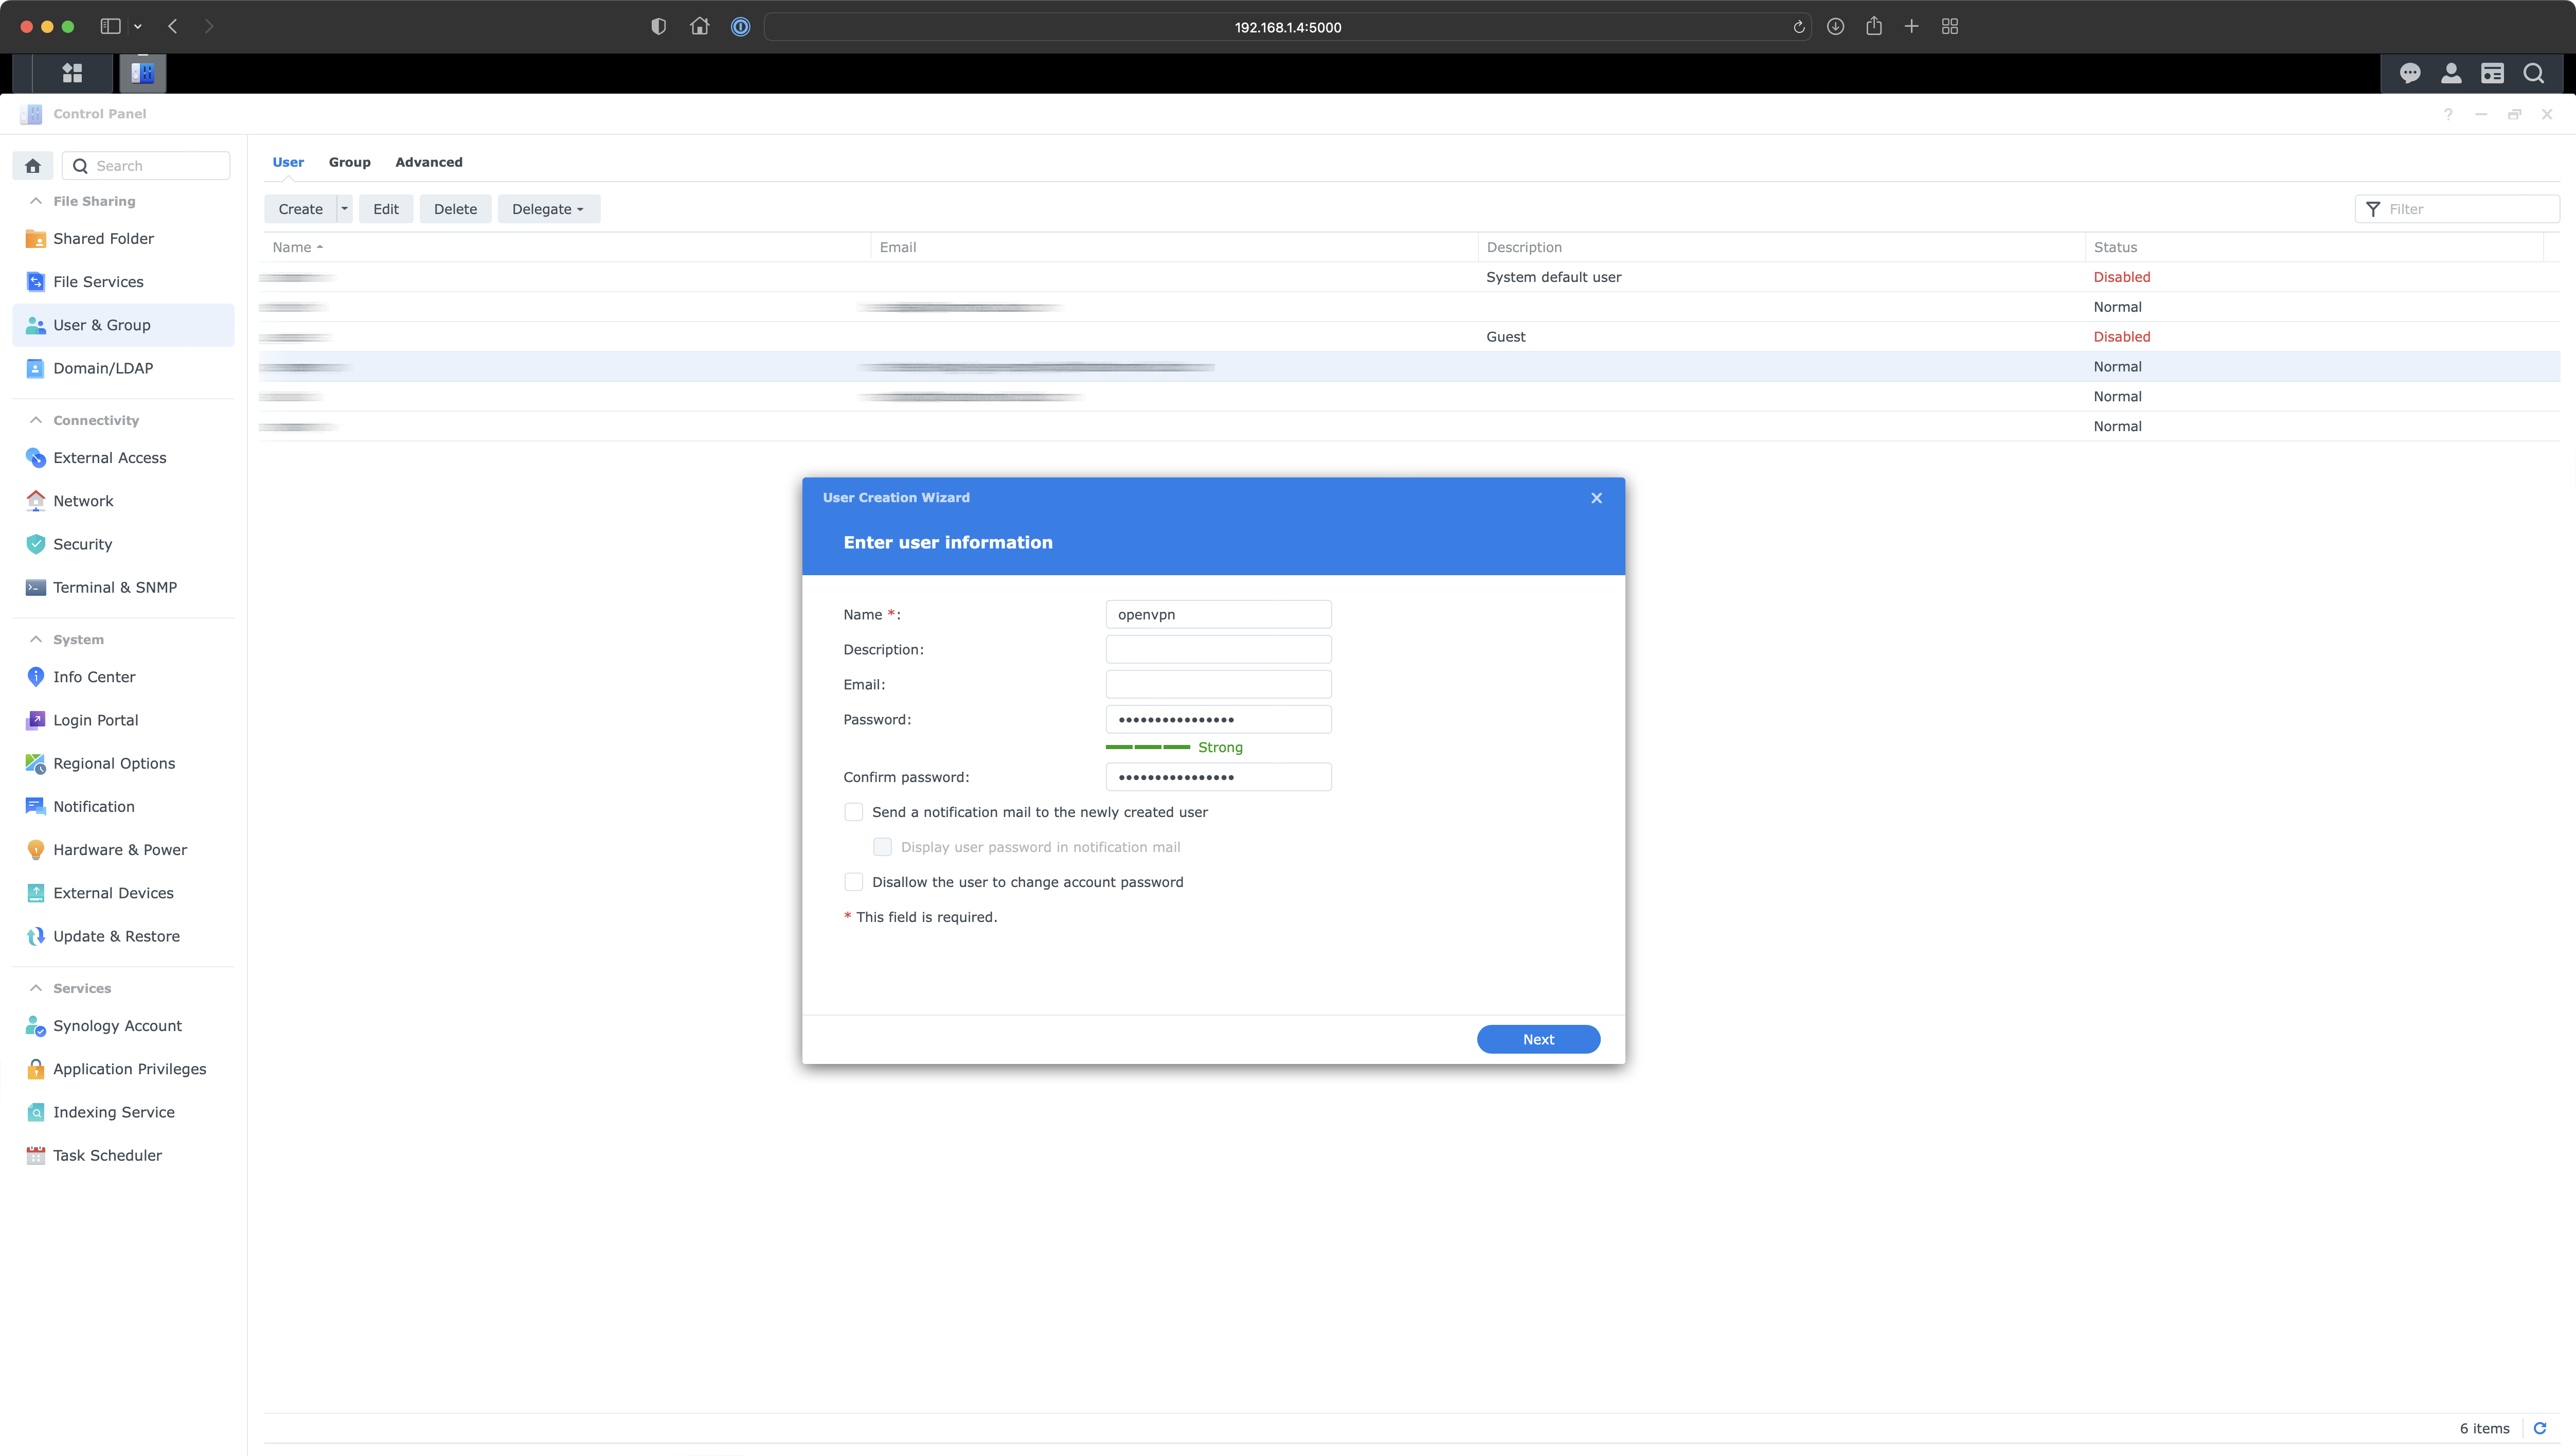
Let's start by creating a new user on our Synology NAS.
Why do we need this user account for?
The only purpose for this user is to establish VPN connection with the server.
Installing VPN Server
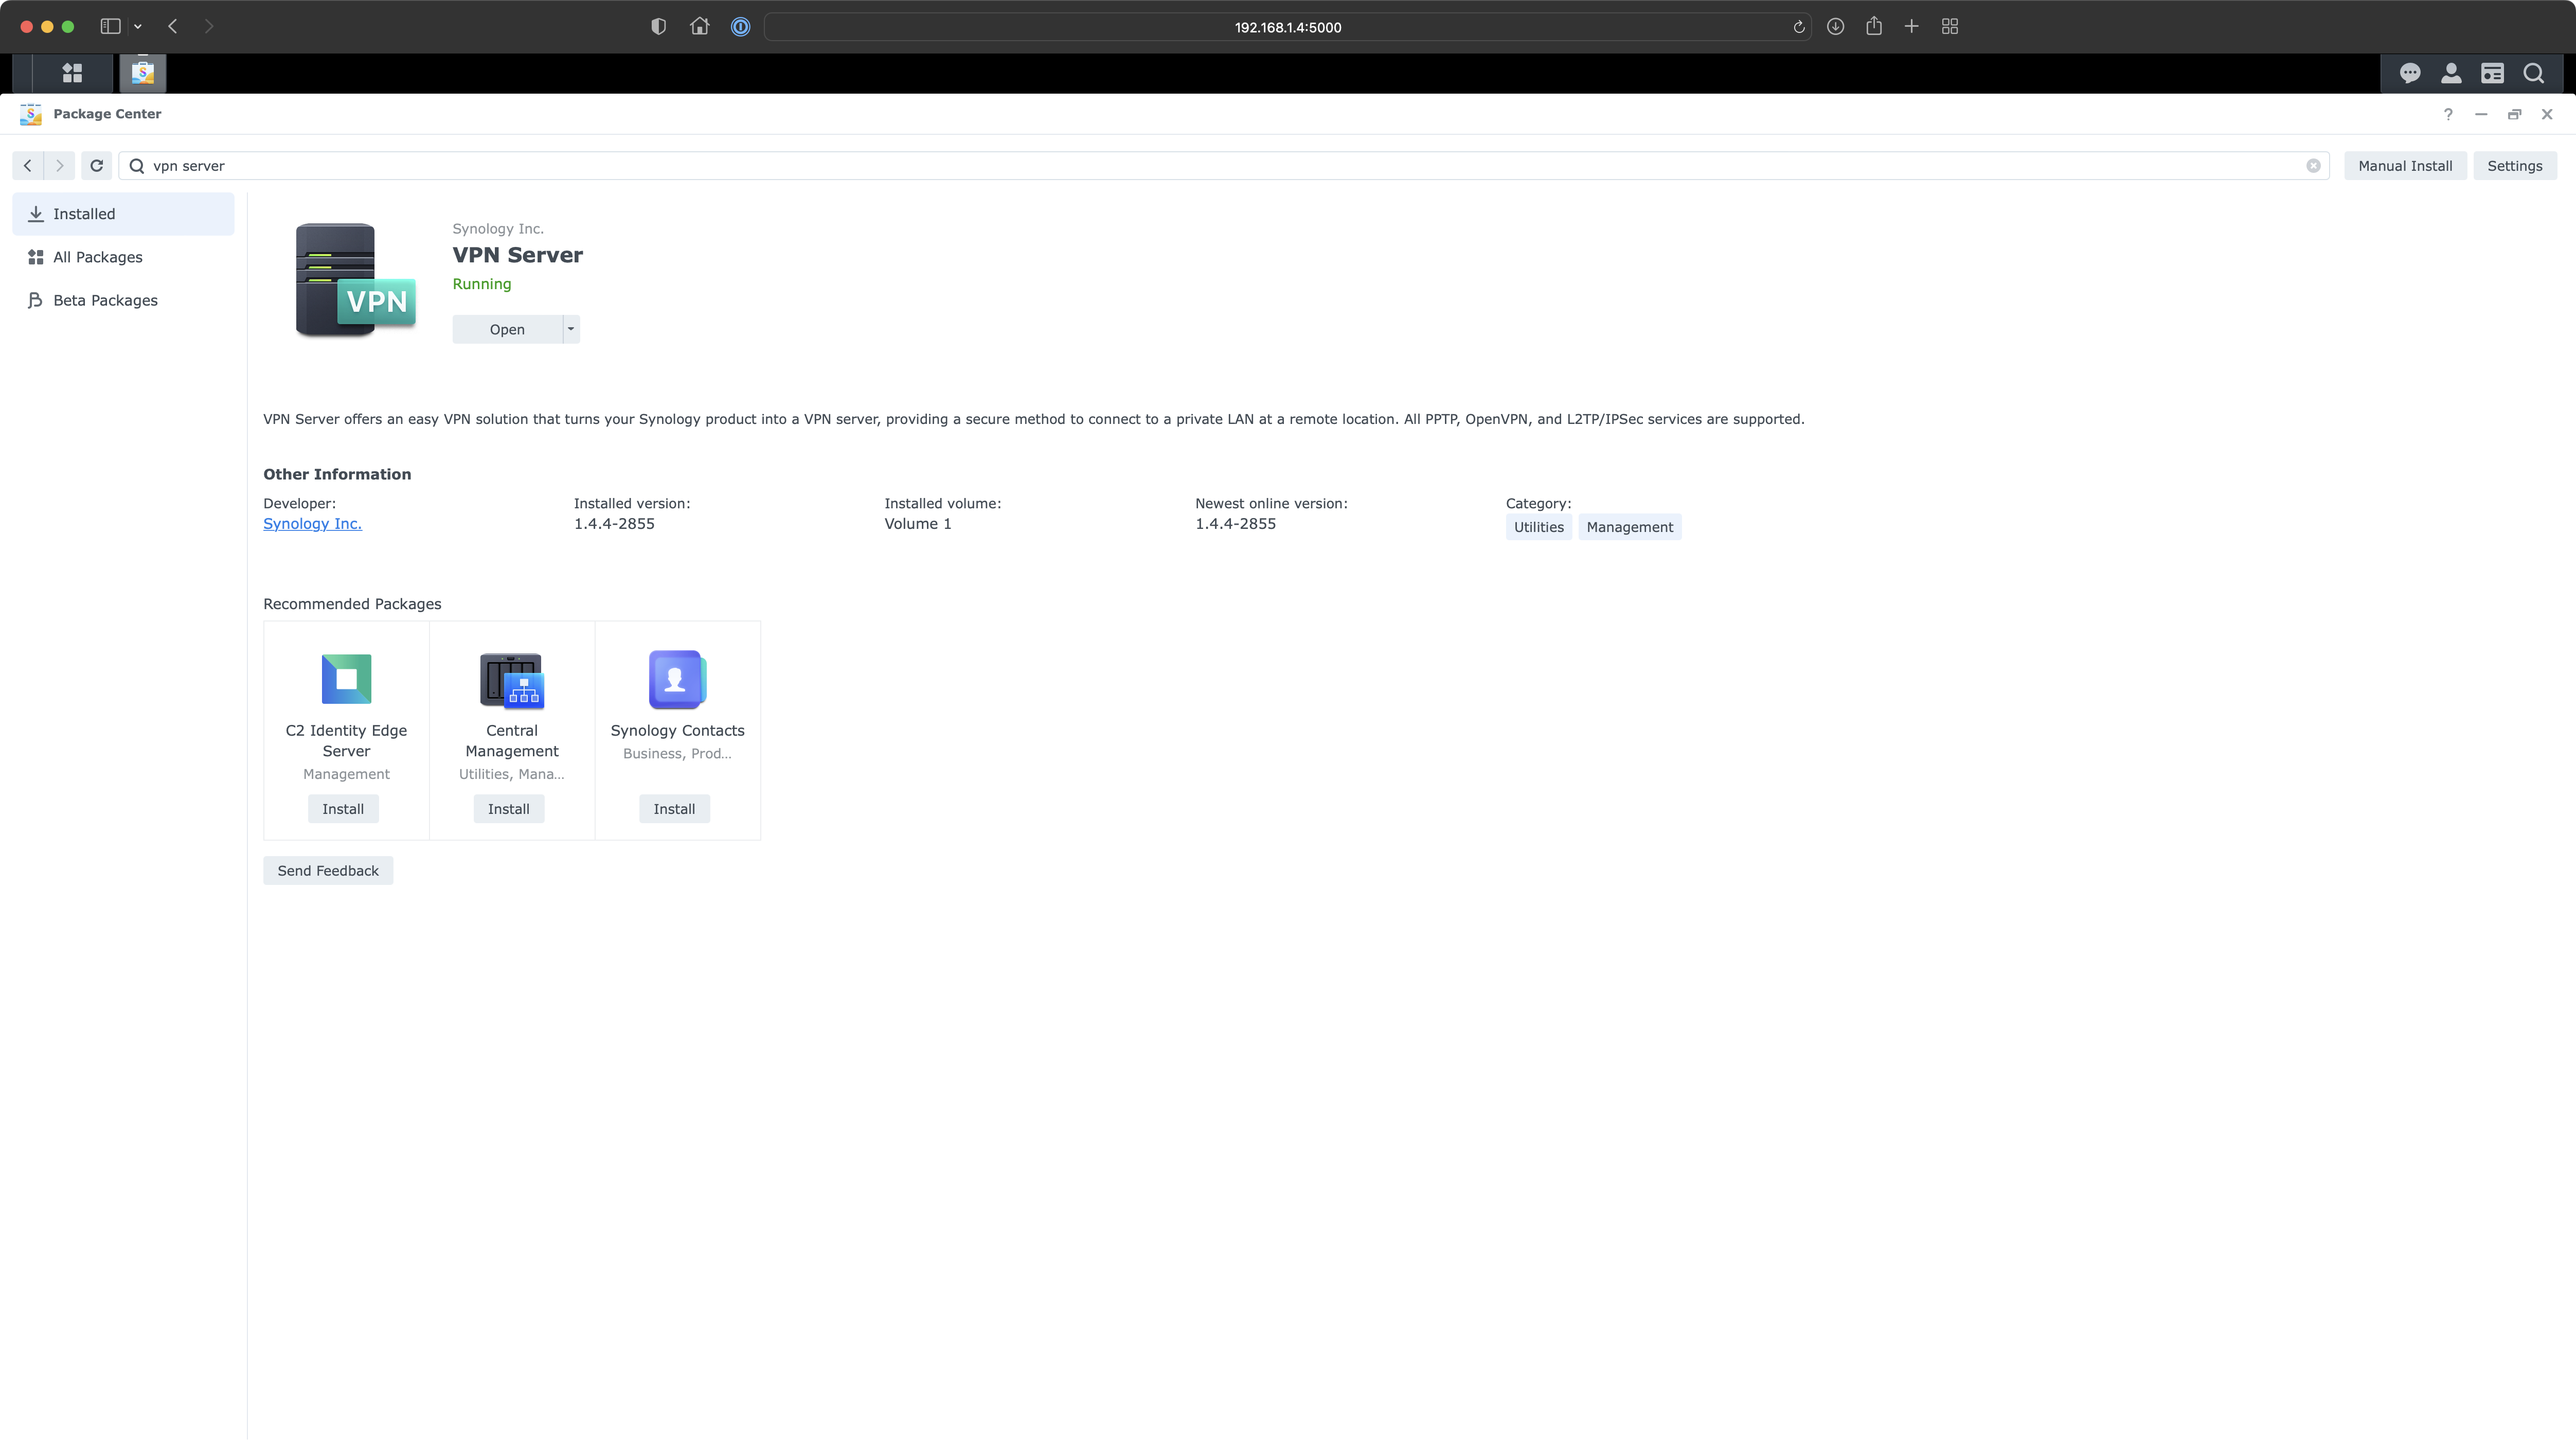
Go to the Package Center and search for vpn server. Install the application and open it once the status is running.
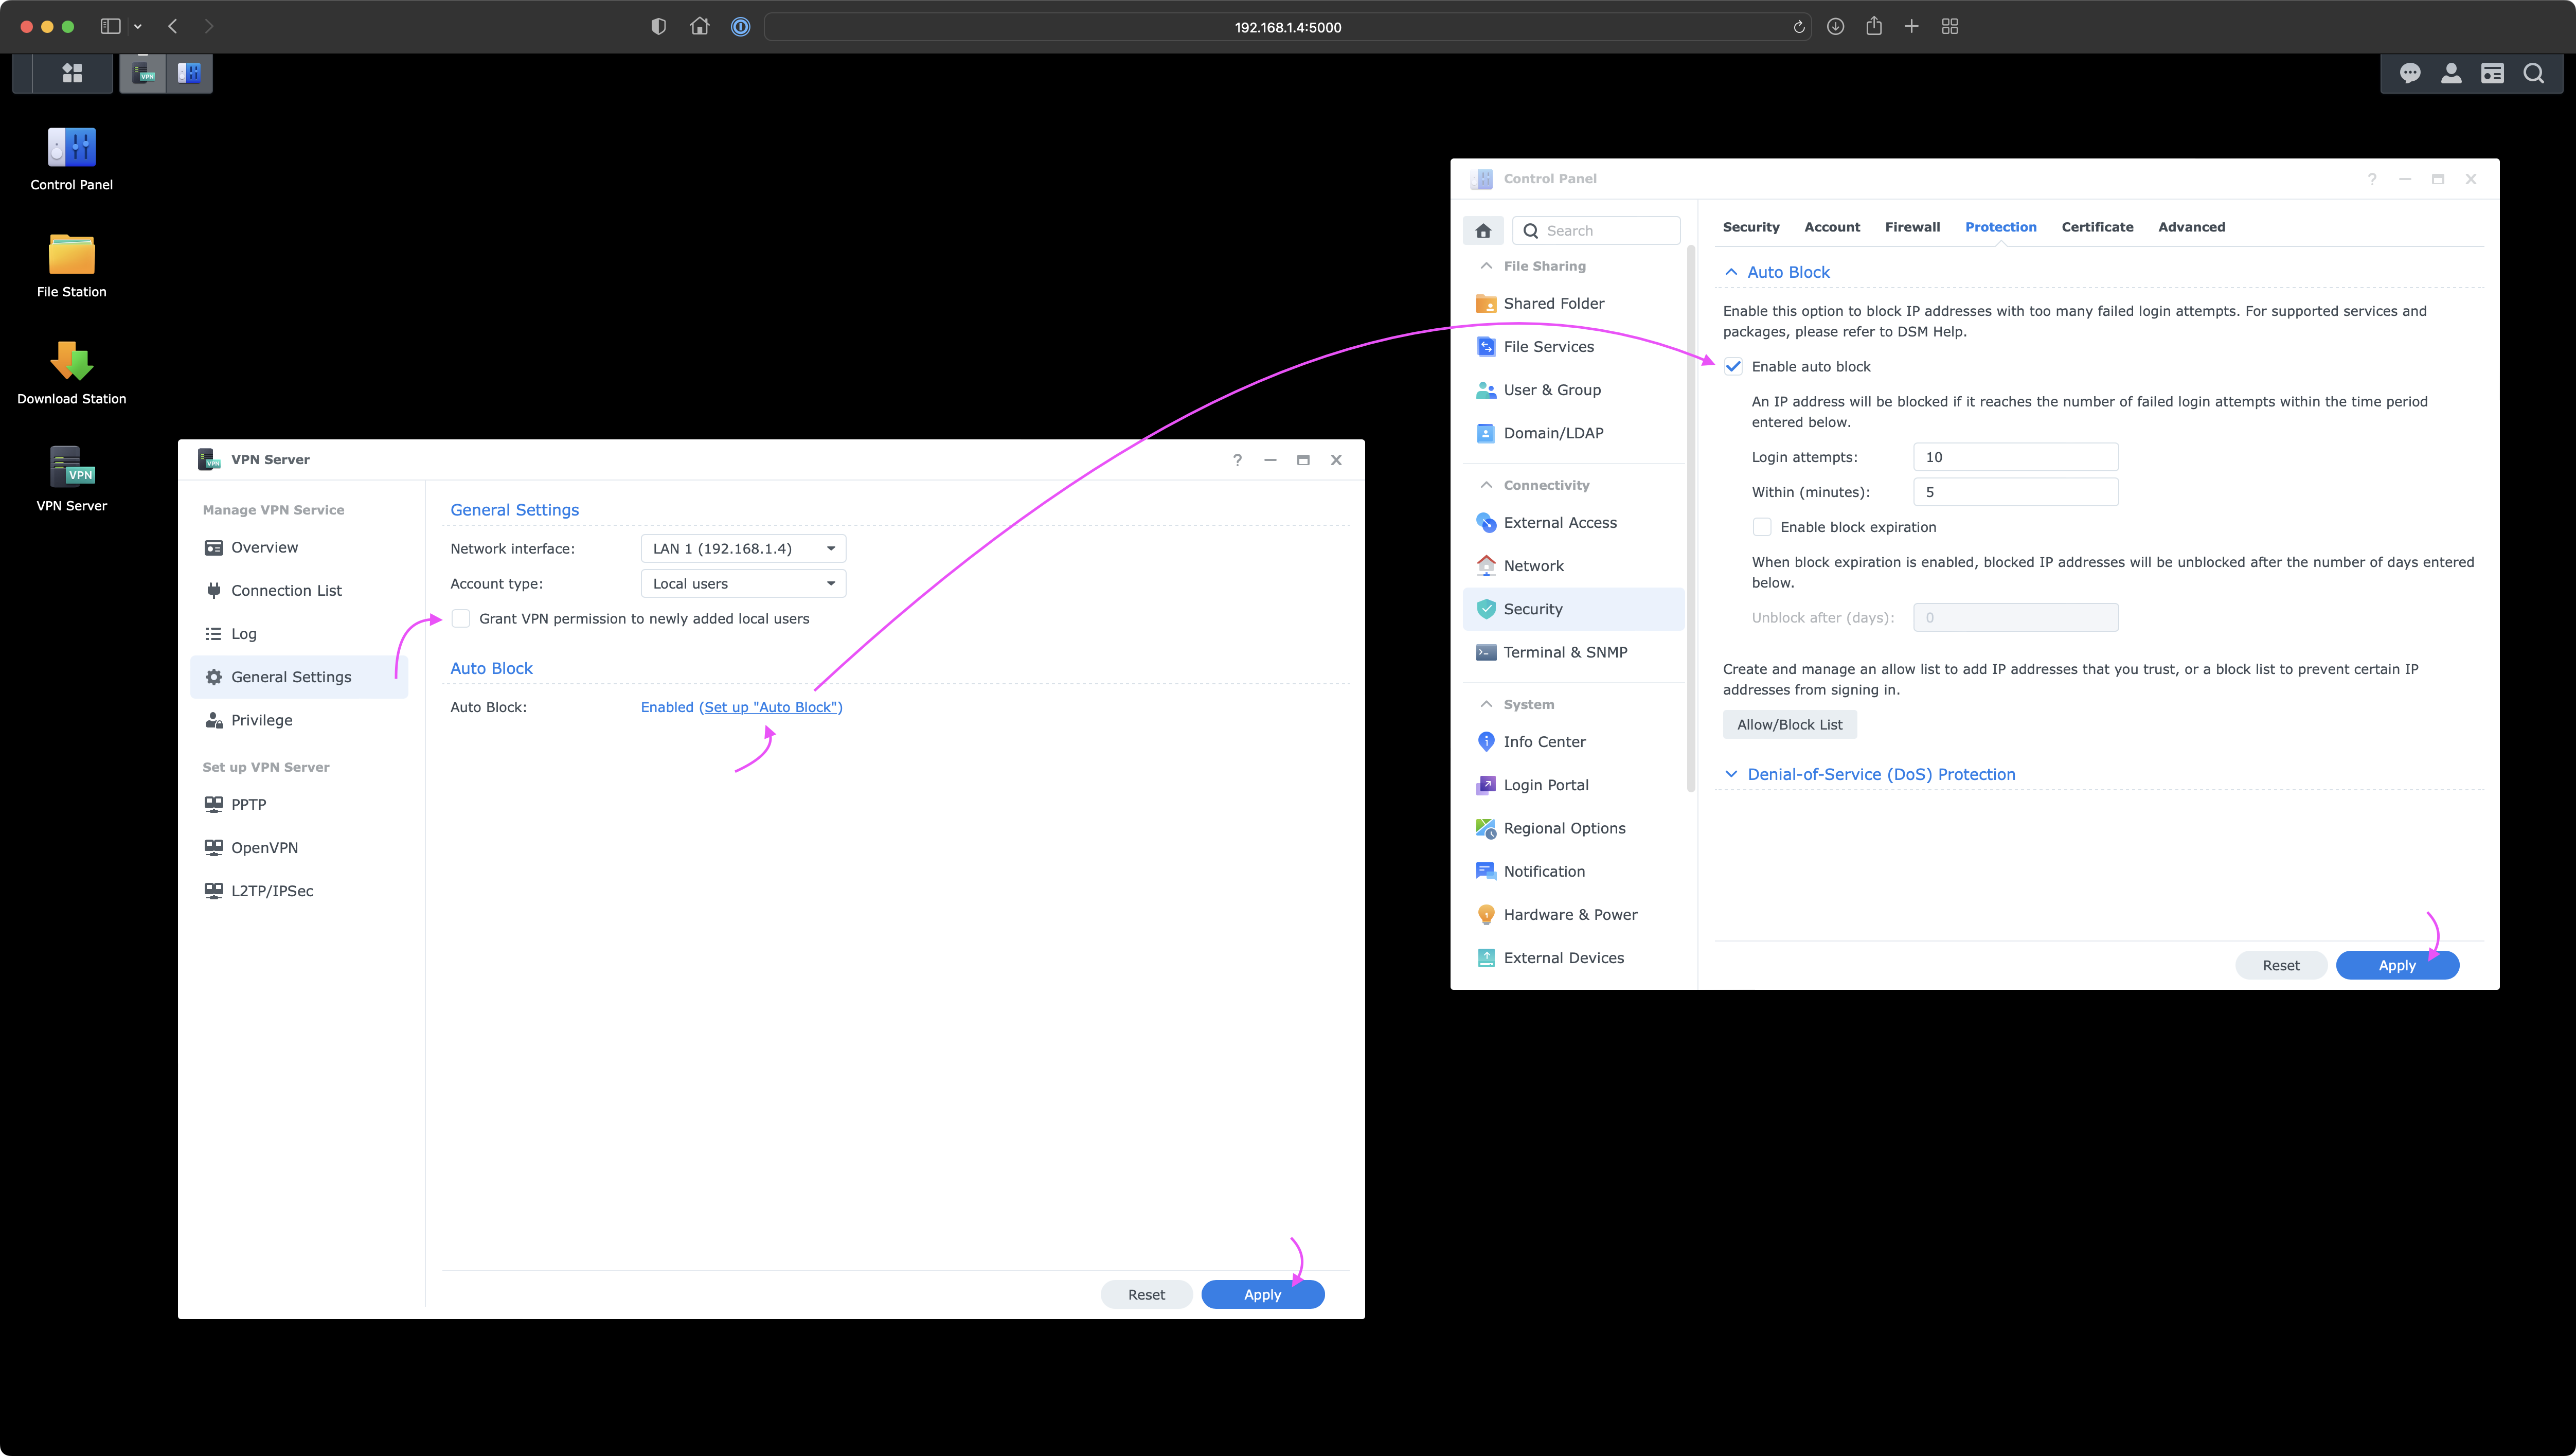
Next, go to the General Settings tab and uncheck Grant VPN permission to newly added local users.
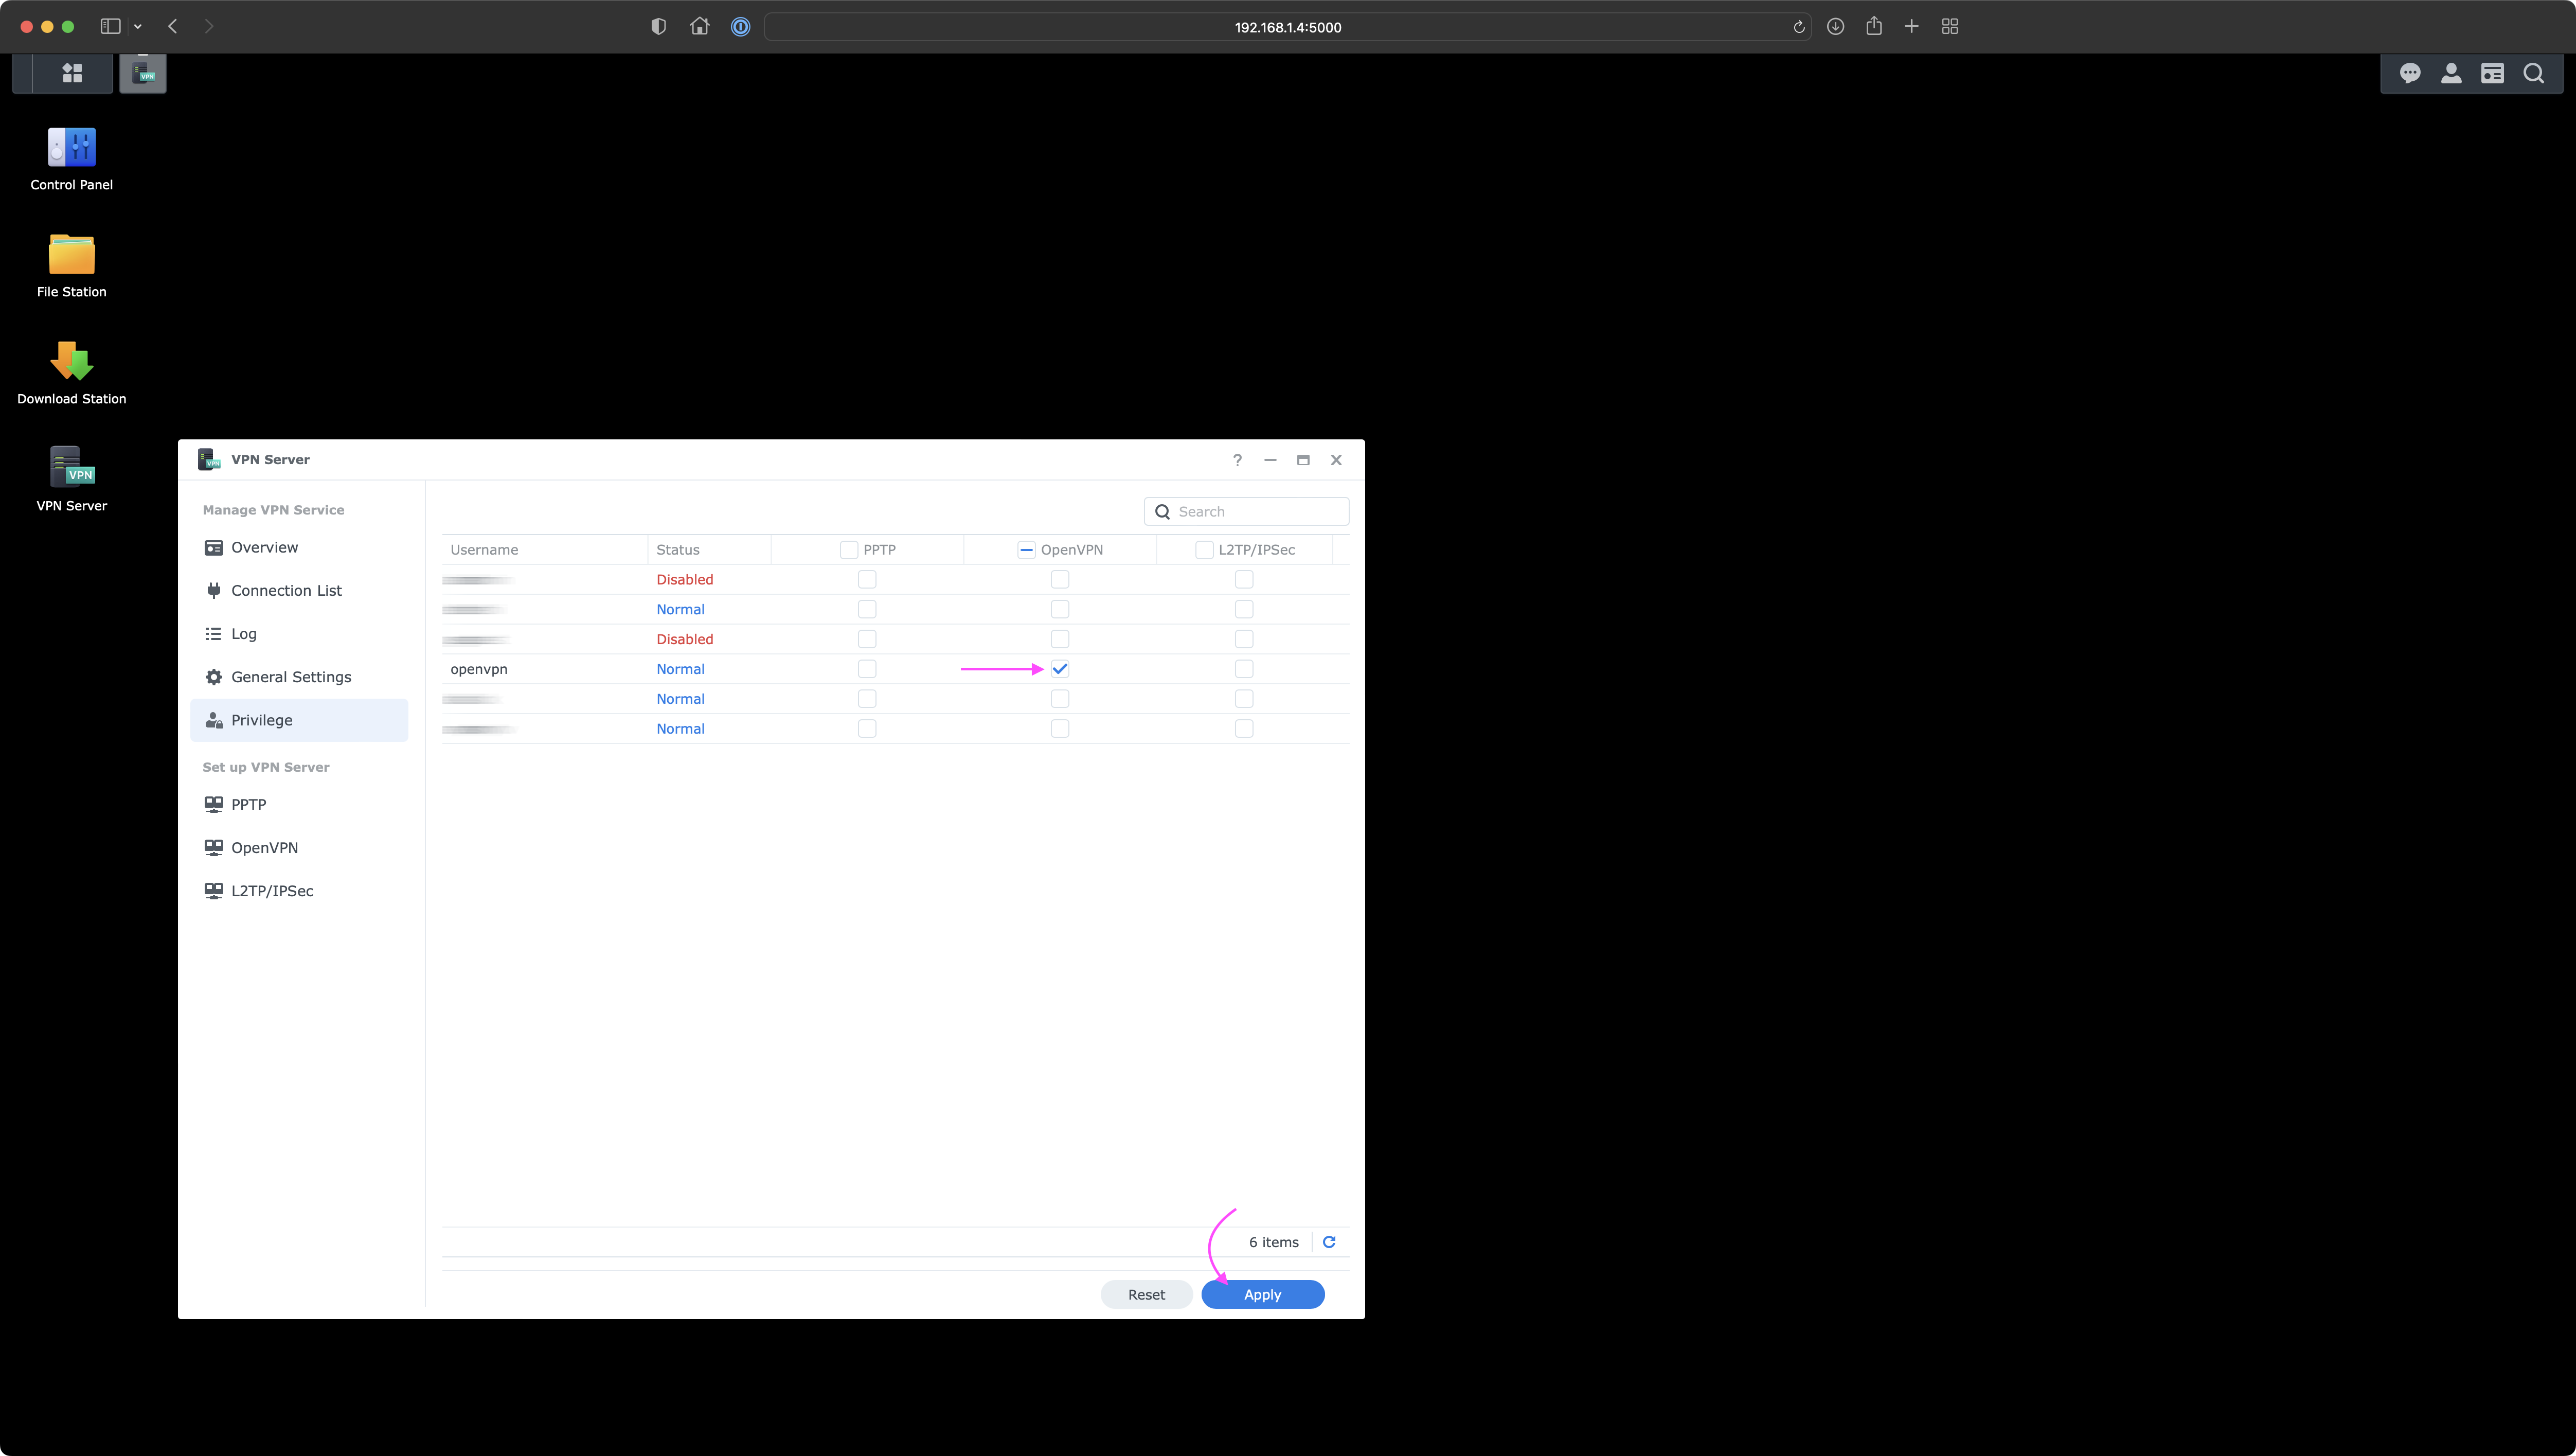
Under Privilege tab, remove privileges to all users for all VPN servers except of granting it to the openvpn user under OpenVPN server type.
Enabling OpenVPN Server
Under Set up VPN Server section, click on the OpenVPN tab.
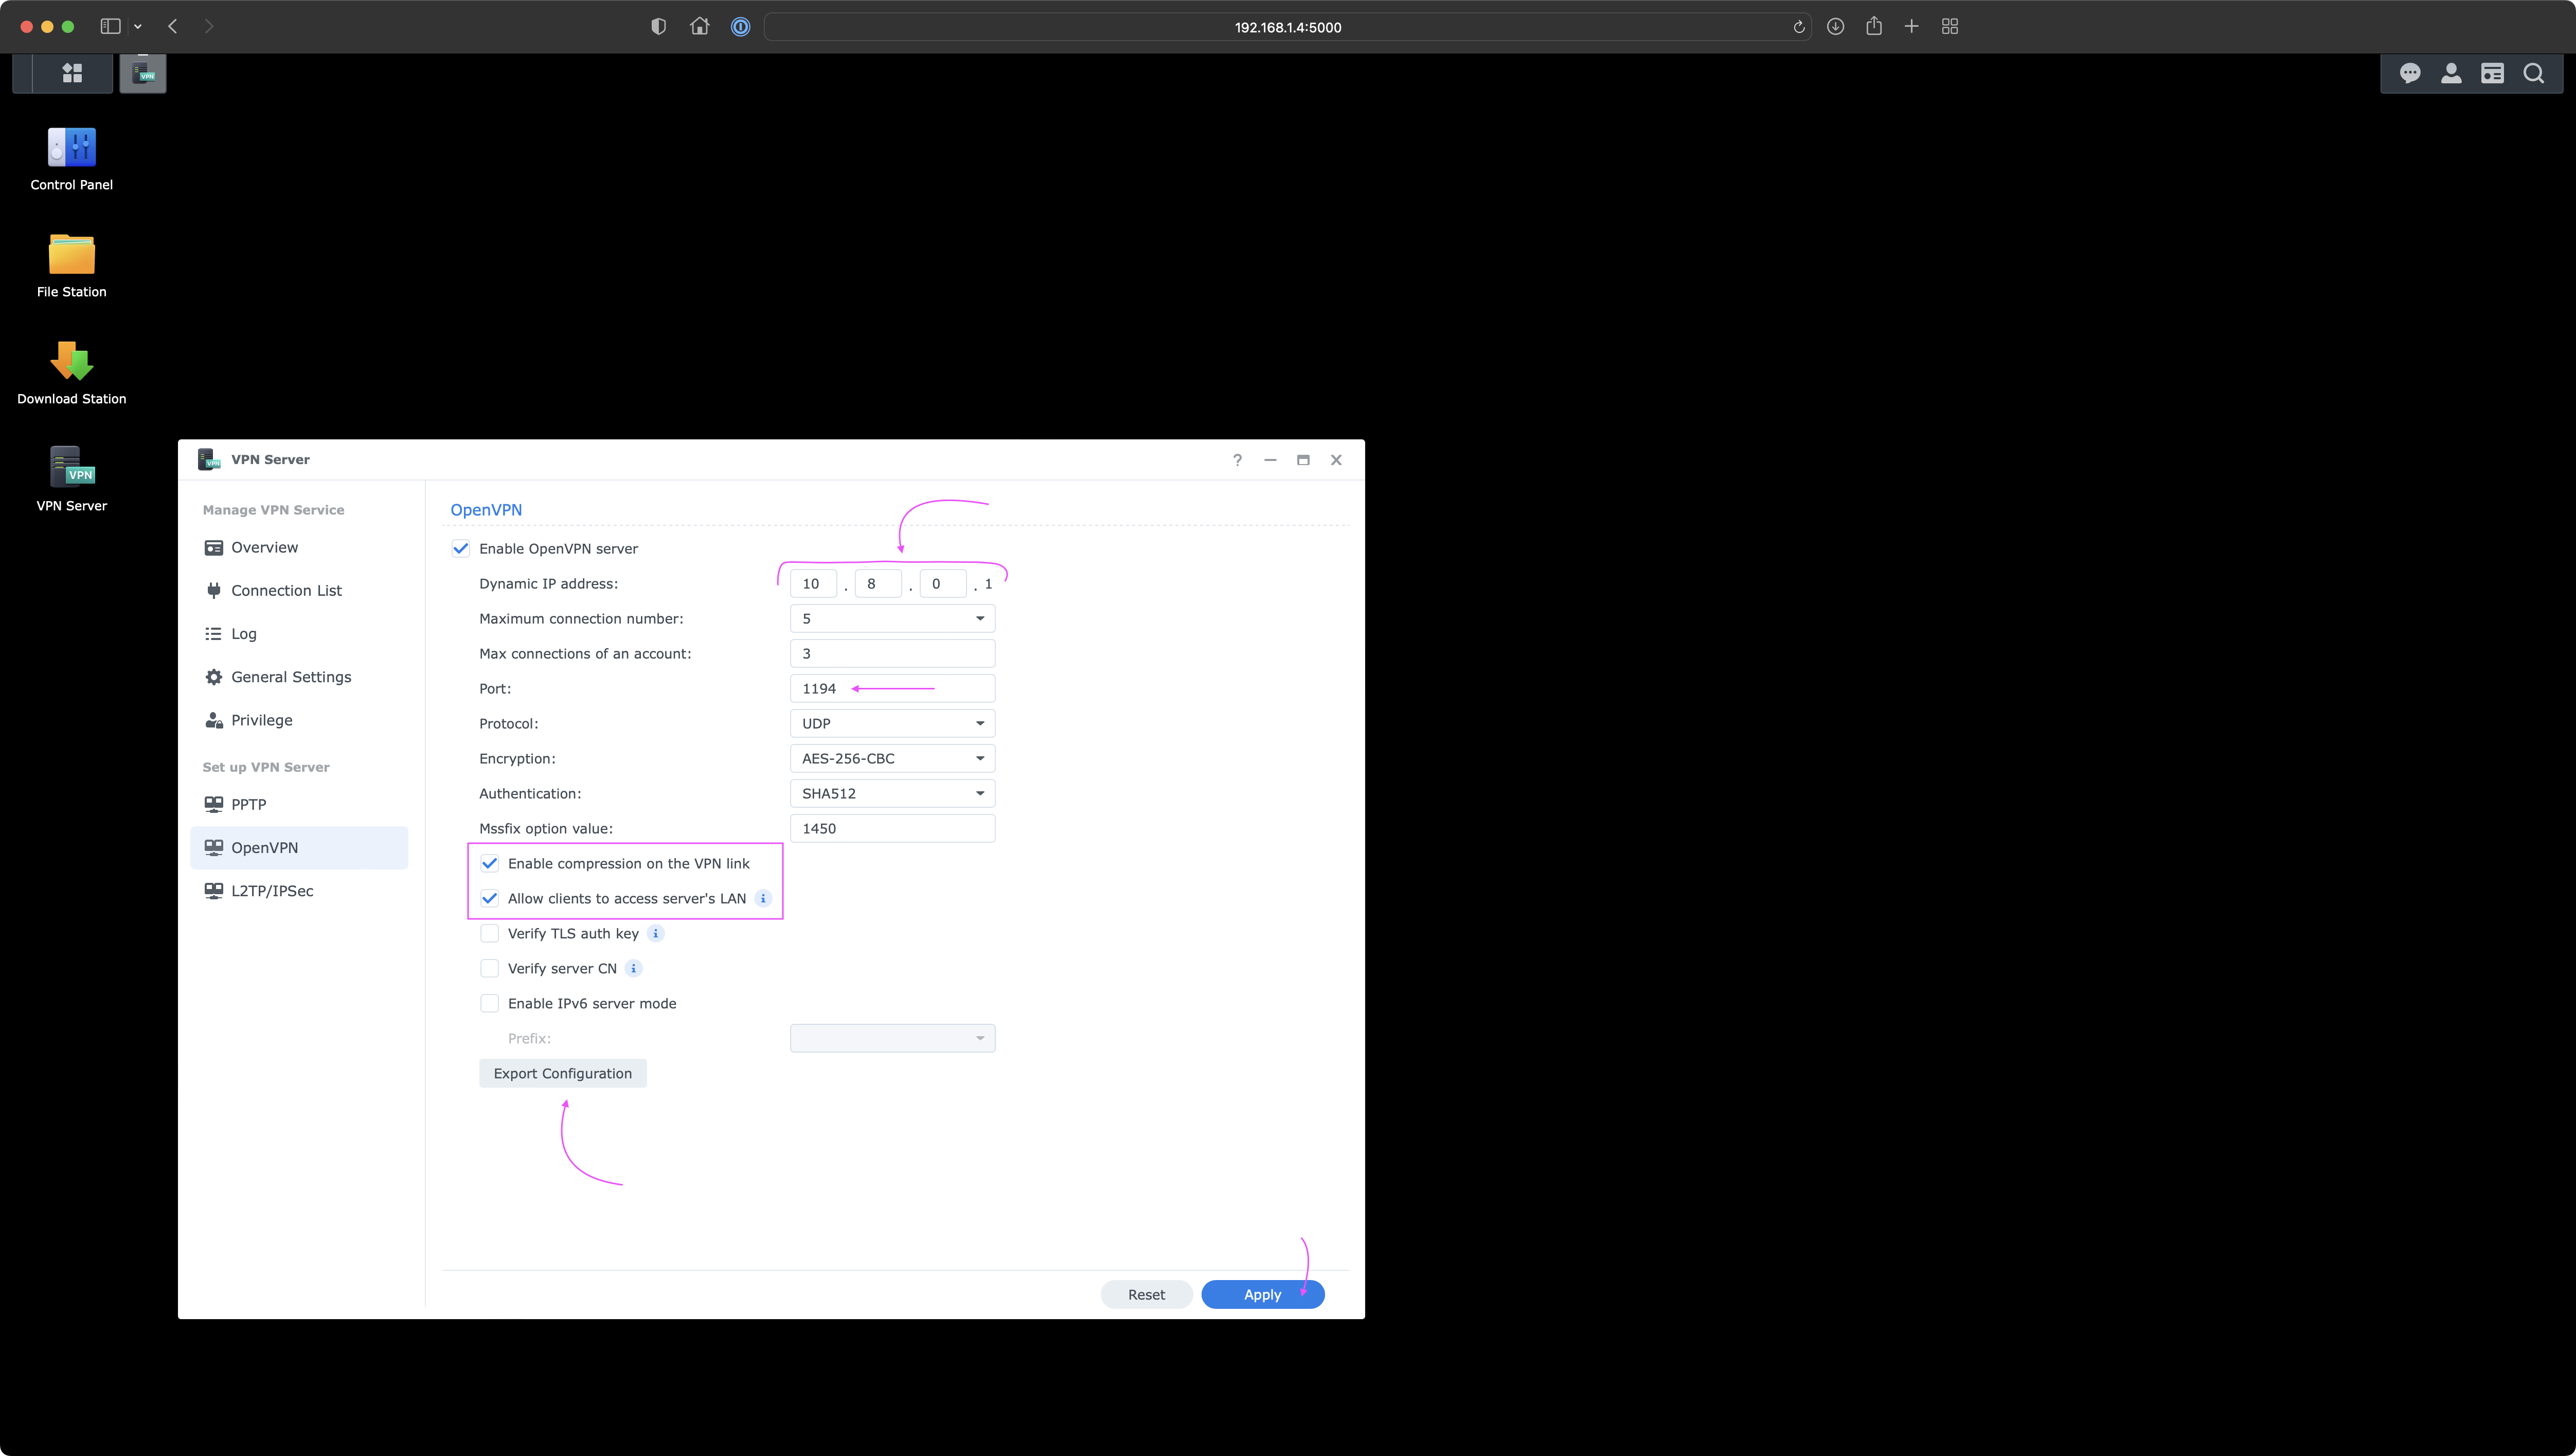
1194. There's no need to modify it unless you have a good reason. We will use this port number later for the port forwarding procedure.Click on Enable OpenVPN server and ensure the Dynamic IP address does not conflict any of your existing network settings. Ensure what's the port number and enable the following settings:
- Enable compression on the VPN link
- Allow clients to access server's LAN
Last but not least click on the Export Configuration button to pull the openvpn.zip file. This file is crucial for clients to setup the connection and be able to establish communication with the OpenVPN server.
DDNS
Now the goal is to establish a static hostname (needed for the VPN connection) as a solution for our home public IP address that may be changed dynamically at any time by your ISP). Go to Control Panel and under External Access click on the DDNS tab.
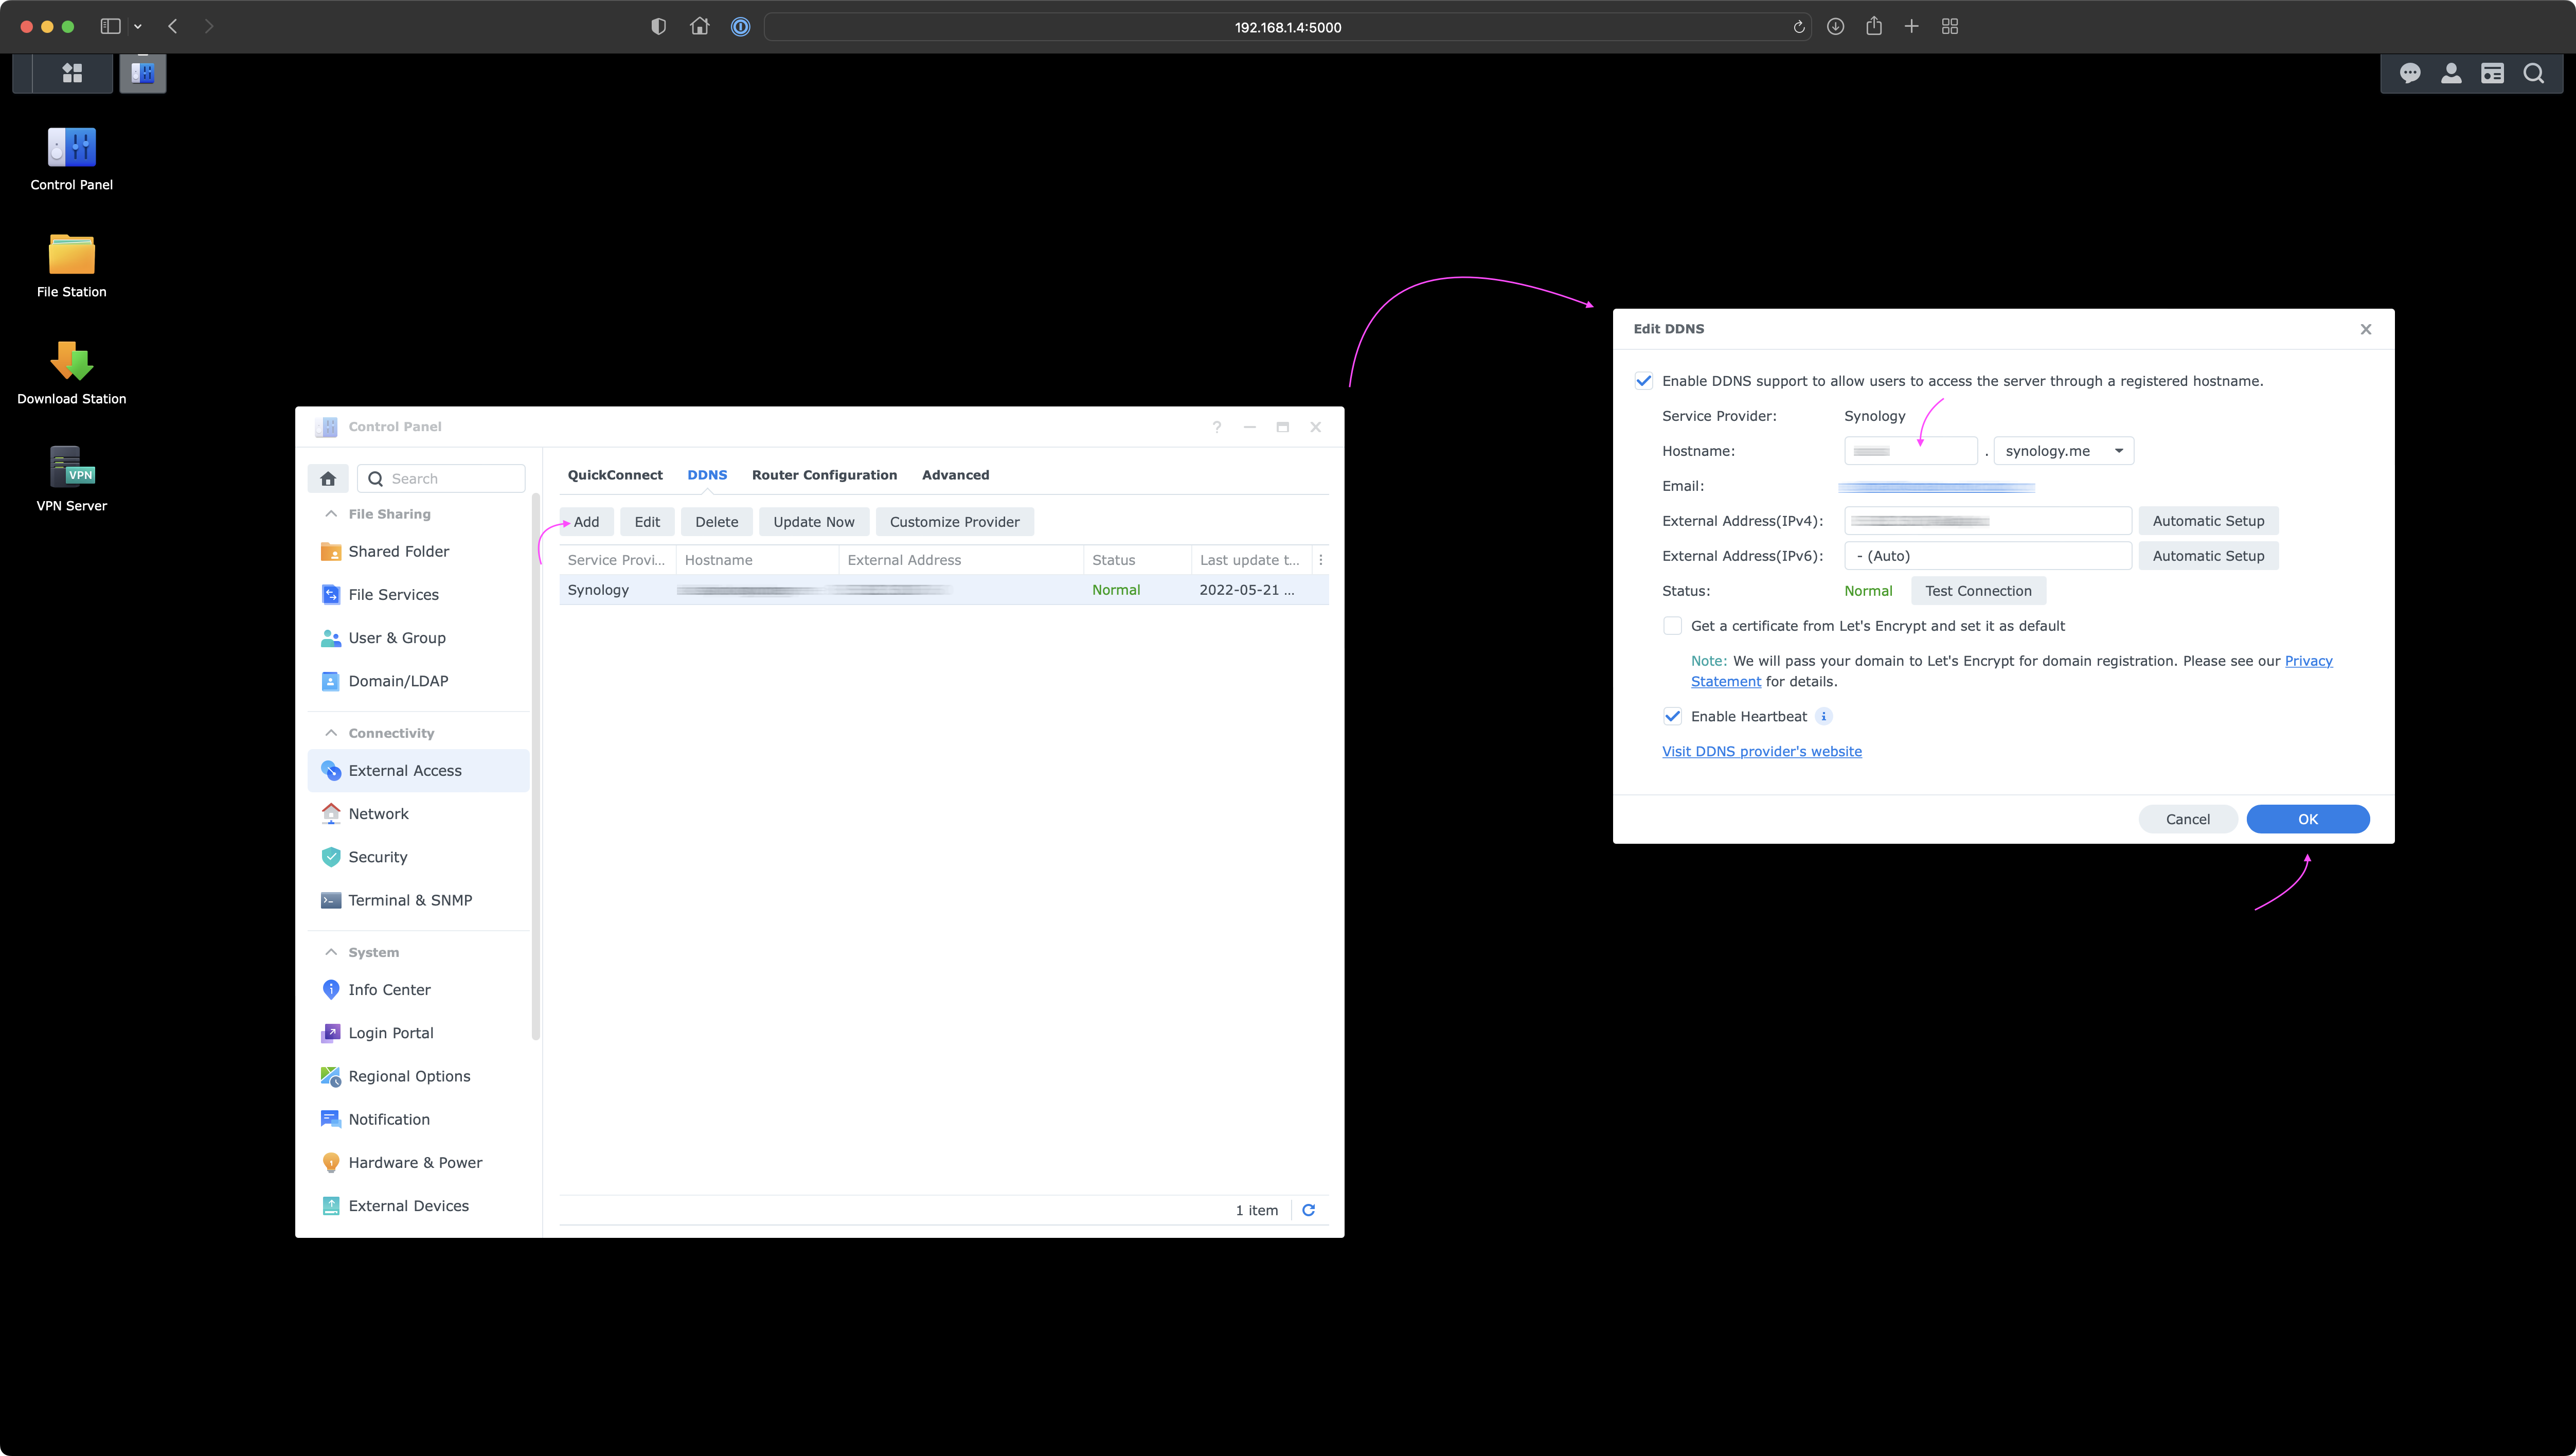
Under Service Provider pick a provider of your choice and type a Hostname you want to use for the VPN connection.
Port Forwarding
This part of the tutorial is going to be different for everybody, because of using different routers. Follow user's manual that is dedicated for your router to figure out how to set port forwarding on your device.
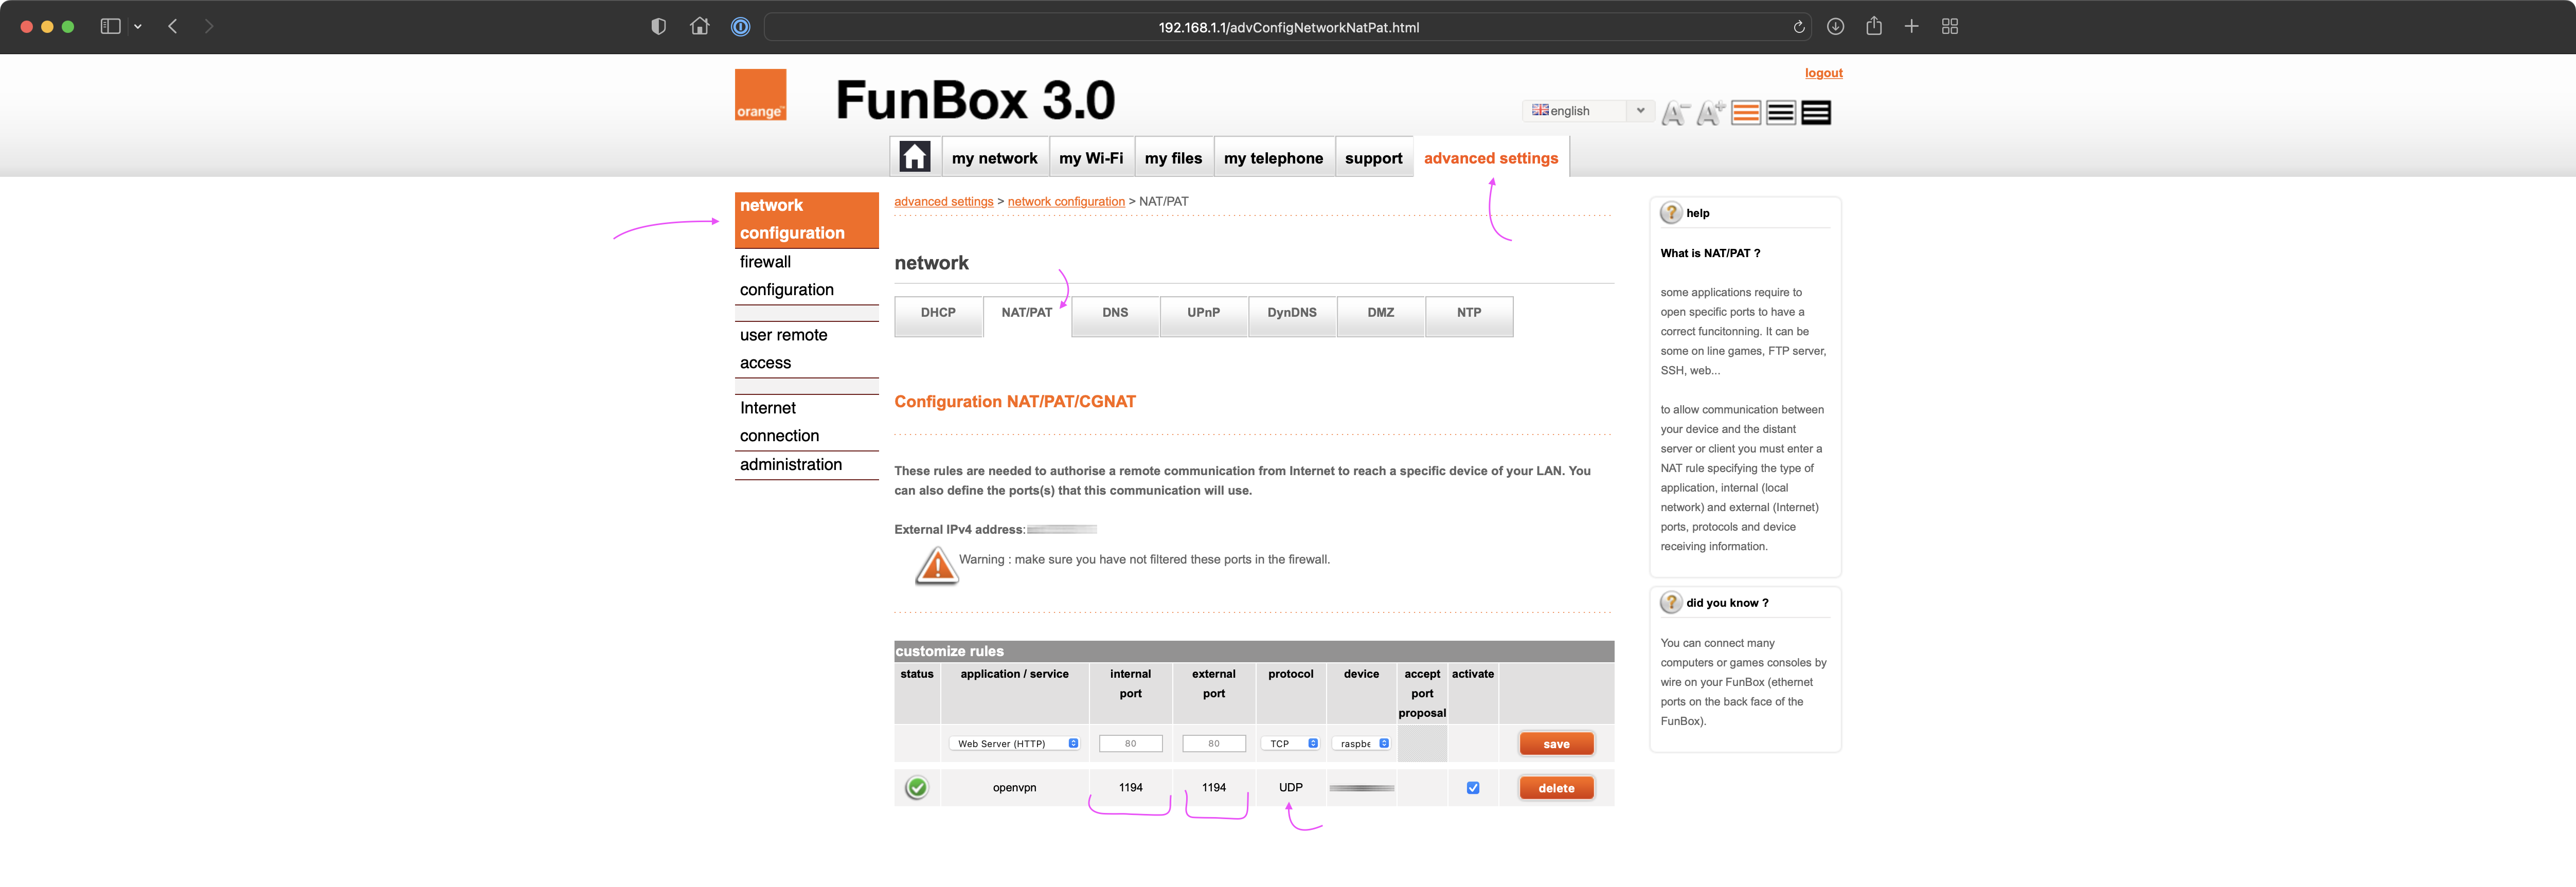
Use port number 1194 and set protocol to UDP.
Configuration Adjustments
Extract previosly downloaded openvpn.zip and edit the VPNConfig.ovpn file.
The following code shows example content of this file.
dev tun
tls-client

remote yourhost.synology.me 1194

# The "float" tells OpenVPN to accept authenticated packets from any address,
# not only the address which was specified in the --remote option.
# This is useful when you are connecting to a peer which holds a dynamic address
# such as a dial-in user or DHCP client.
# (Please refer to the manual of OpenVPN for more information.)

#float

# If redirect-gateway is enabled, the client will redirect it's
# default network gateway through the VPN.
# It means the VPN connection will firstly connect to the VPN Server
# and then to the internet.
# (Please refer to the manual of OpenVPN for more information.)

#redirect-gateway def1

# dhcp-option DNS: To set primary domain name server address.
# Repeat this option to set secondary DNS server addresses.

dhcp-option DNS 192.168.1.4

pull

# If you want to connect by Server's IPv6 address, you should use
# "proto udp6" in UDP mode or "proto tcp6-client" in TCP mode
proto udp

script-security 2

comp-lzo

reneg-sec 0

cipher AES-256-CBC

auth SHA512

auth-user-pass

setenv CLIENT_CERT 0
<ca>
-----BEGIN CERTIFICATE-----
[cut]
-----END CERTIFICATE-----
</ca>
Things to adjust in this file:
- set remote line to the static hostname of your choice as well as the port you have selected in previous steps
- ensure line
#redirect-gateway def1is commented out so that we use Split Tunnel instead of Full Tunnel (uncomment this line to change accordingly) - ensure line
dhcp-option DNSis uncommented and contains the IP address of your Synology NAS - at the bottom of the file (but before the certificate), define a new variable
setenv CLIENT_CERT 0- this prevents a modal popup to appear because of missing external certificate
Save all changes to the VPNConfig.ovpn file (⌘+S).
Client Setup (macOS & iOS)
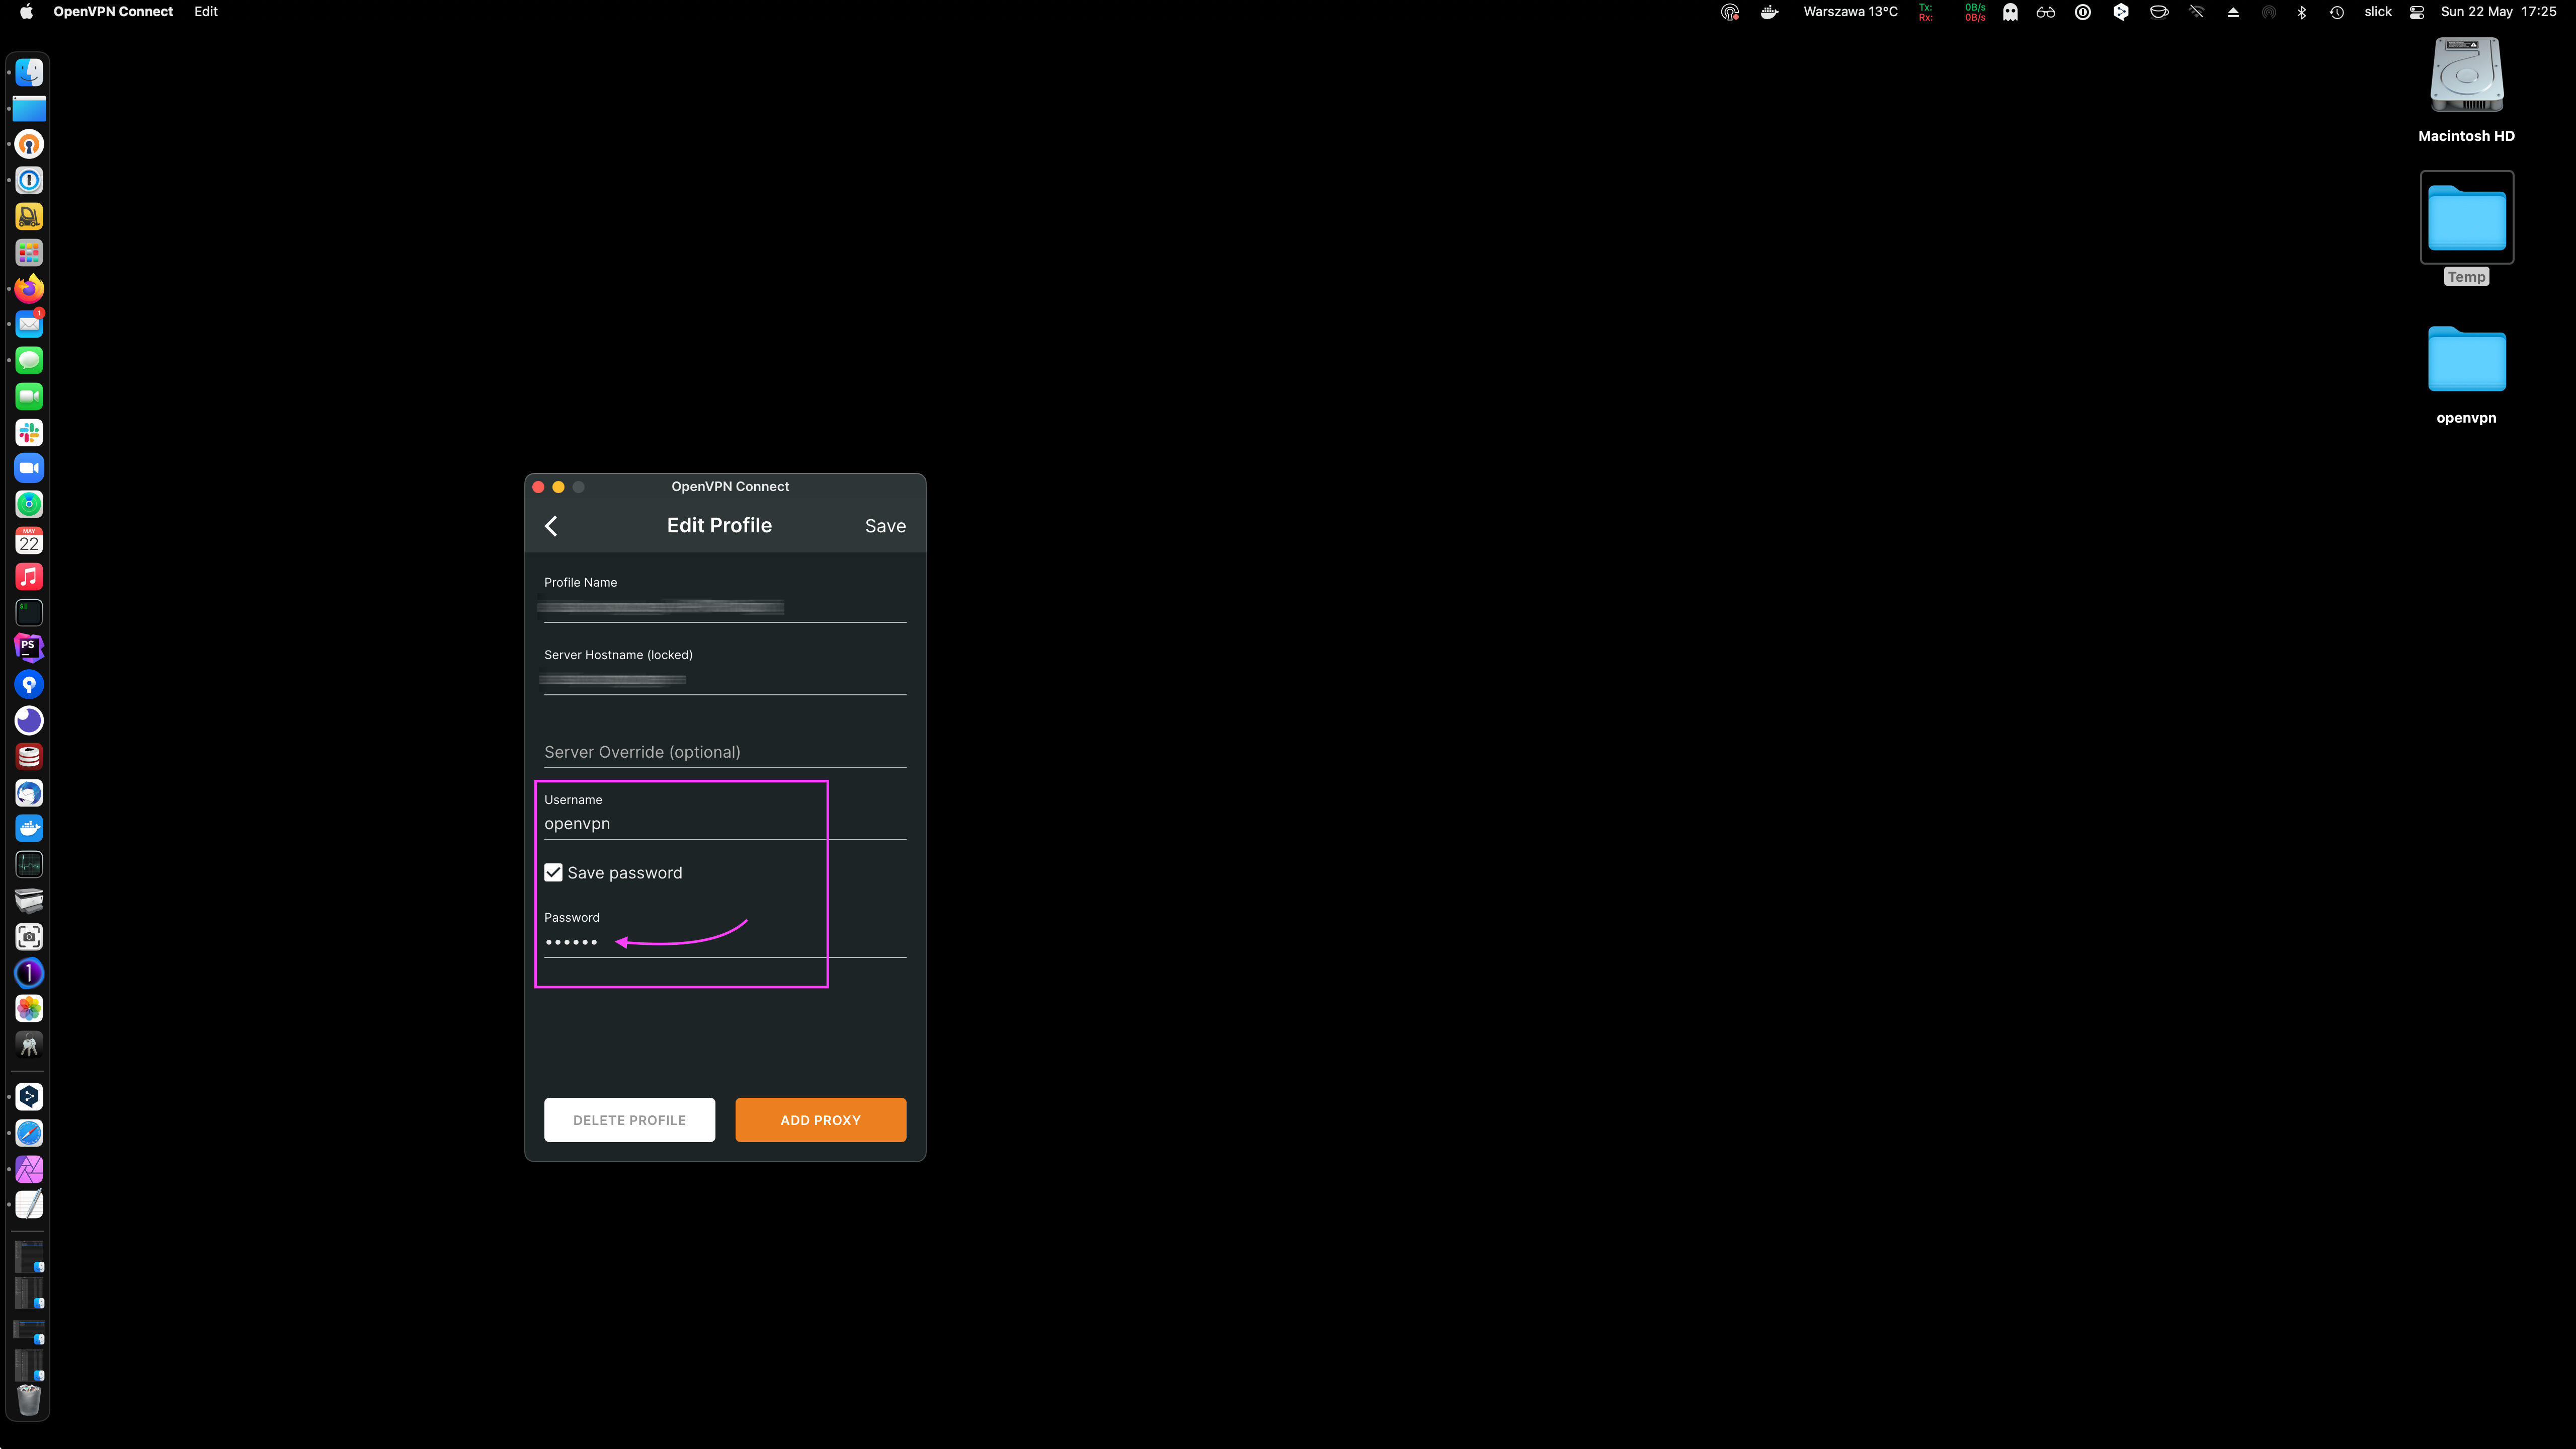
Download OpenVPN Connect for macOS. The App Store version for iOS is available for installation as well.
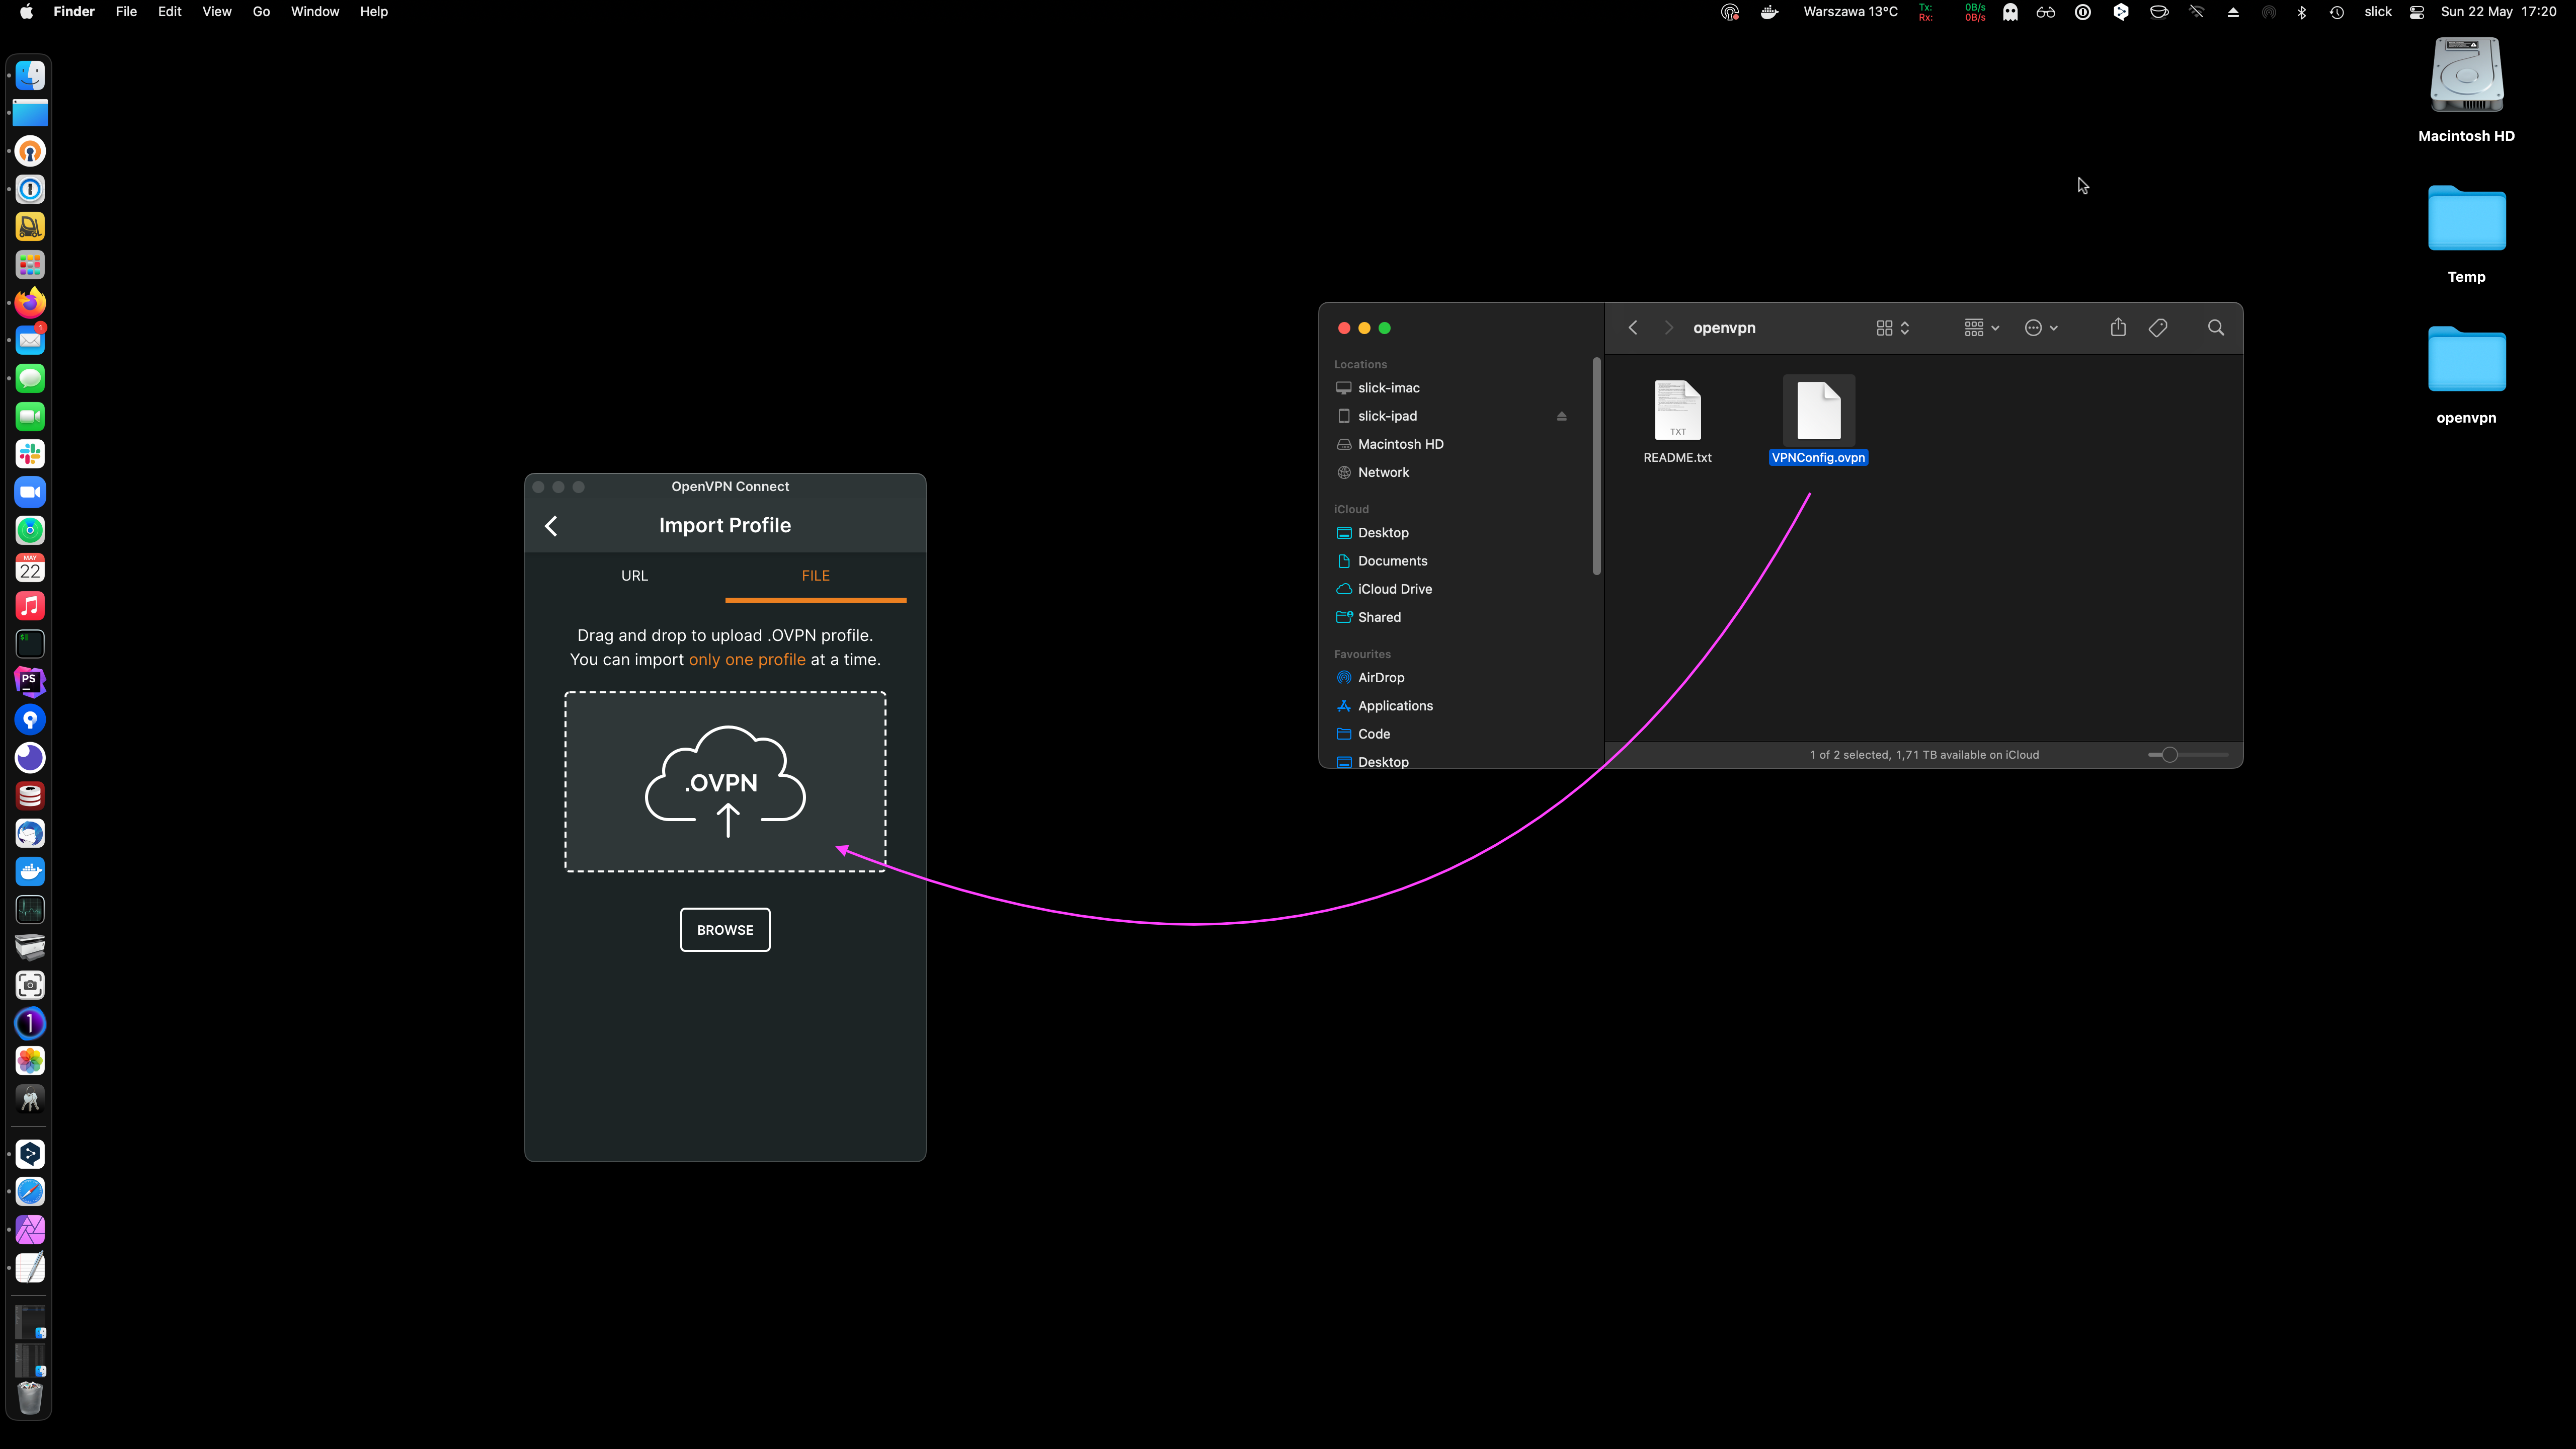
Once the profile is imported, provide the password you have set for the openvpn user.
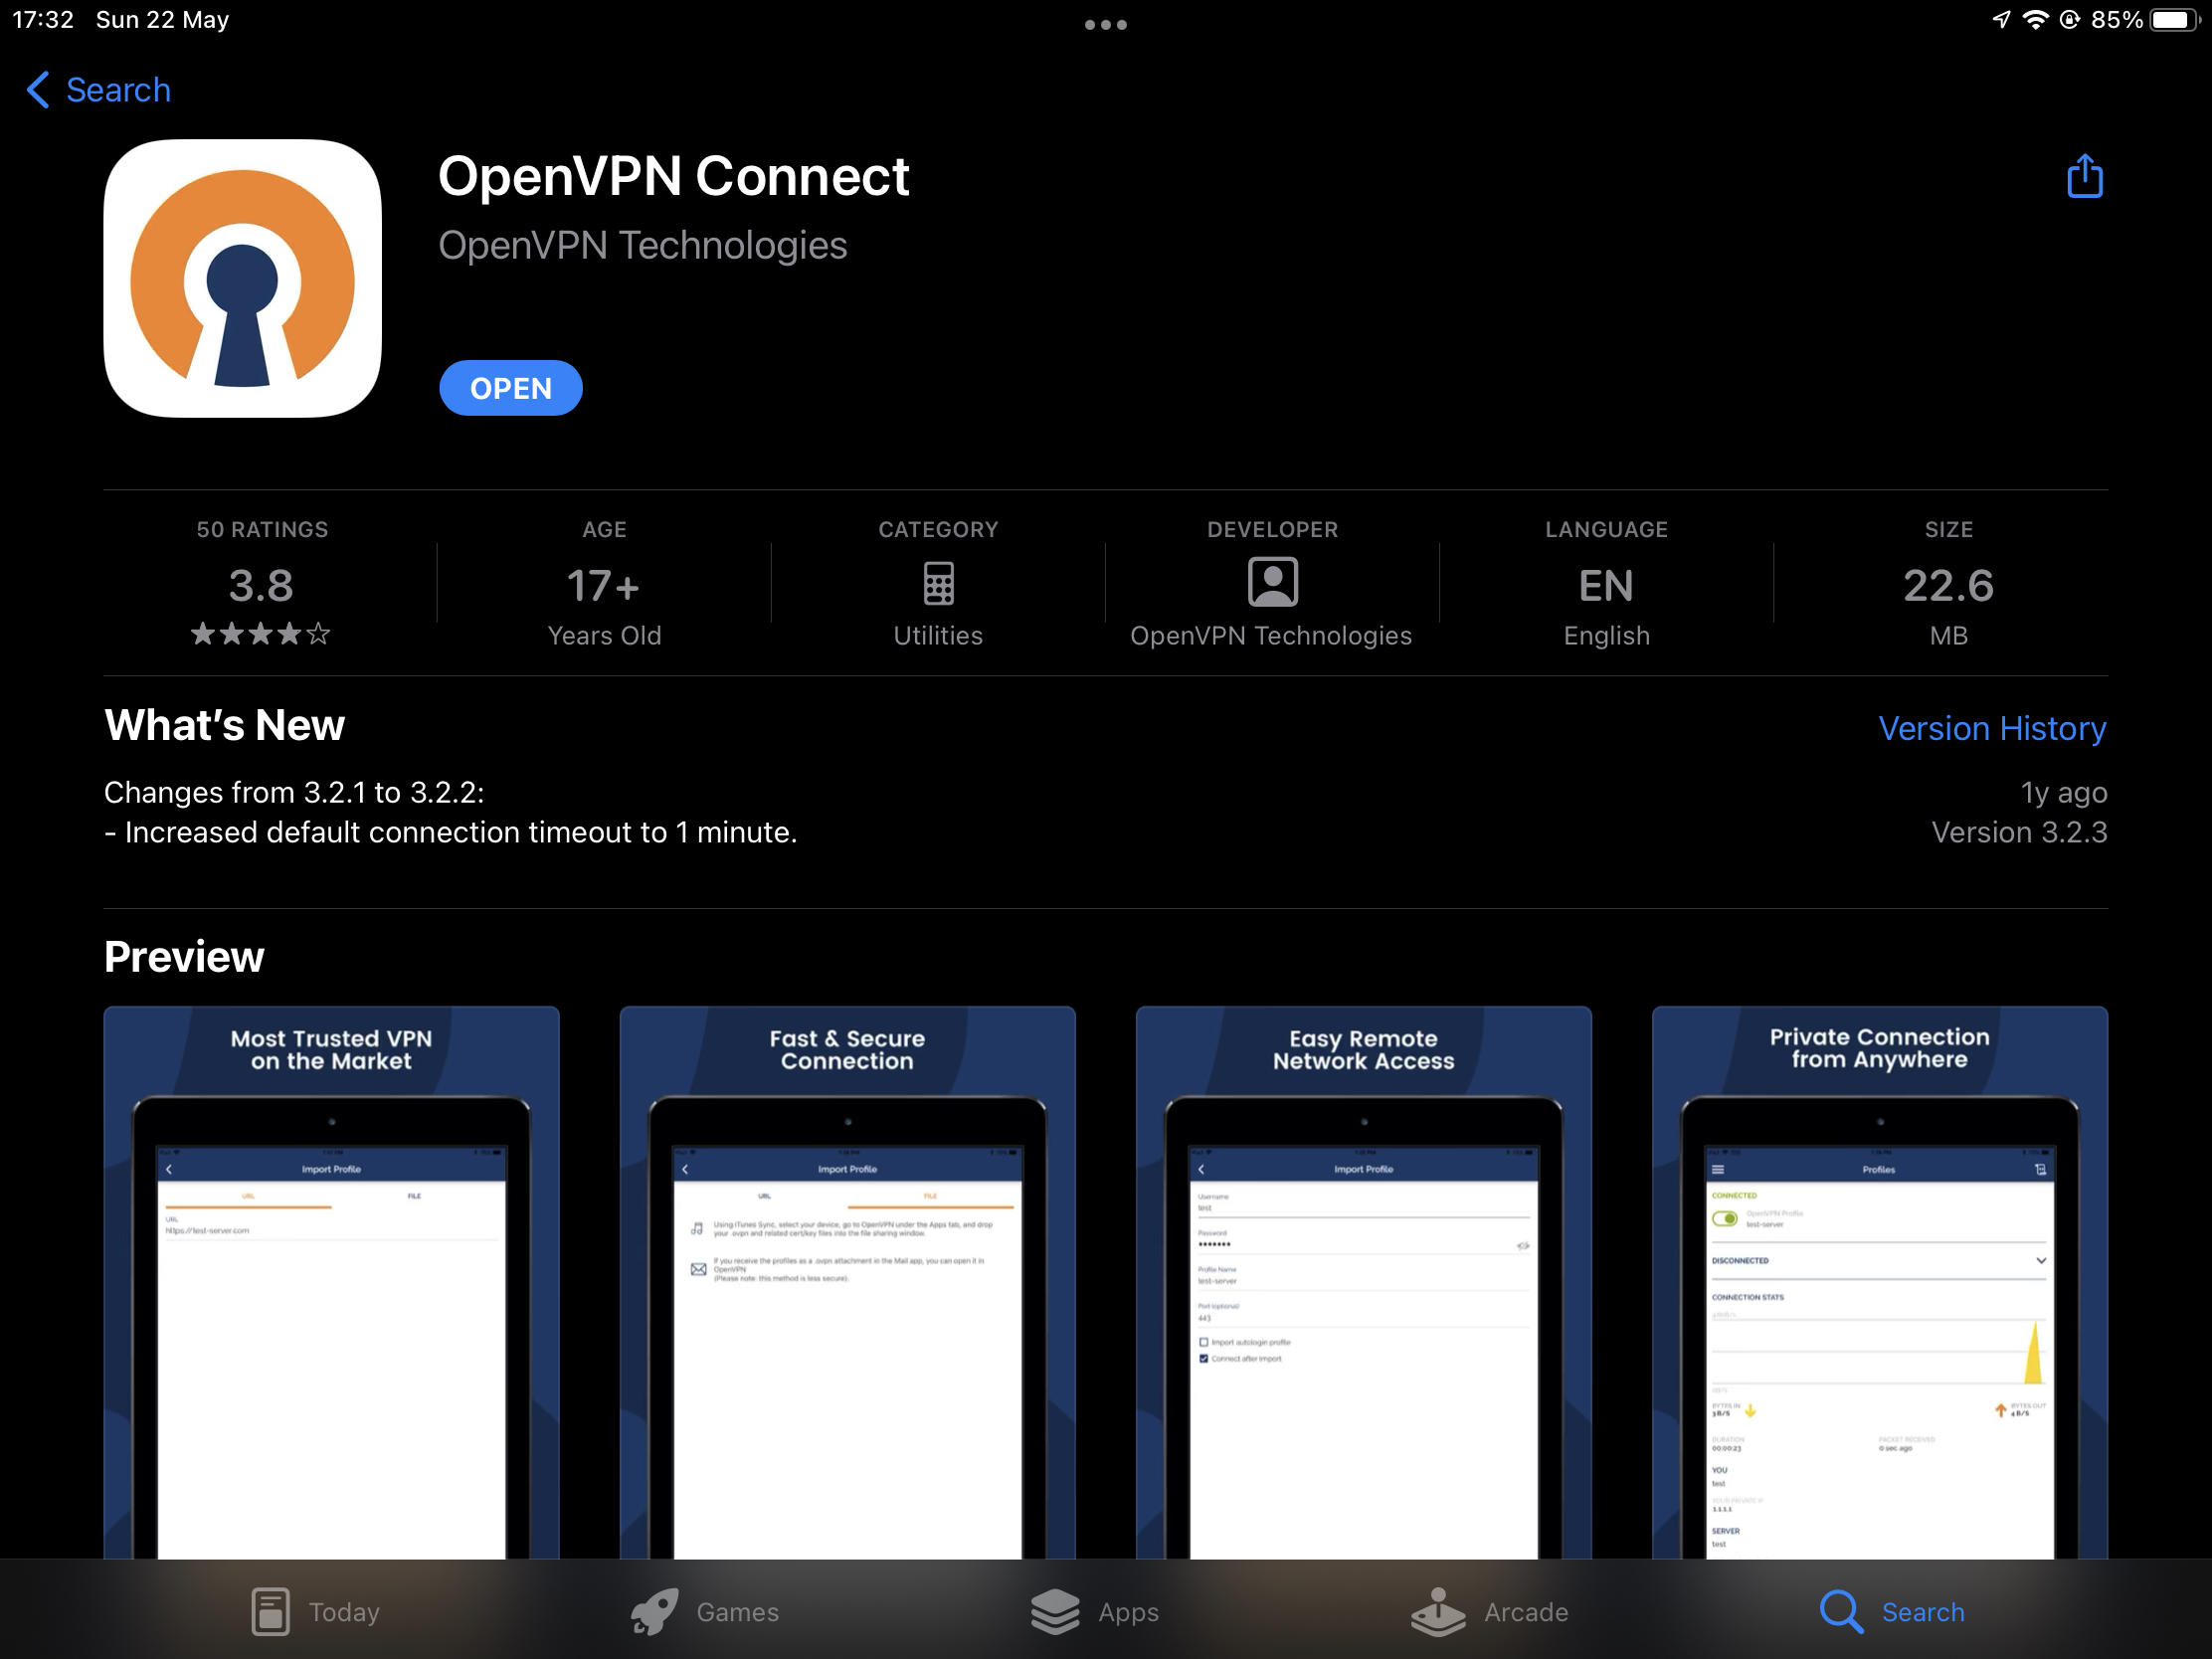
Let's follow the same steps for an iOS device. First install the app from the App Store.
Locate the extracted content for the openvpn.zip file using Files app.
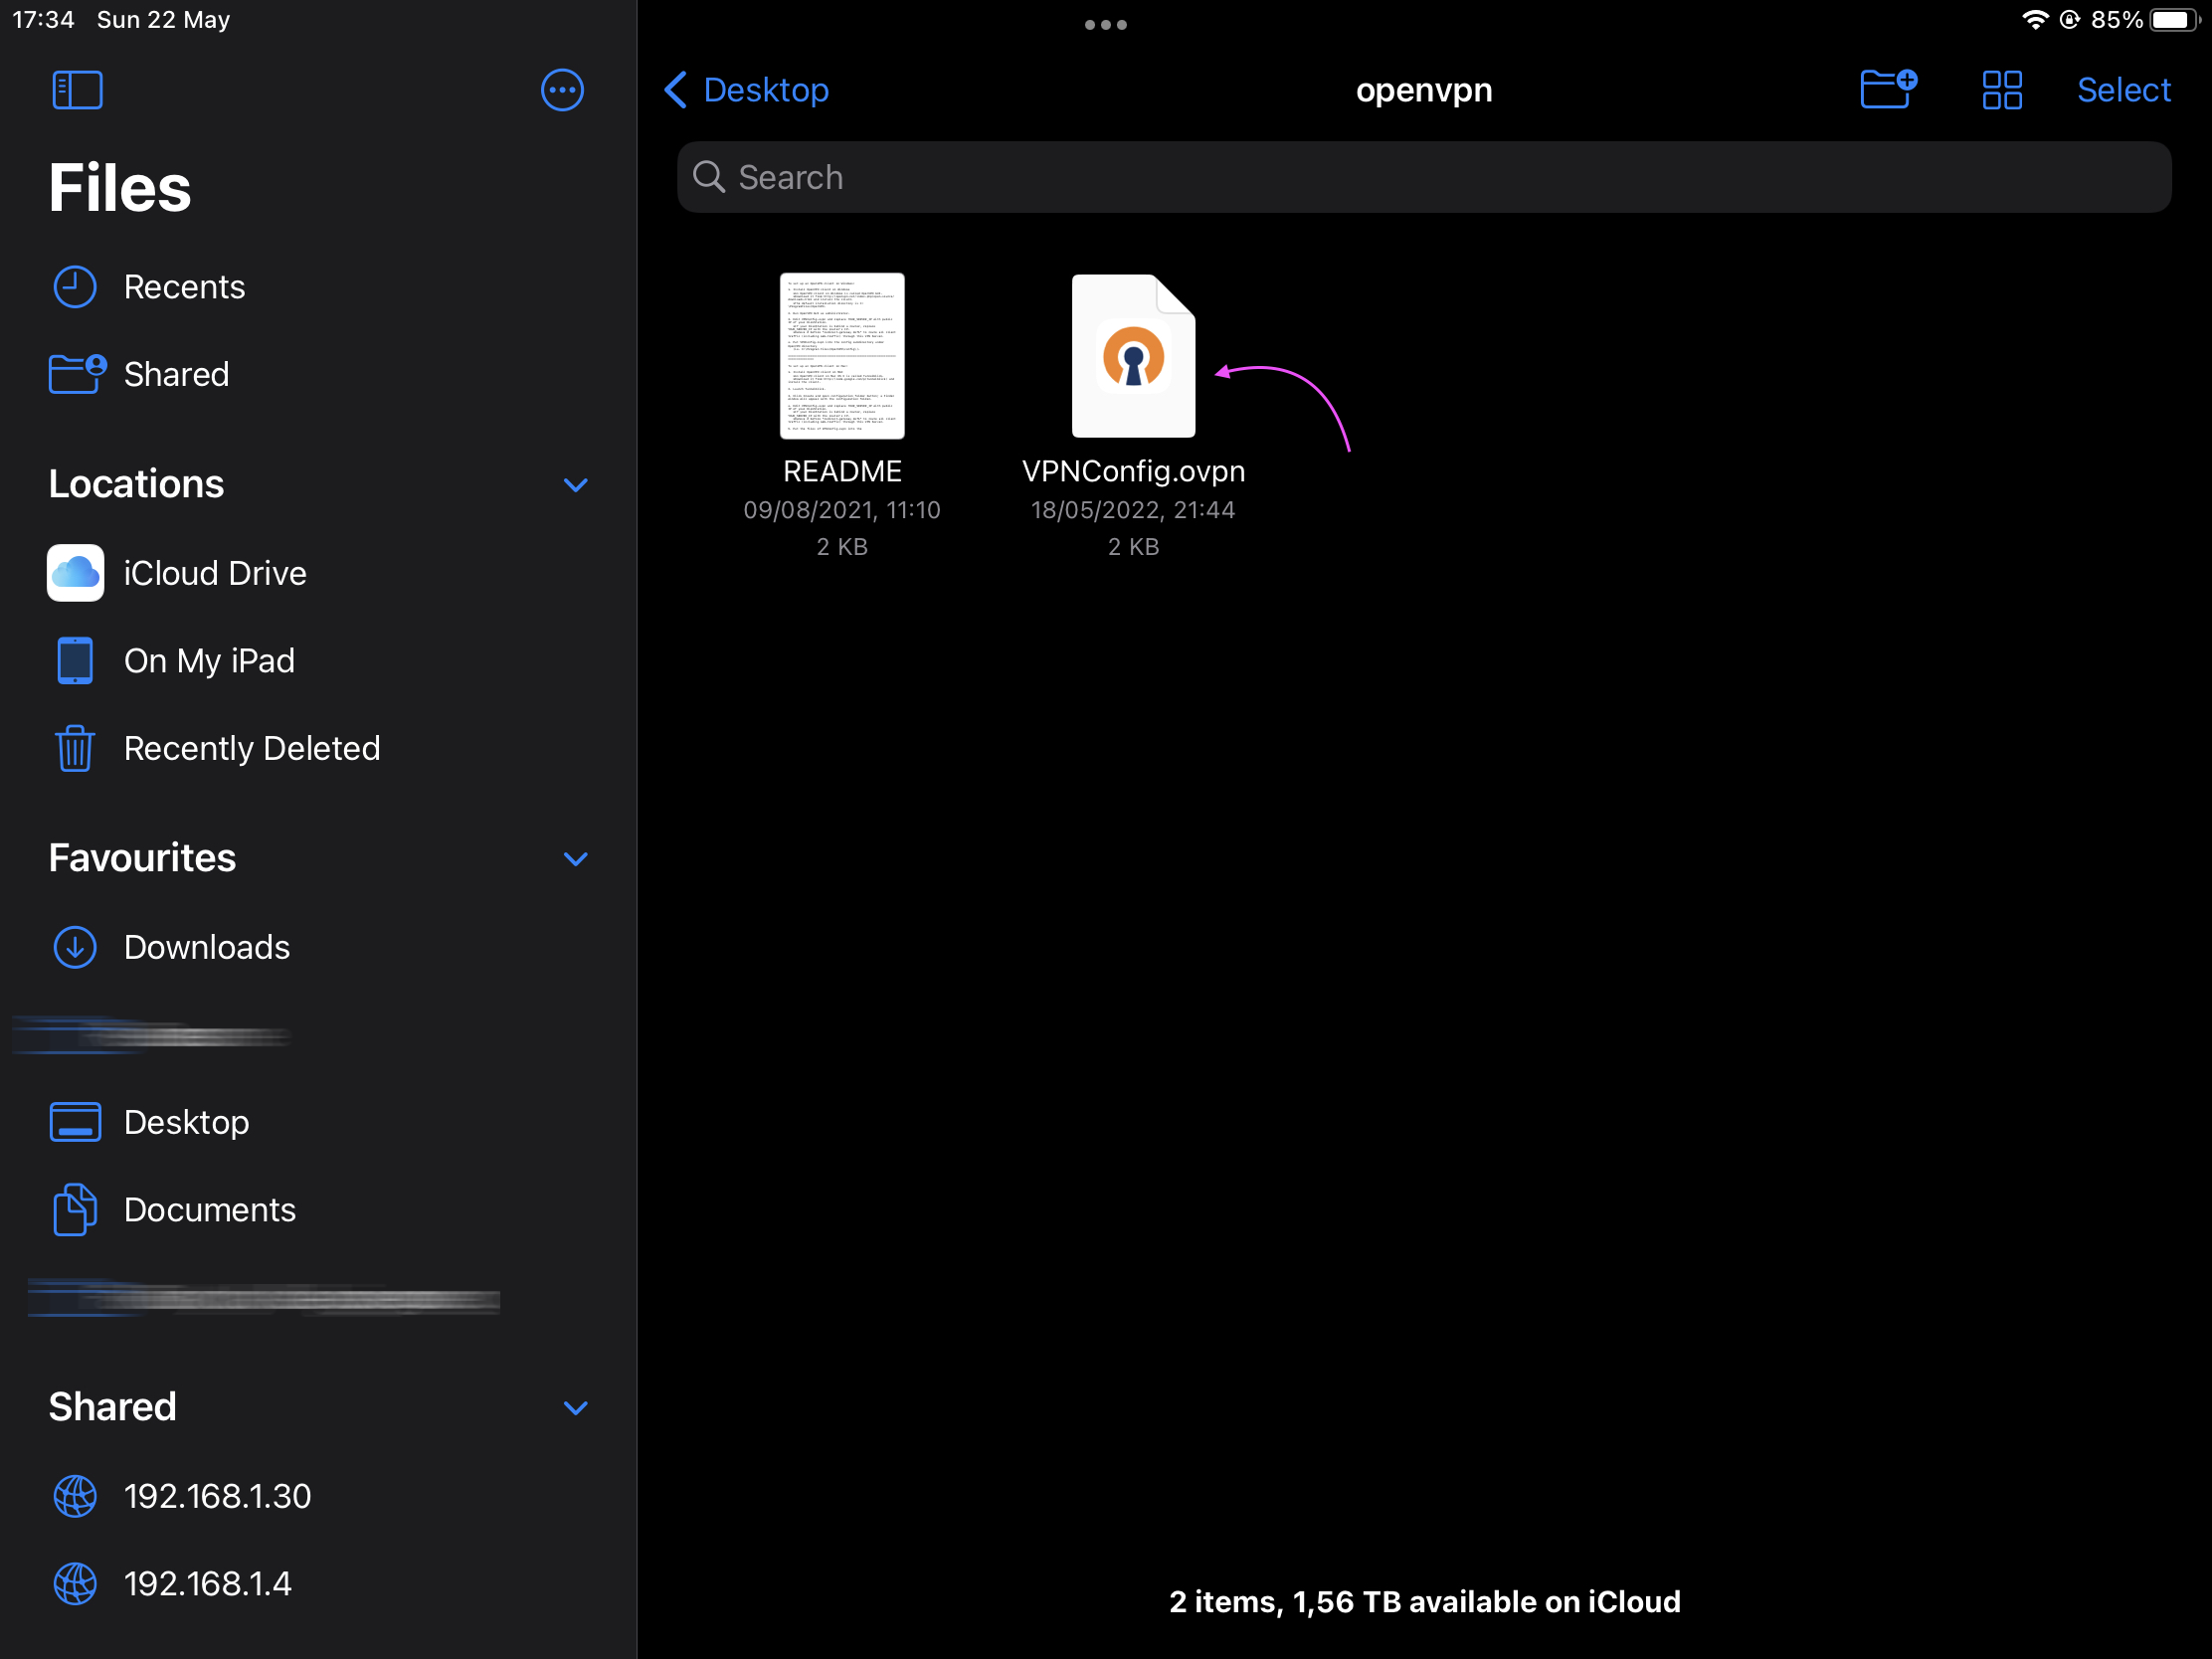
Tap on it to open using OpenVPN app.
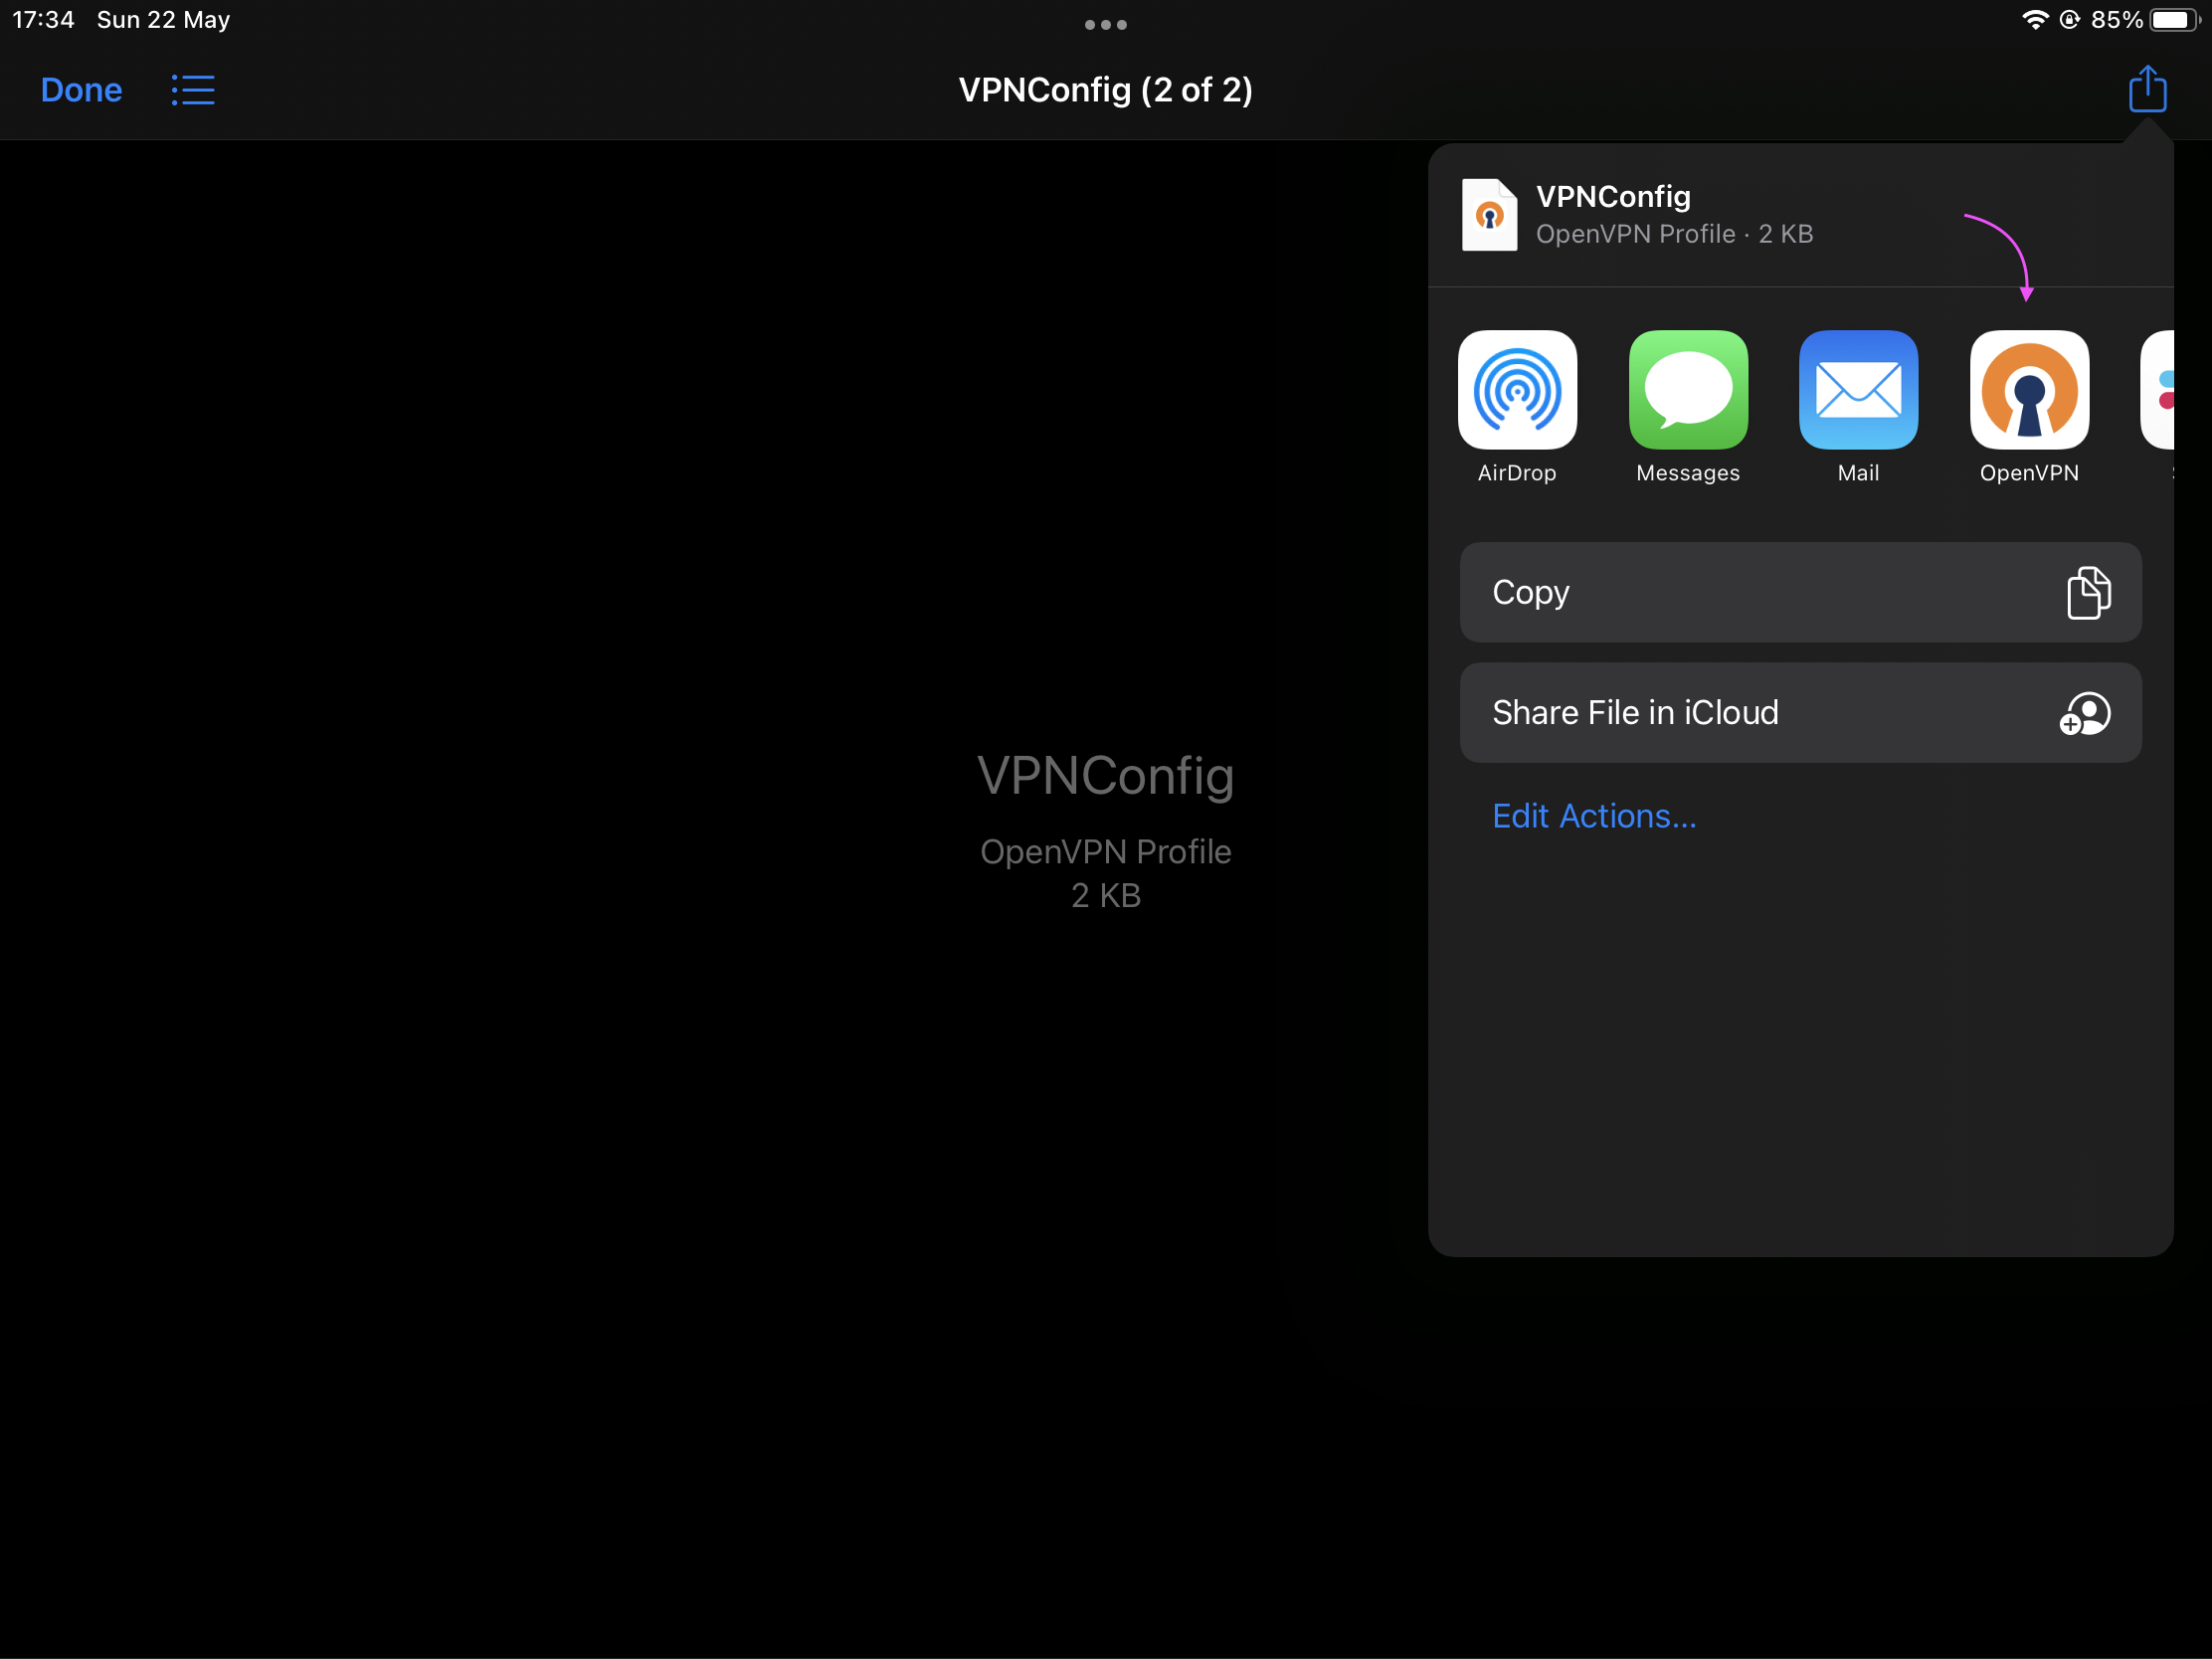
Finally import the profile.
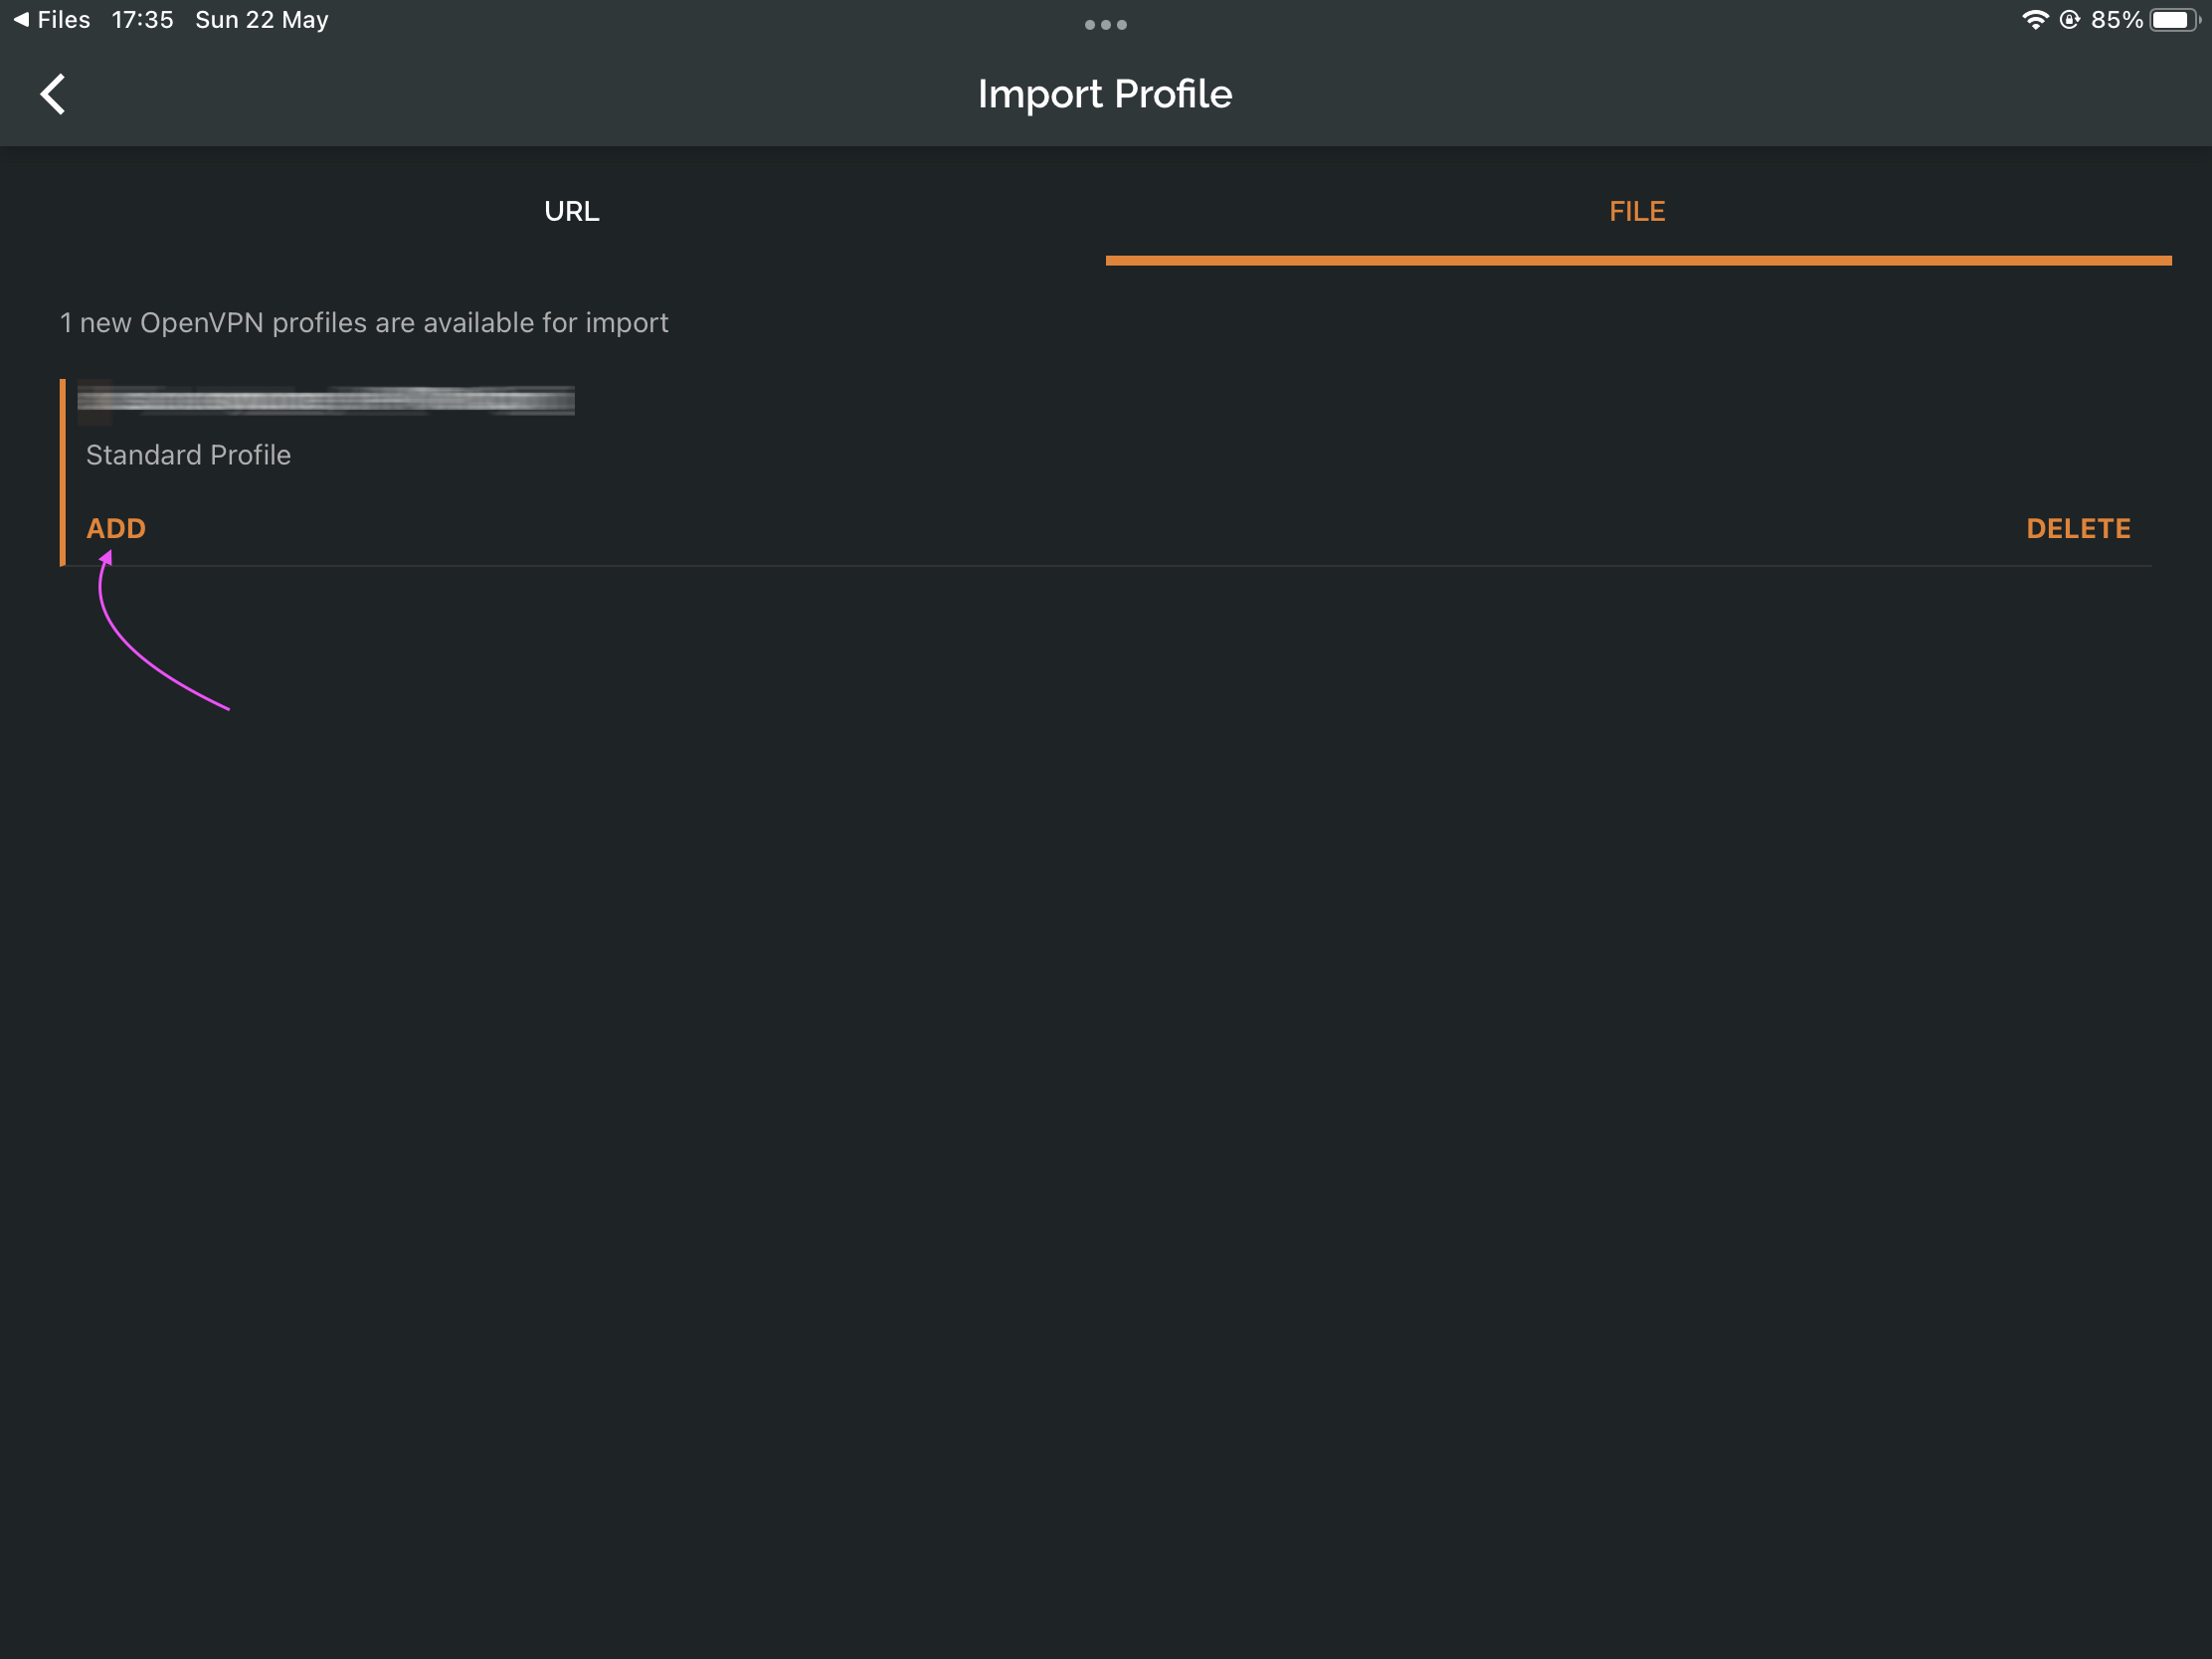
openvpn user.The Connection
Now let's assume that we are somewhere in a remote location and would like to access files on our NAS. I am going to share the LTE connection from my iPhone to iPad by using the Personal Hotspot option, so that I can pretend that I am outside of my LAN.
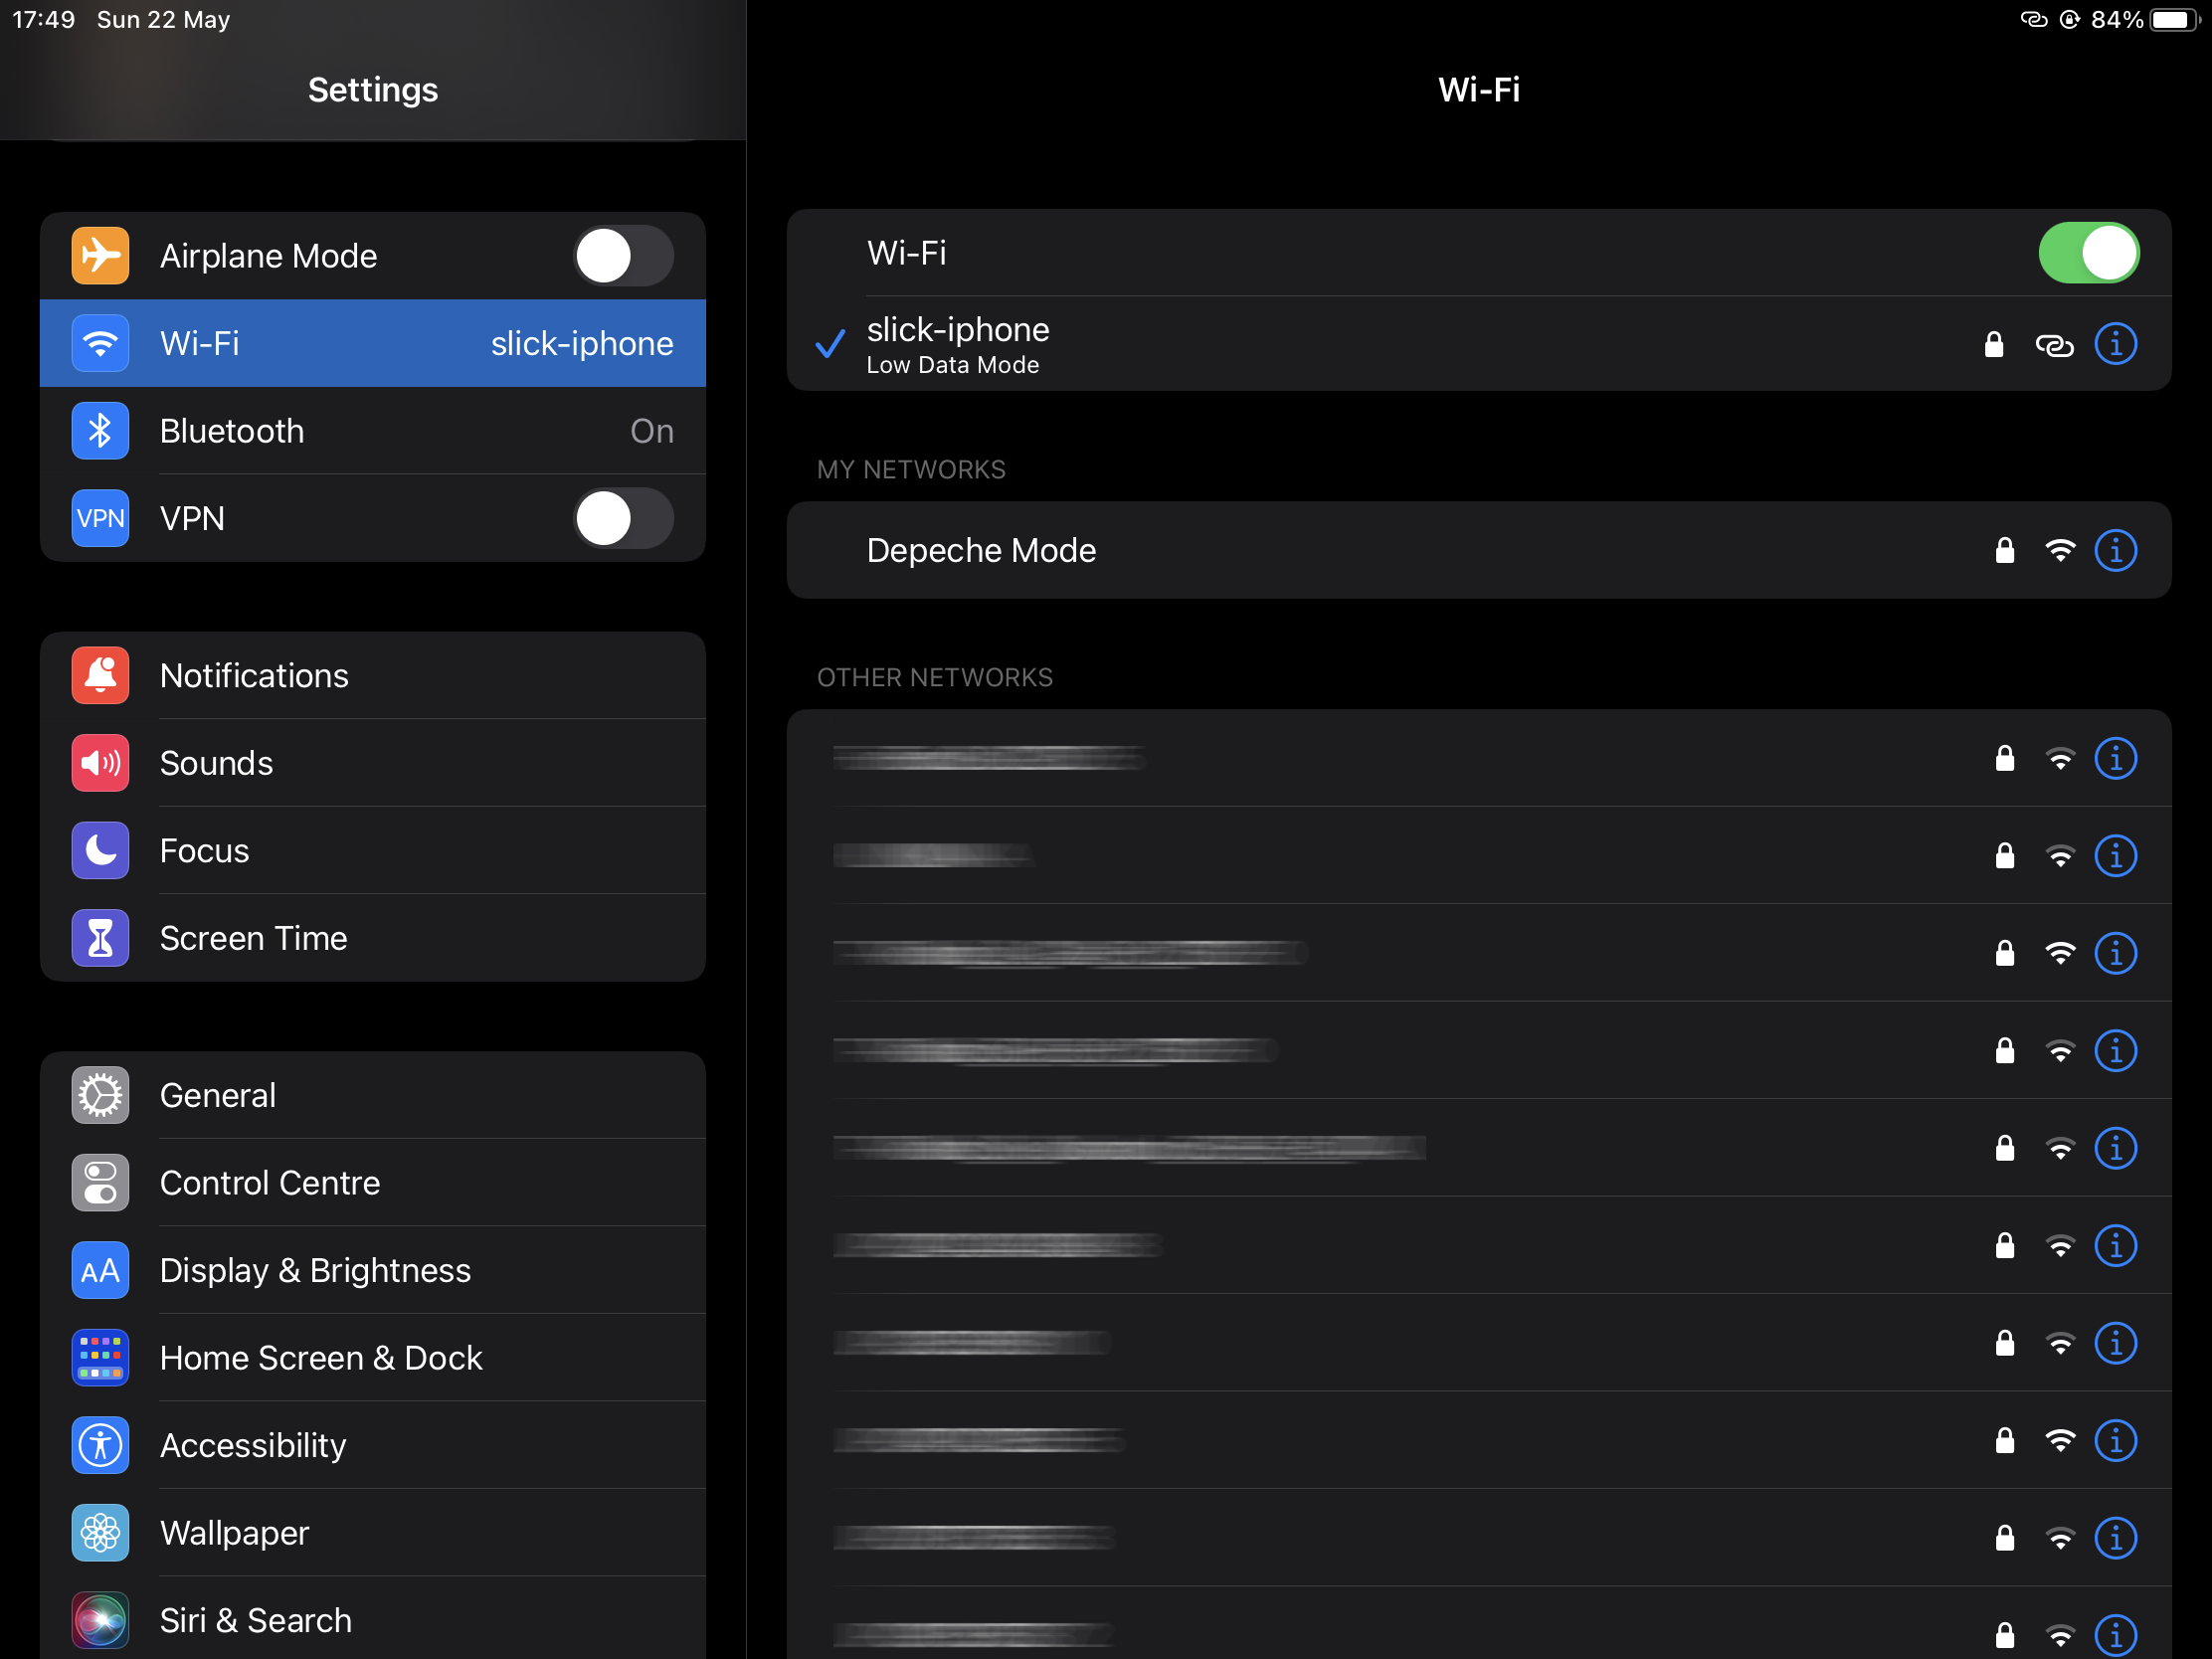
Go to OpenVPN app and connect to your NAS by enabling the VPN connection.
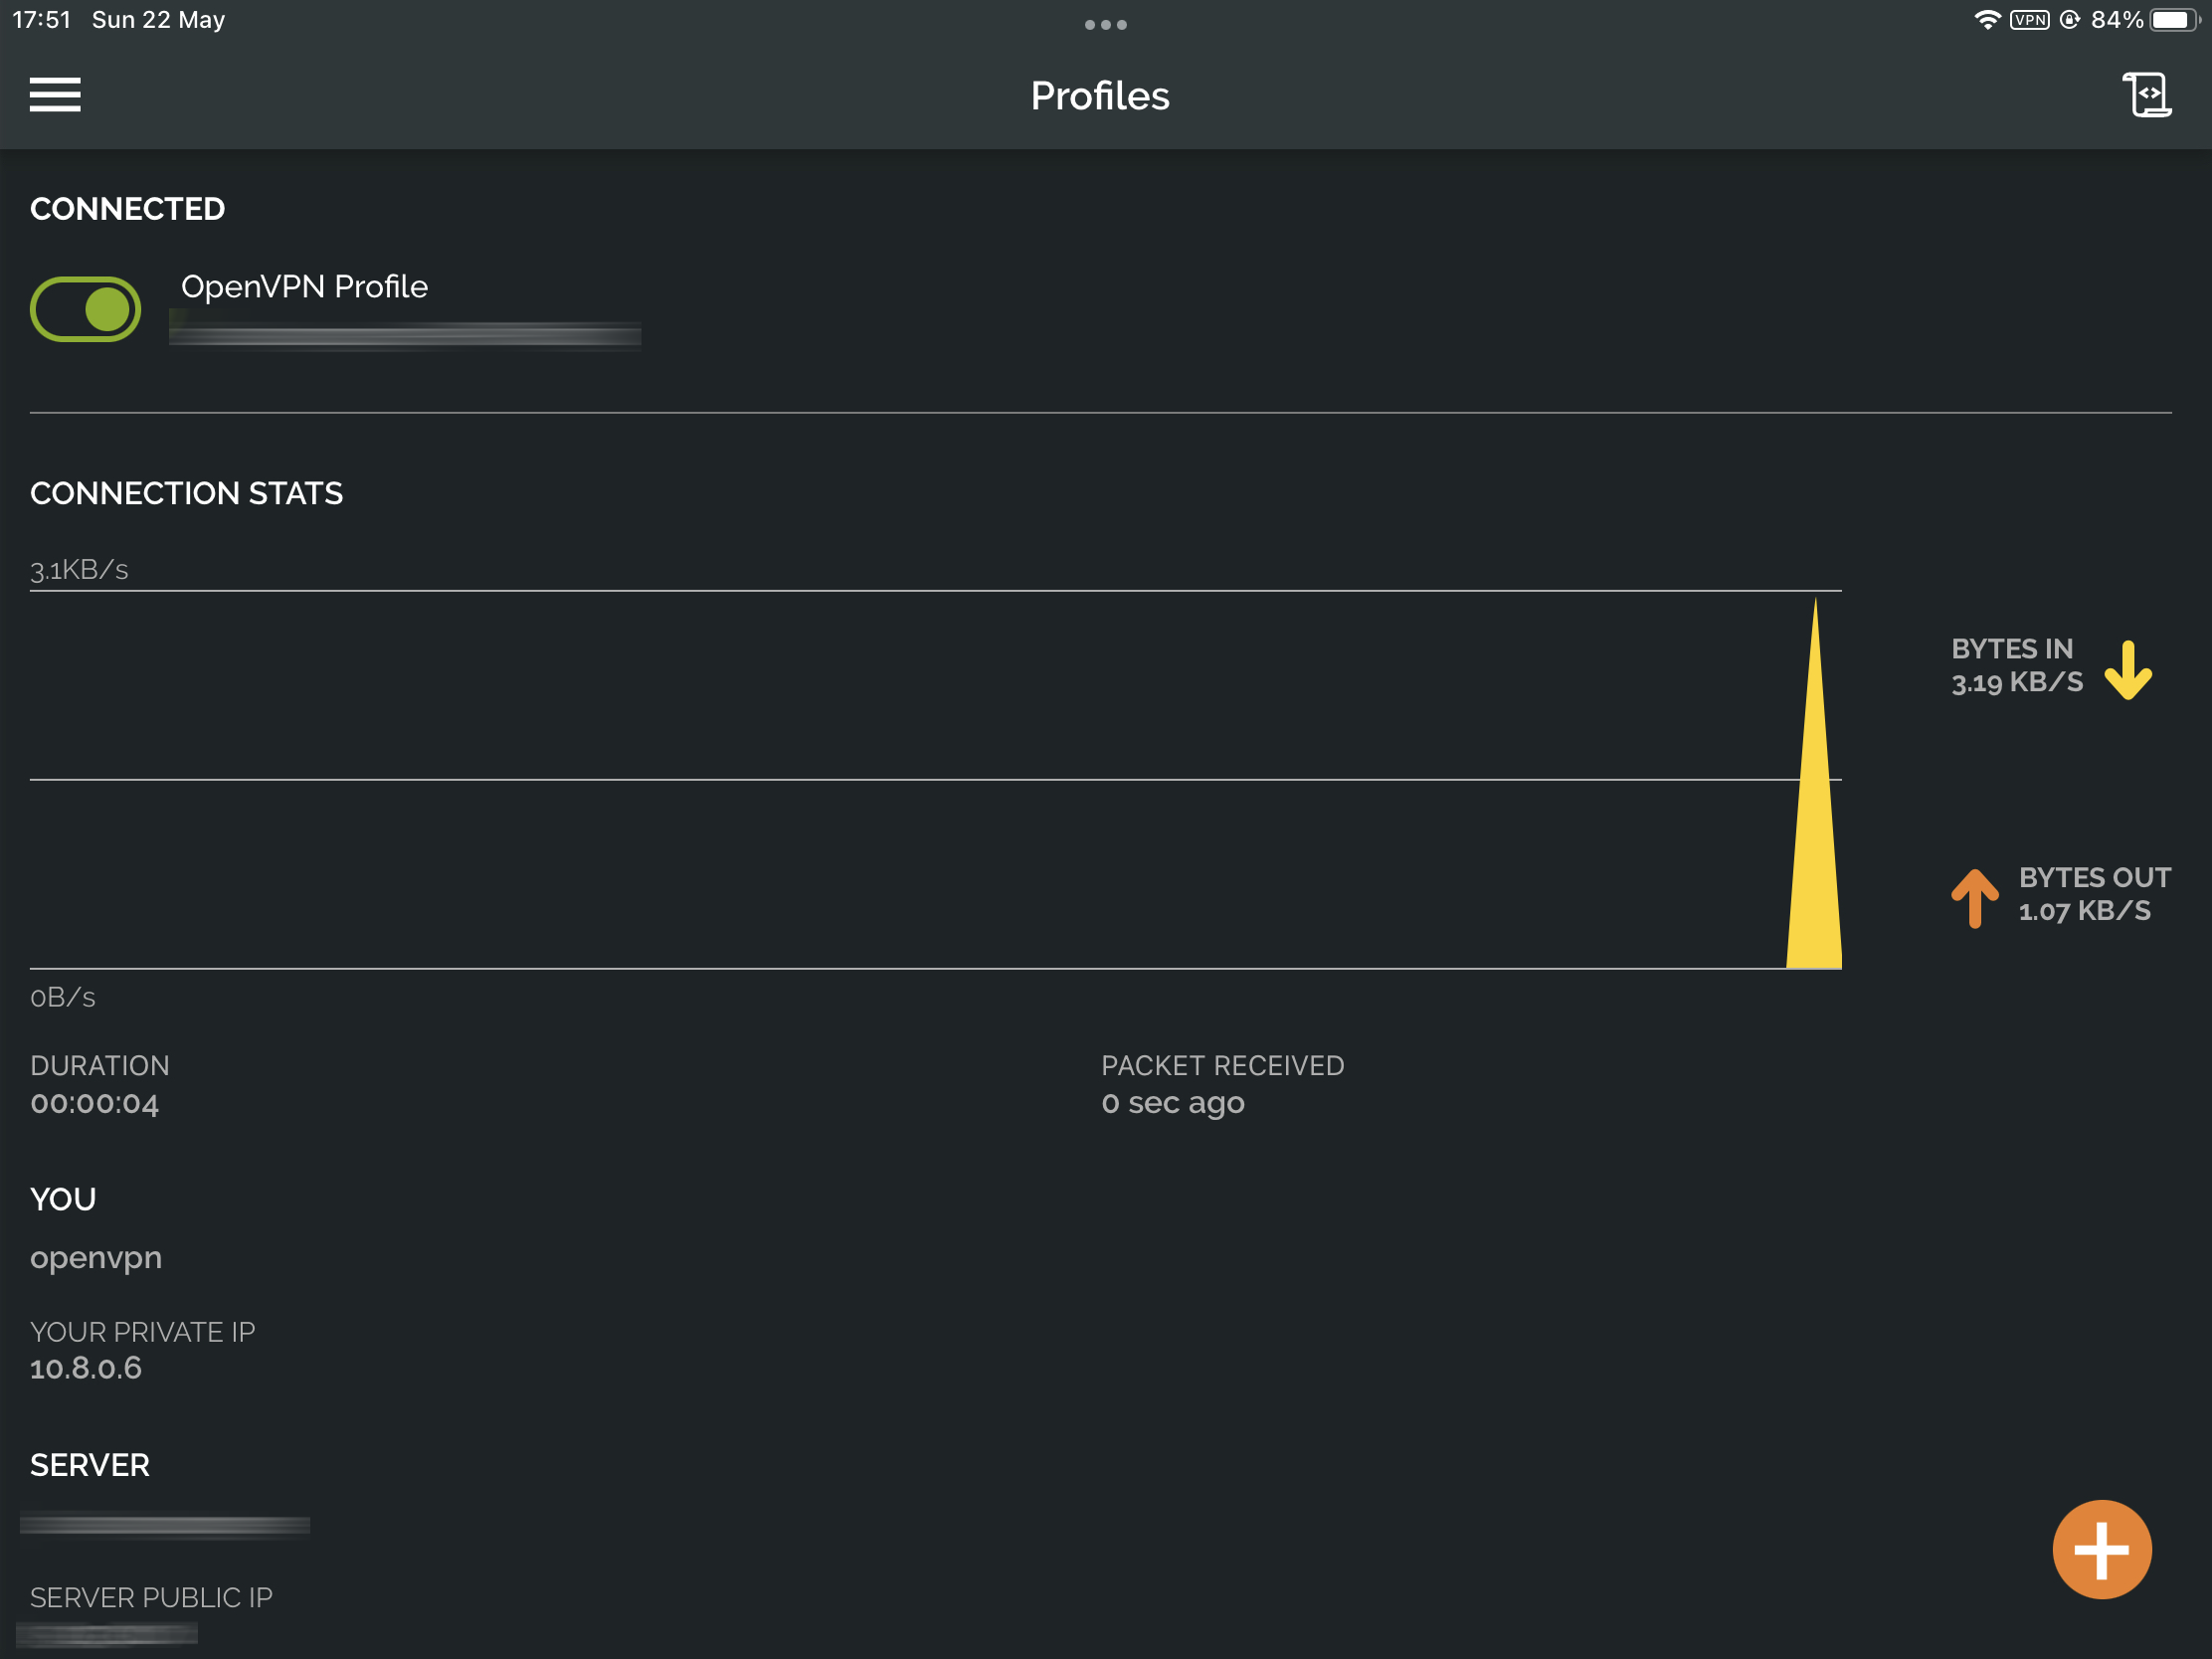
OK, so now what?
At this point, we have established a tunnel connection directly into your LAN. This means that all your local resources are available the same way as you would be connected to your home network. Go to Files app and mount any of your shared folder as usual.
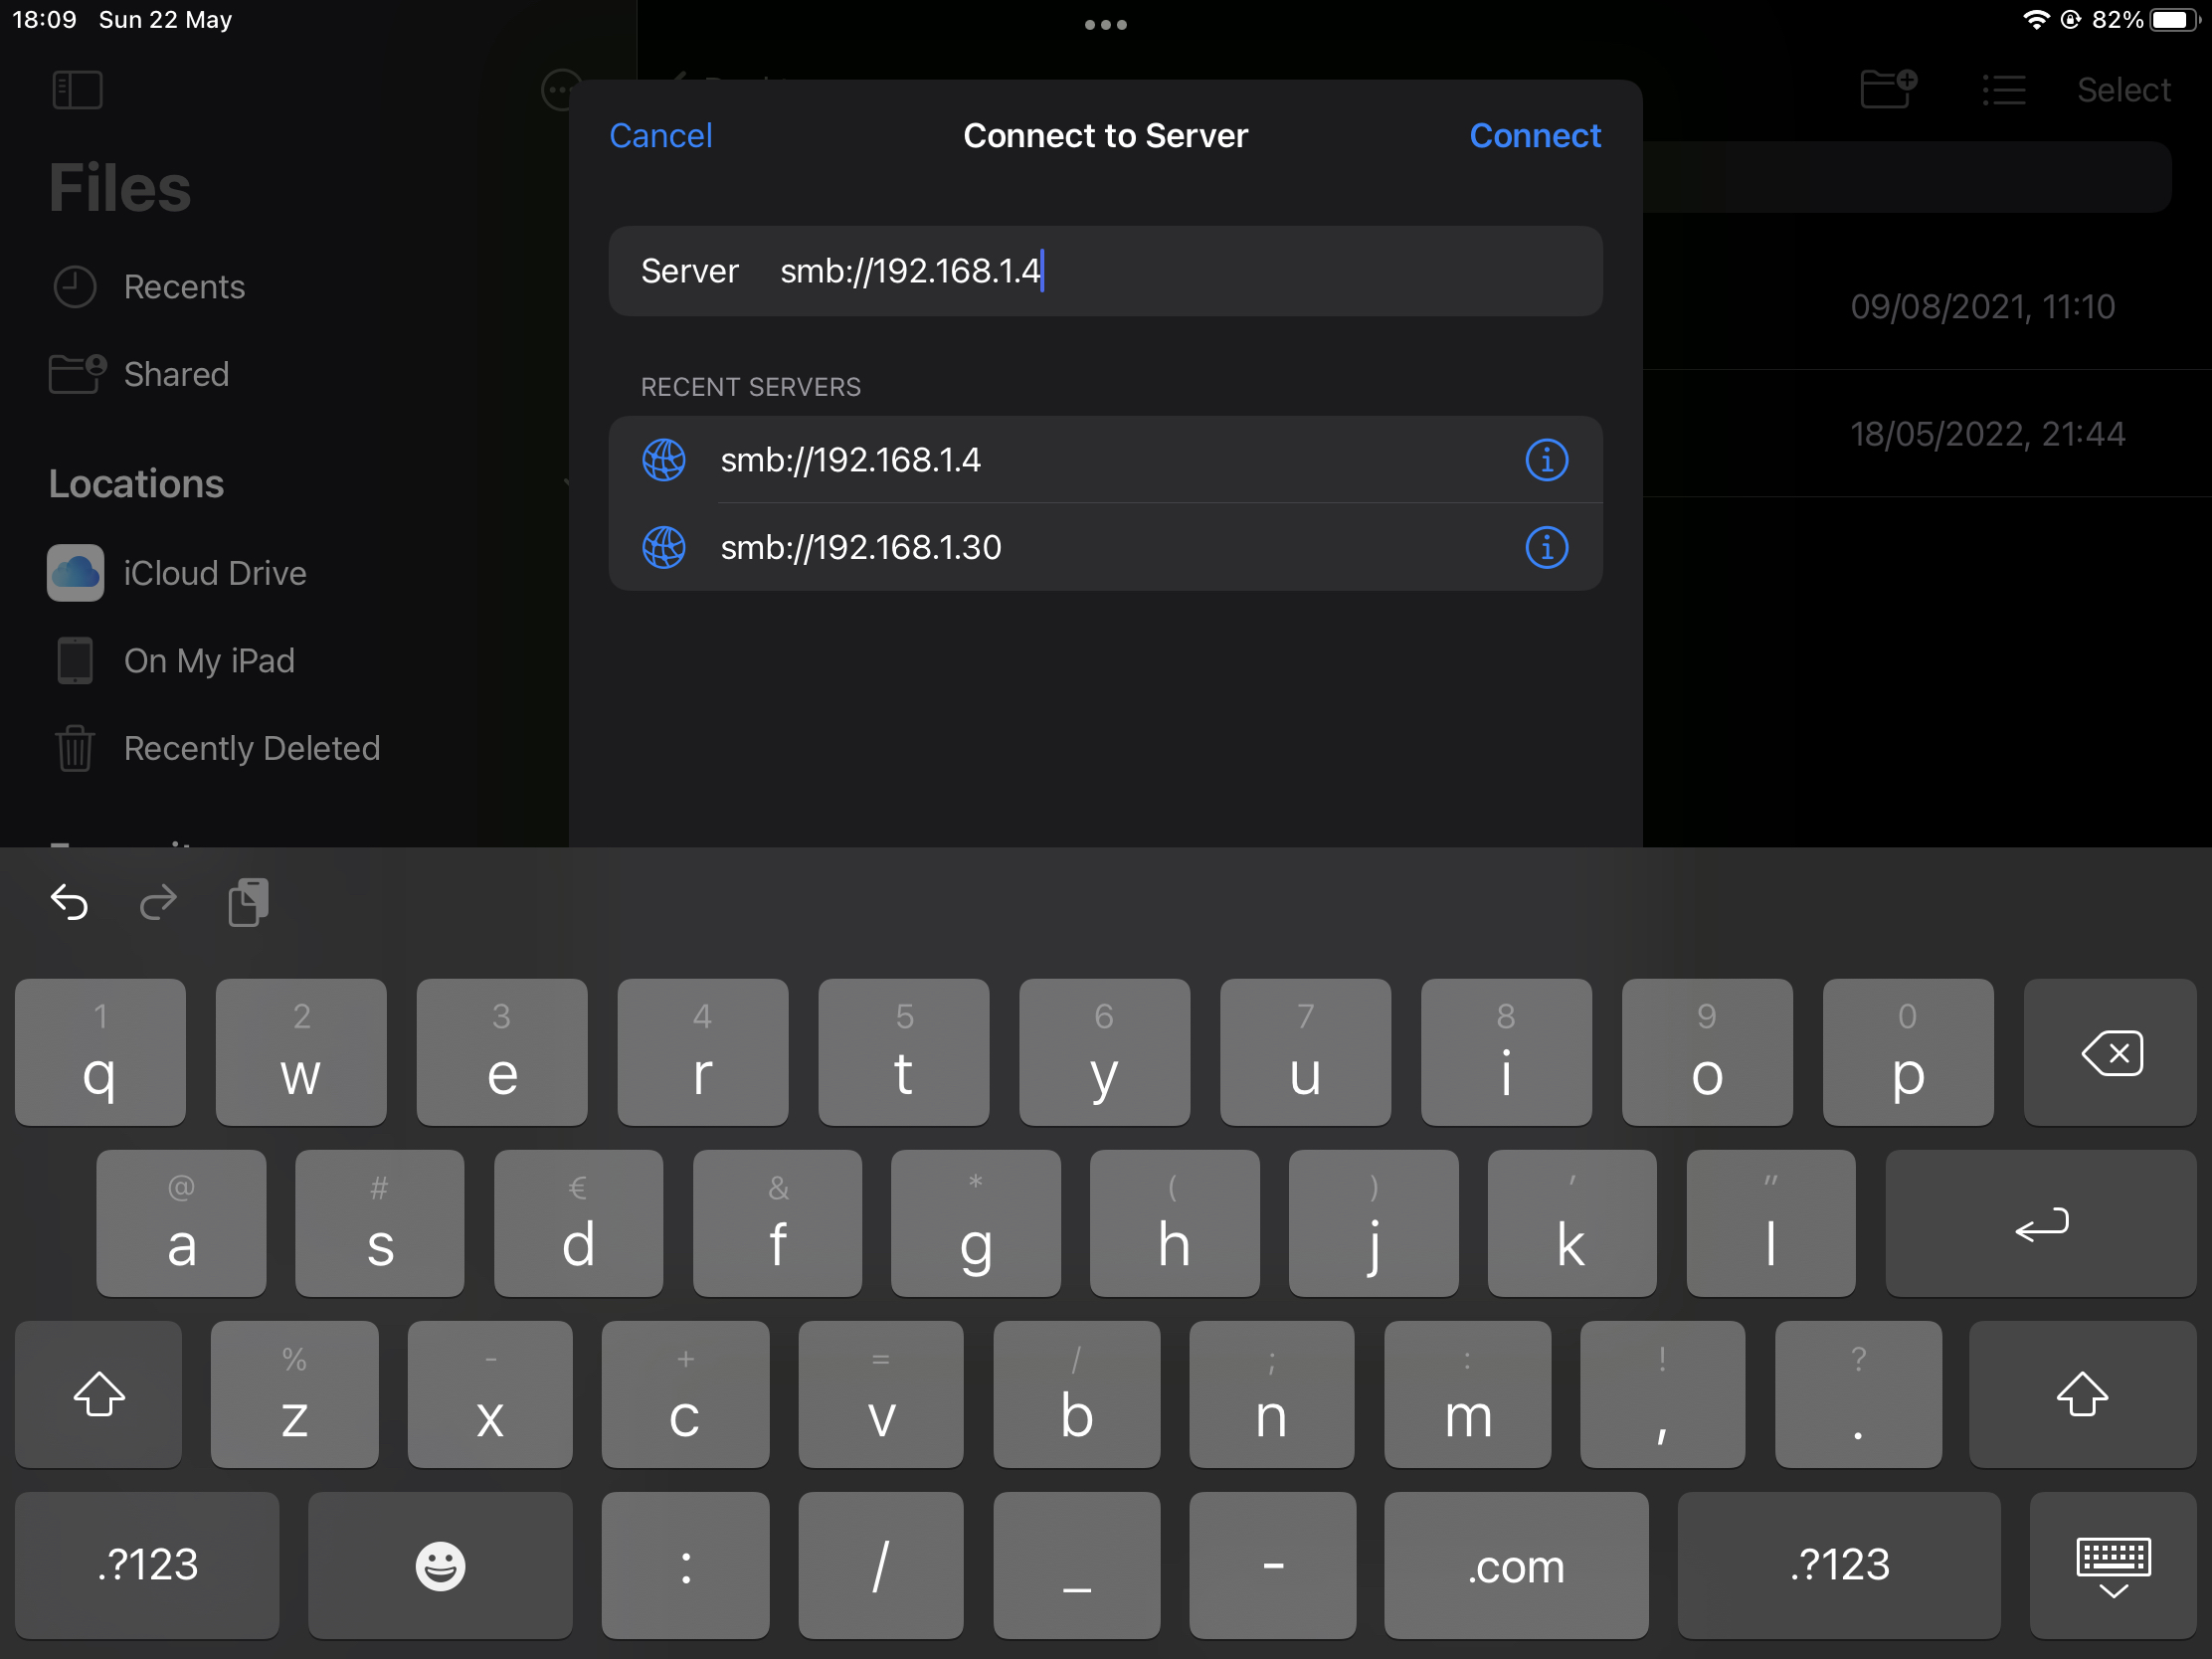
Click on Connect to Server
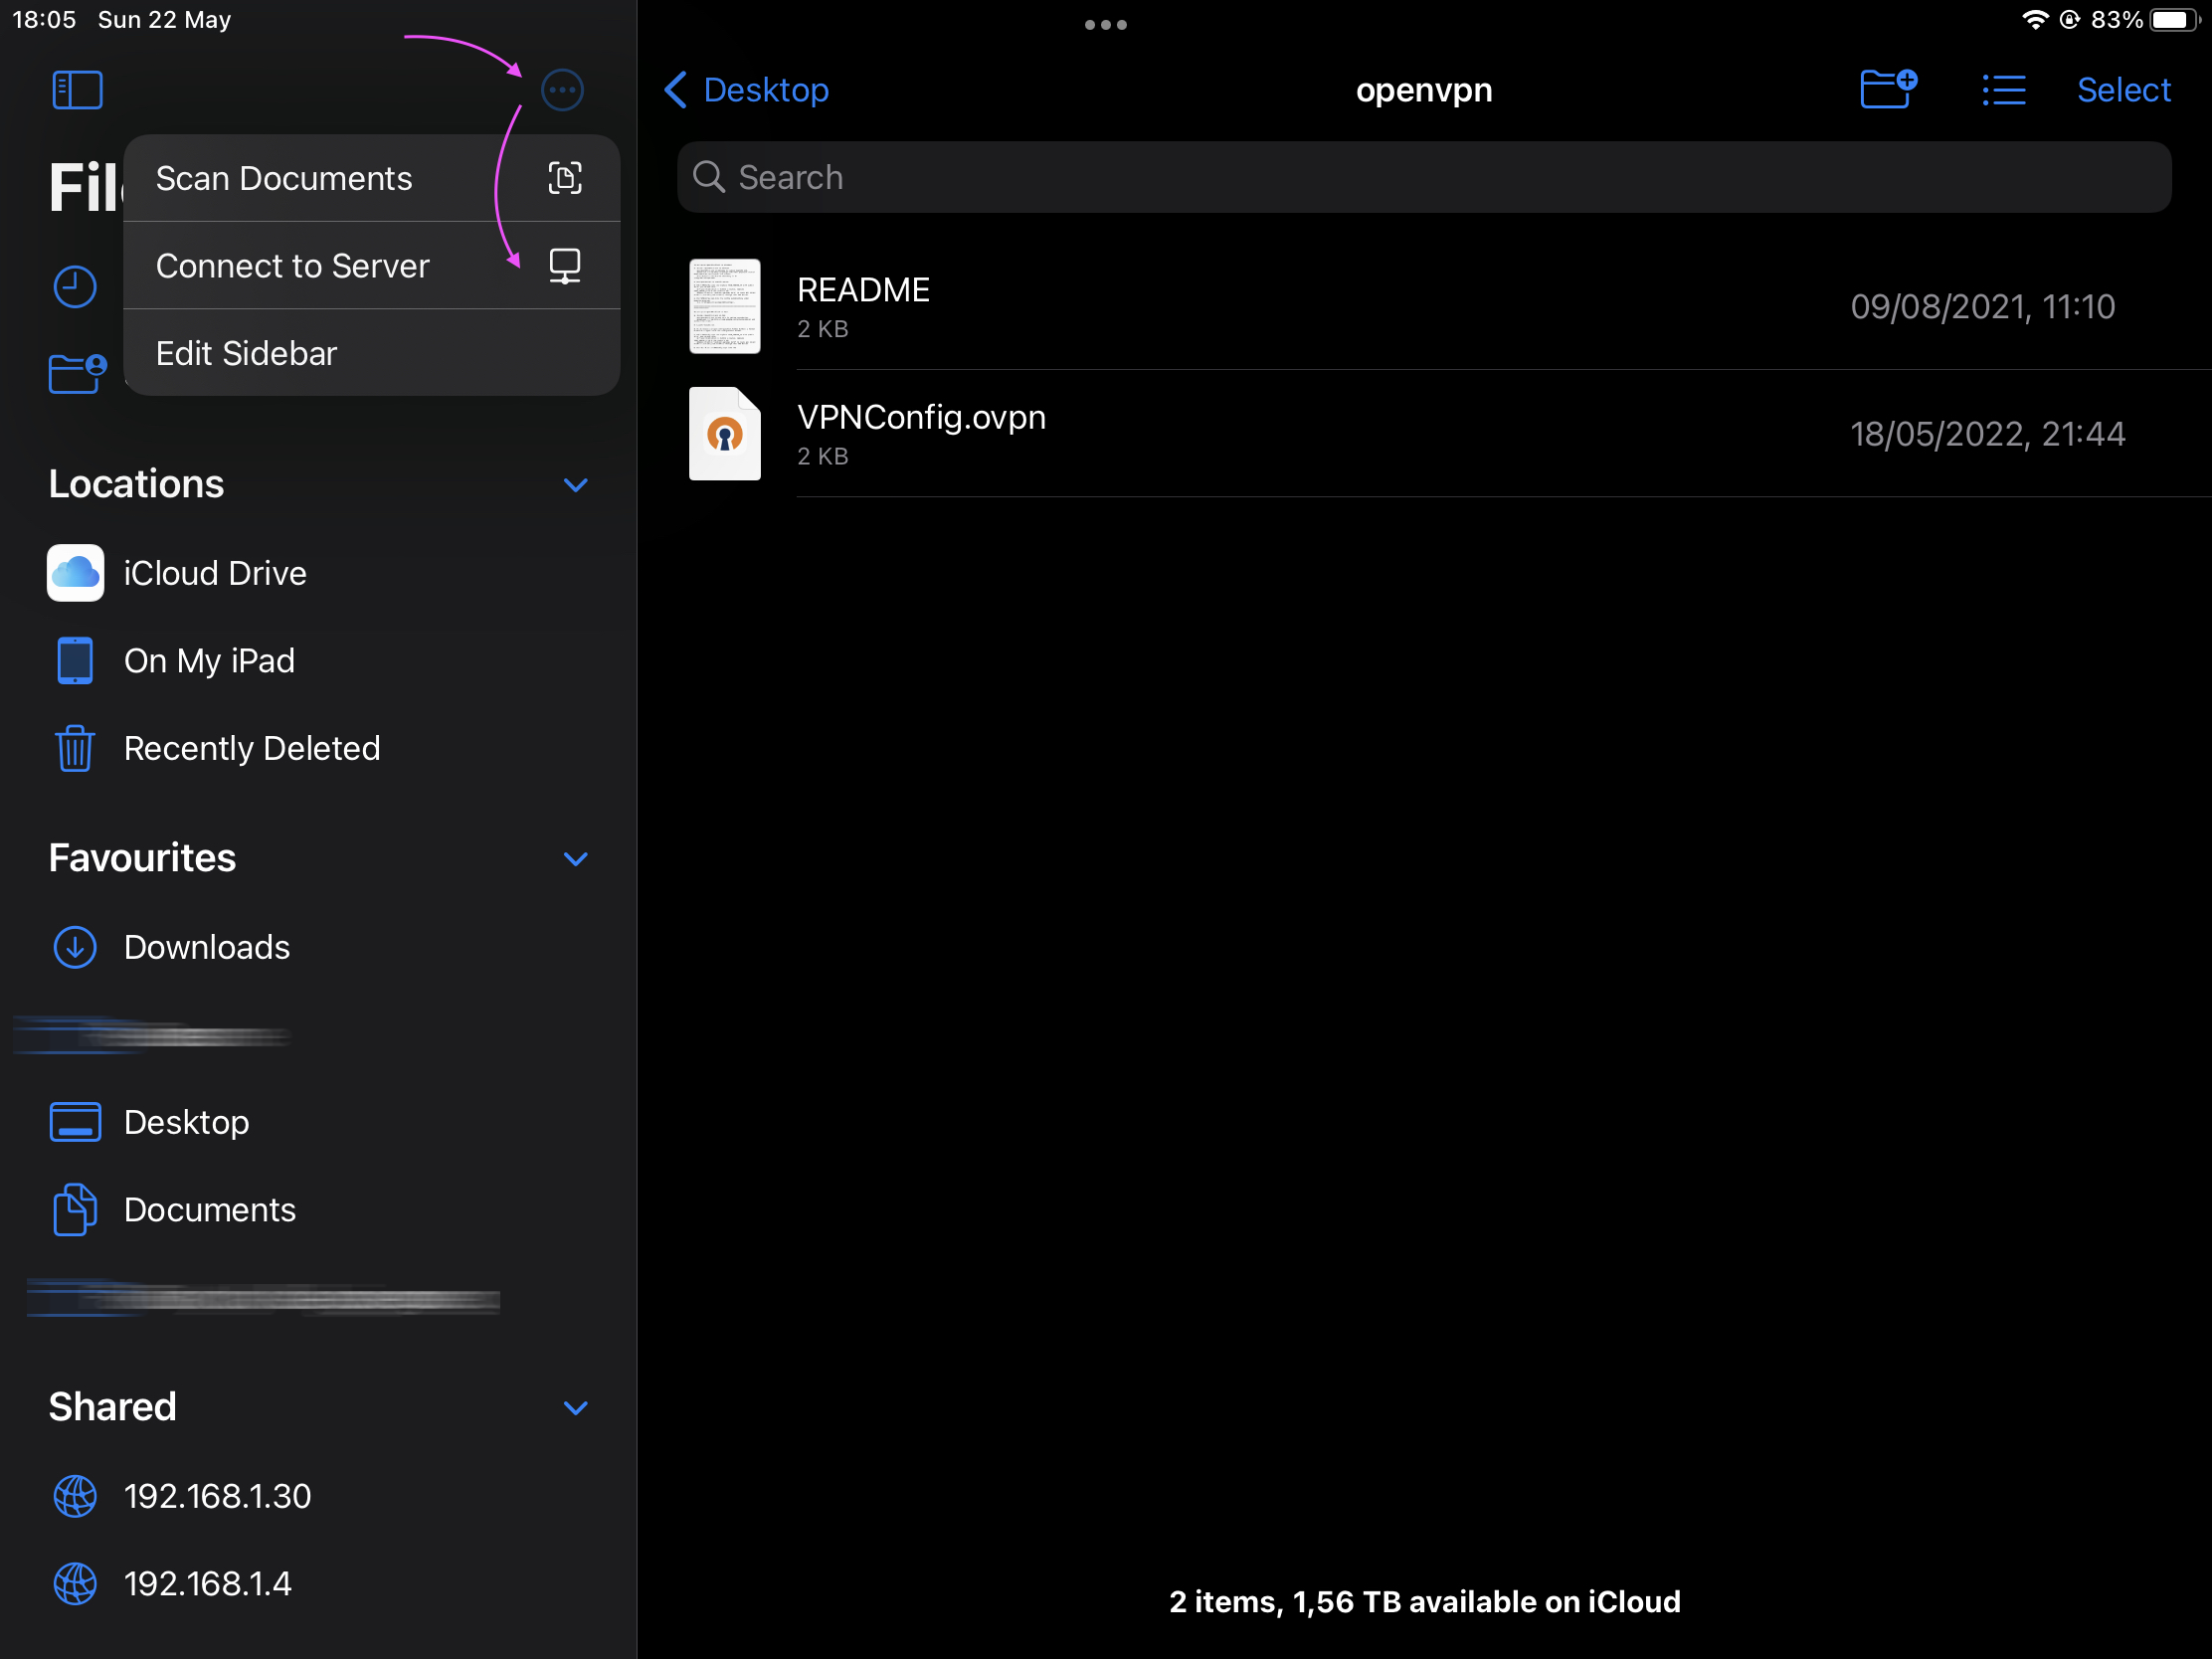
Next provide the location to your NAS, in my case this is smb://192.168.1.4.
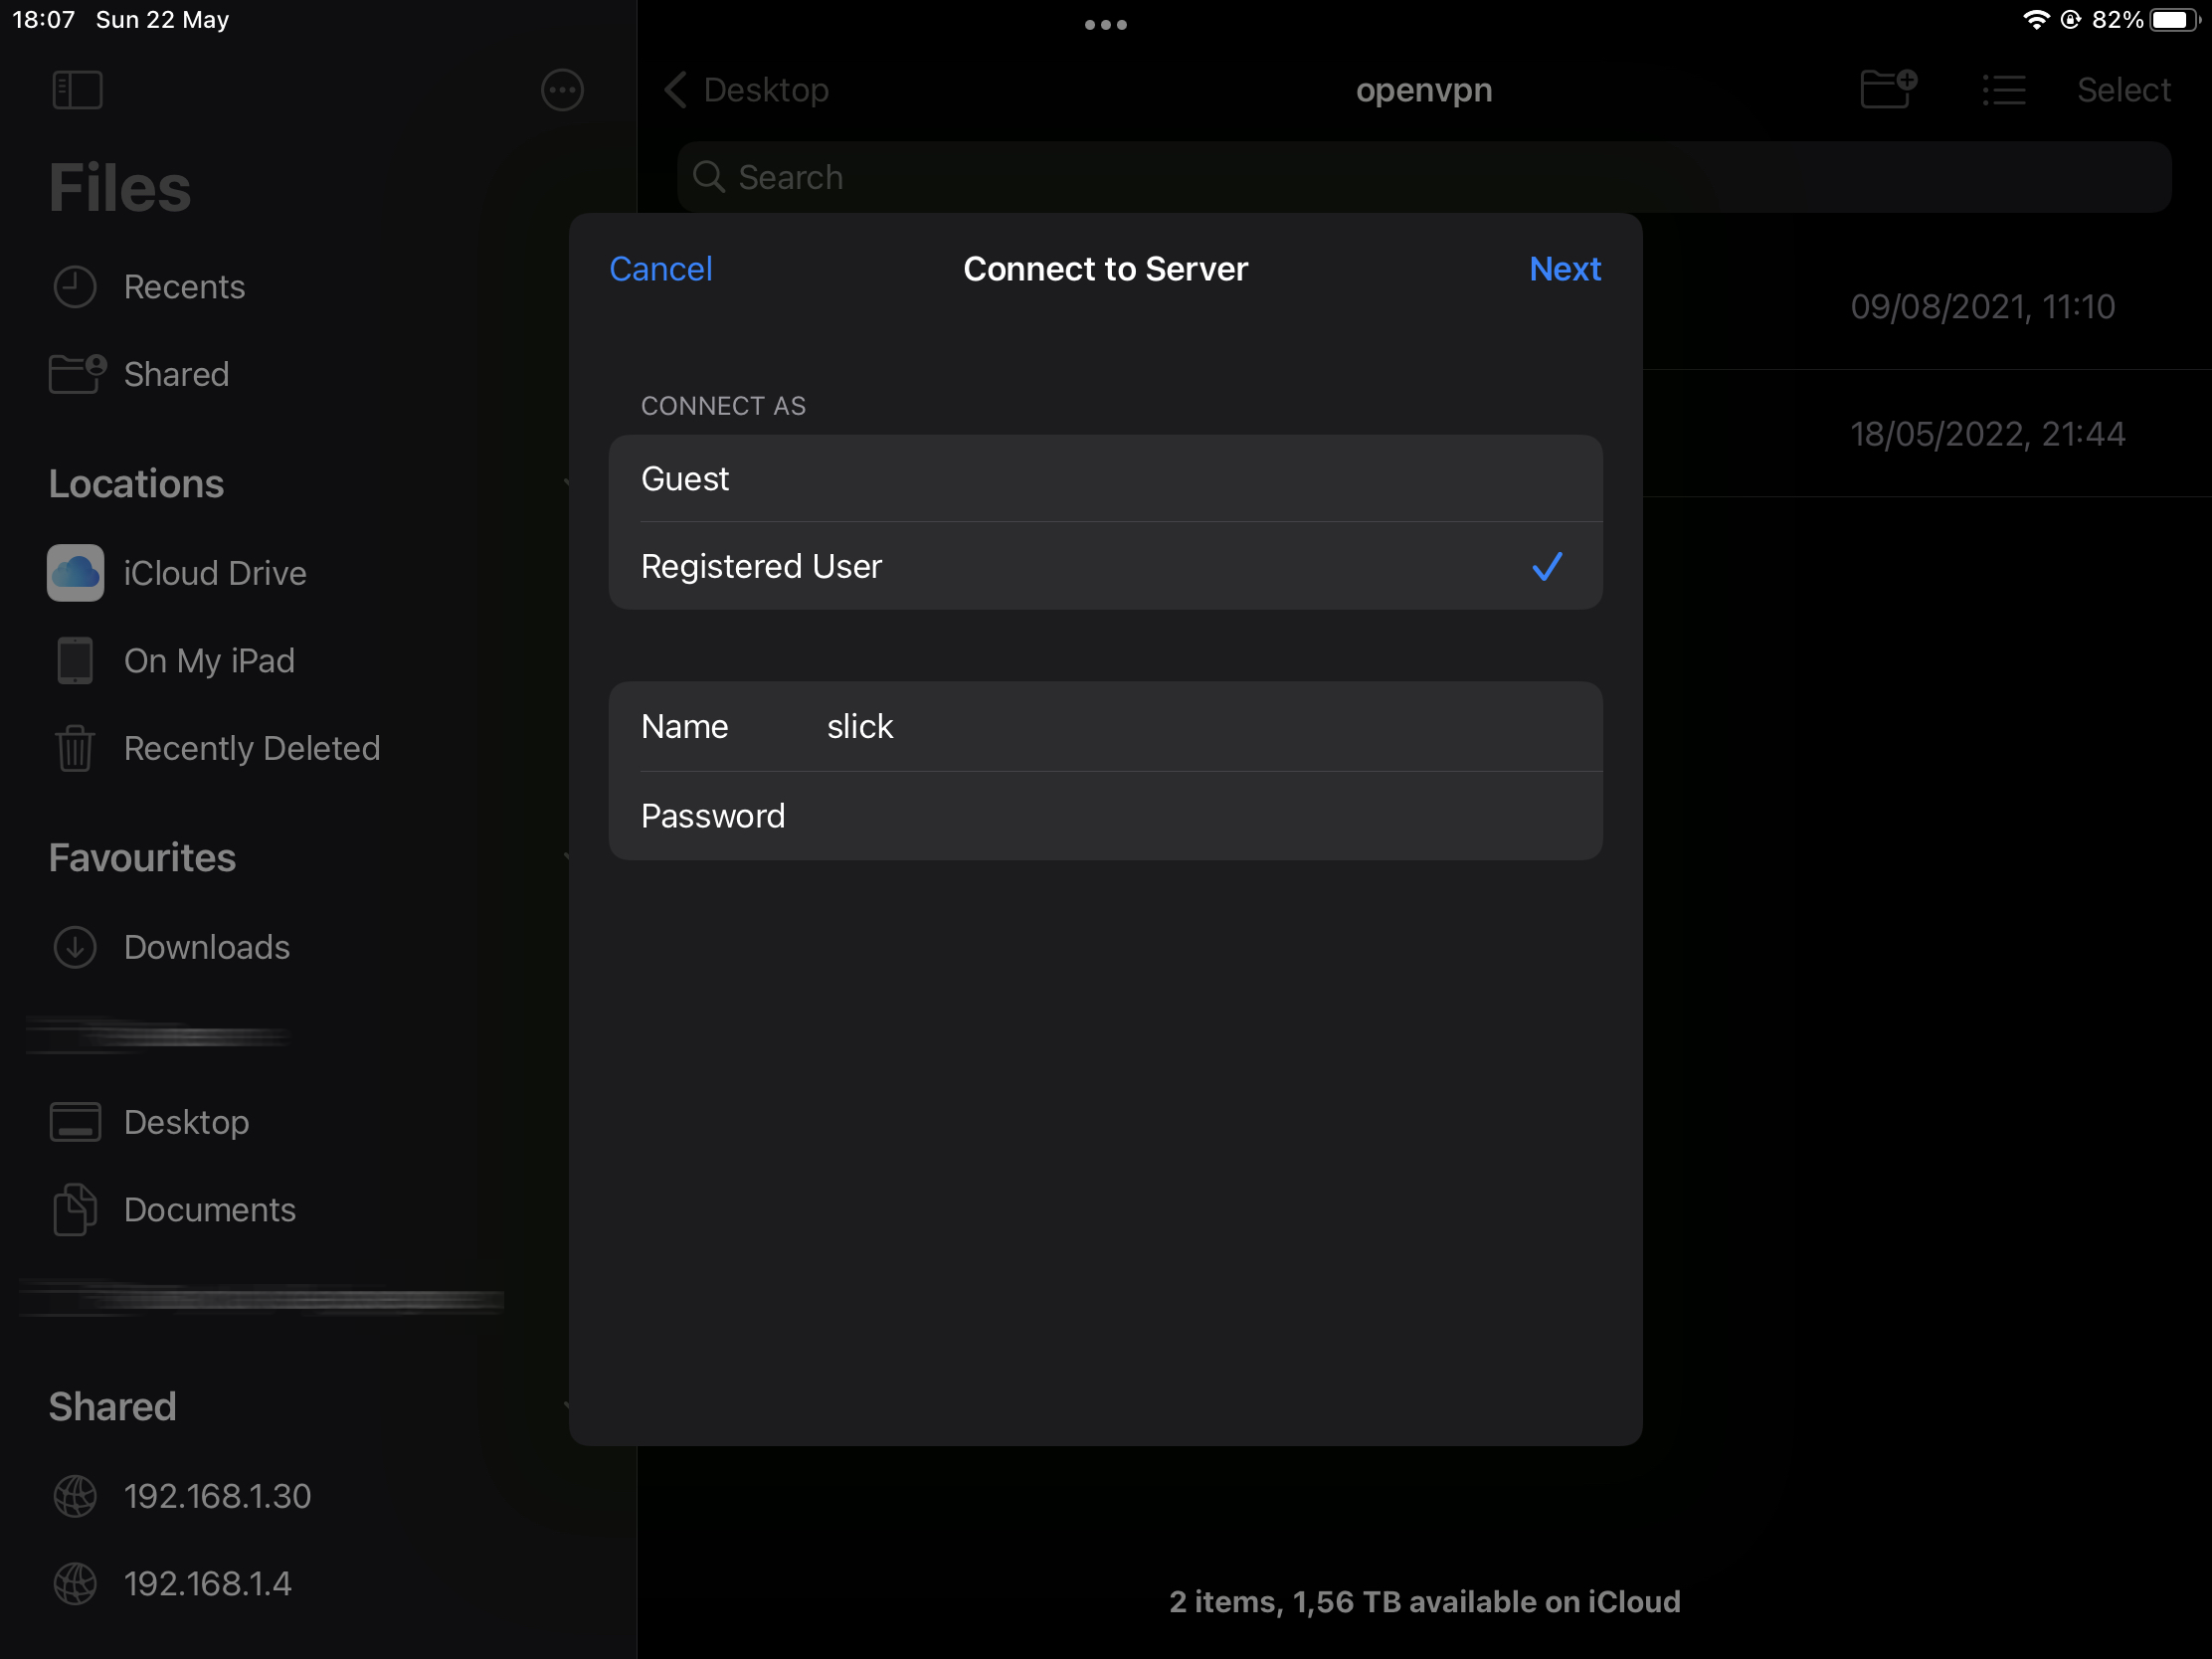
Provide credentials assigned to your shared folder.
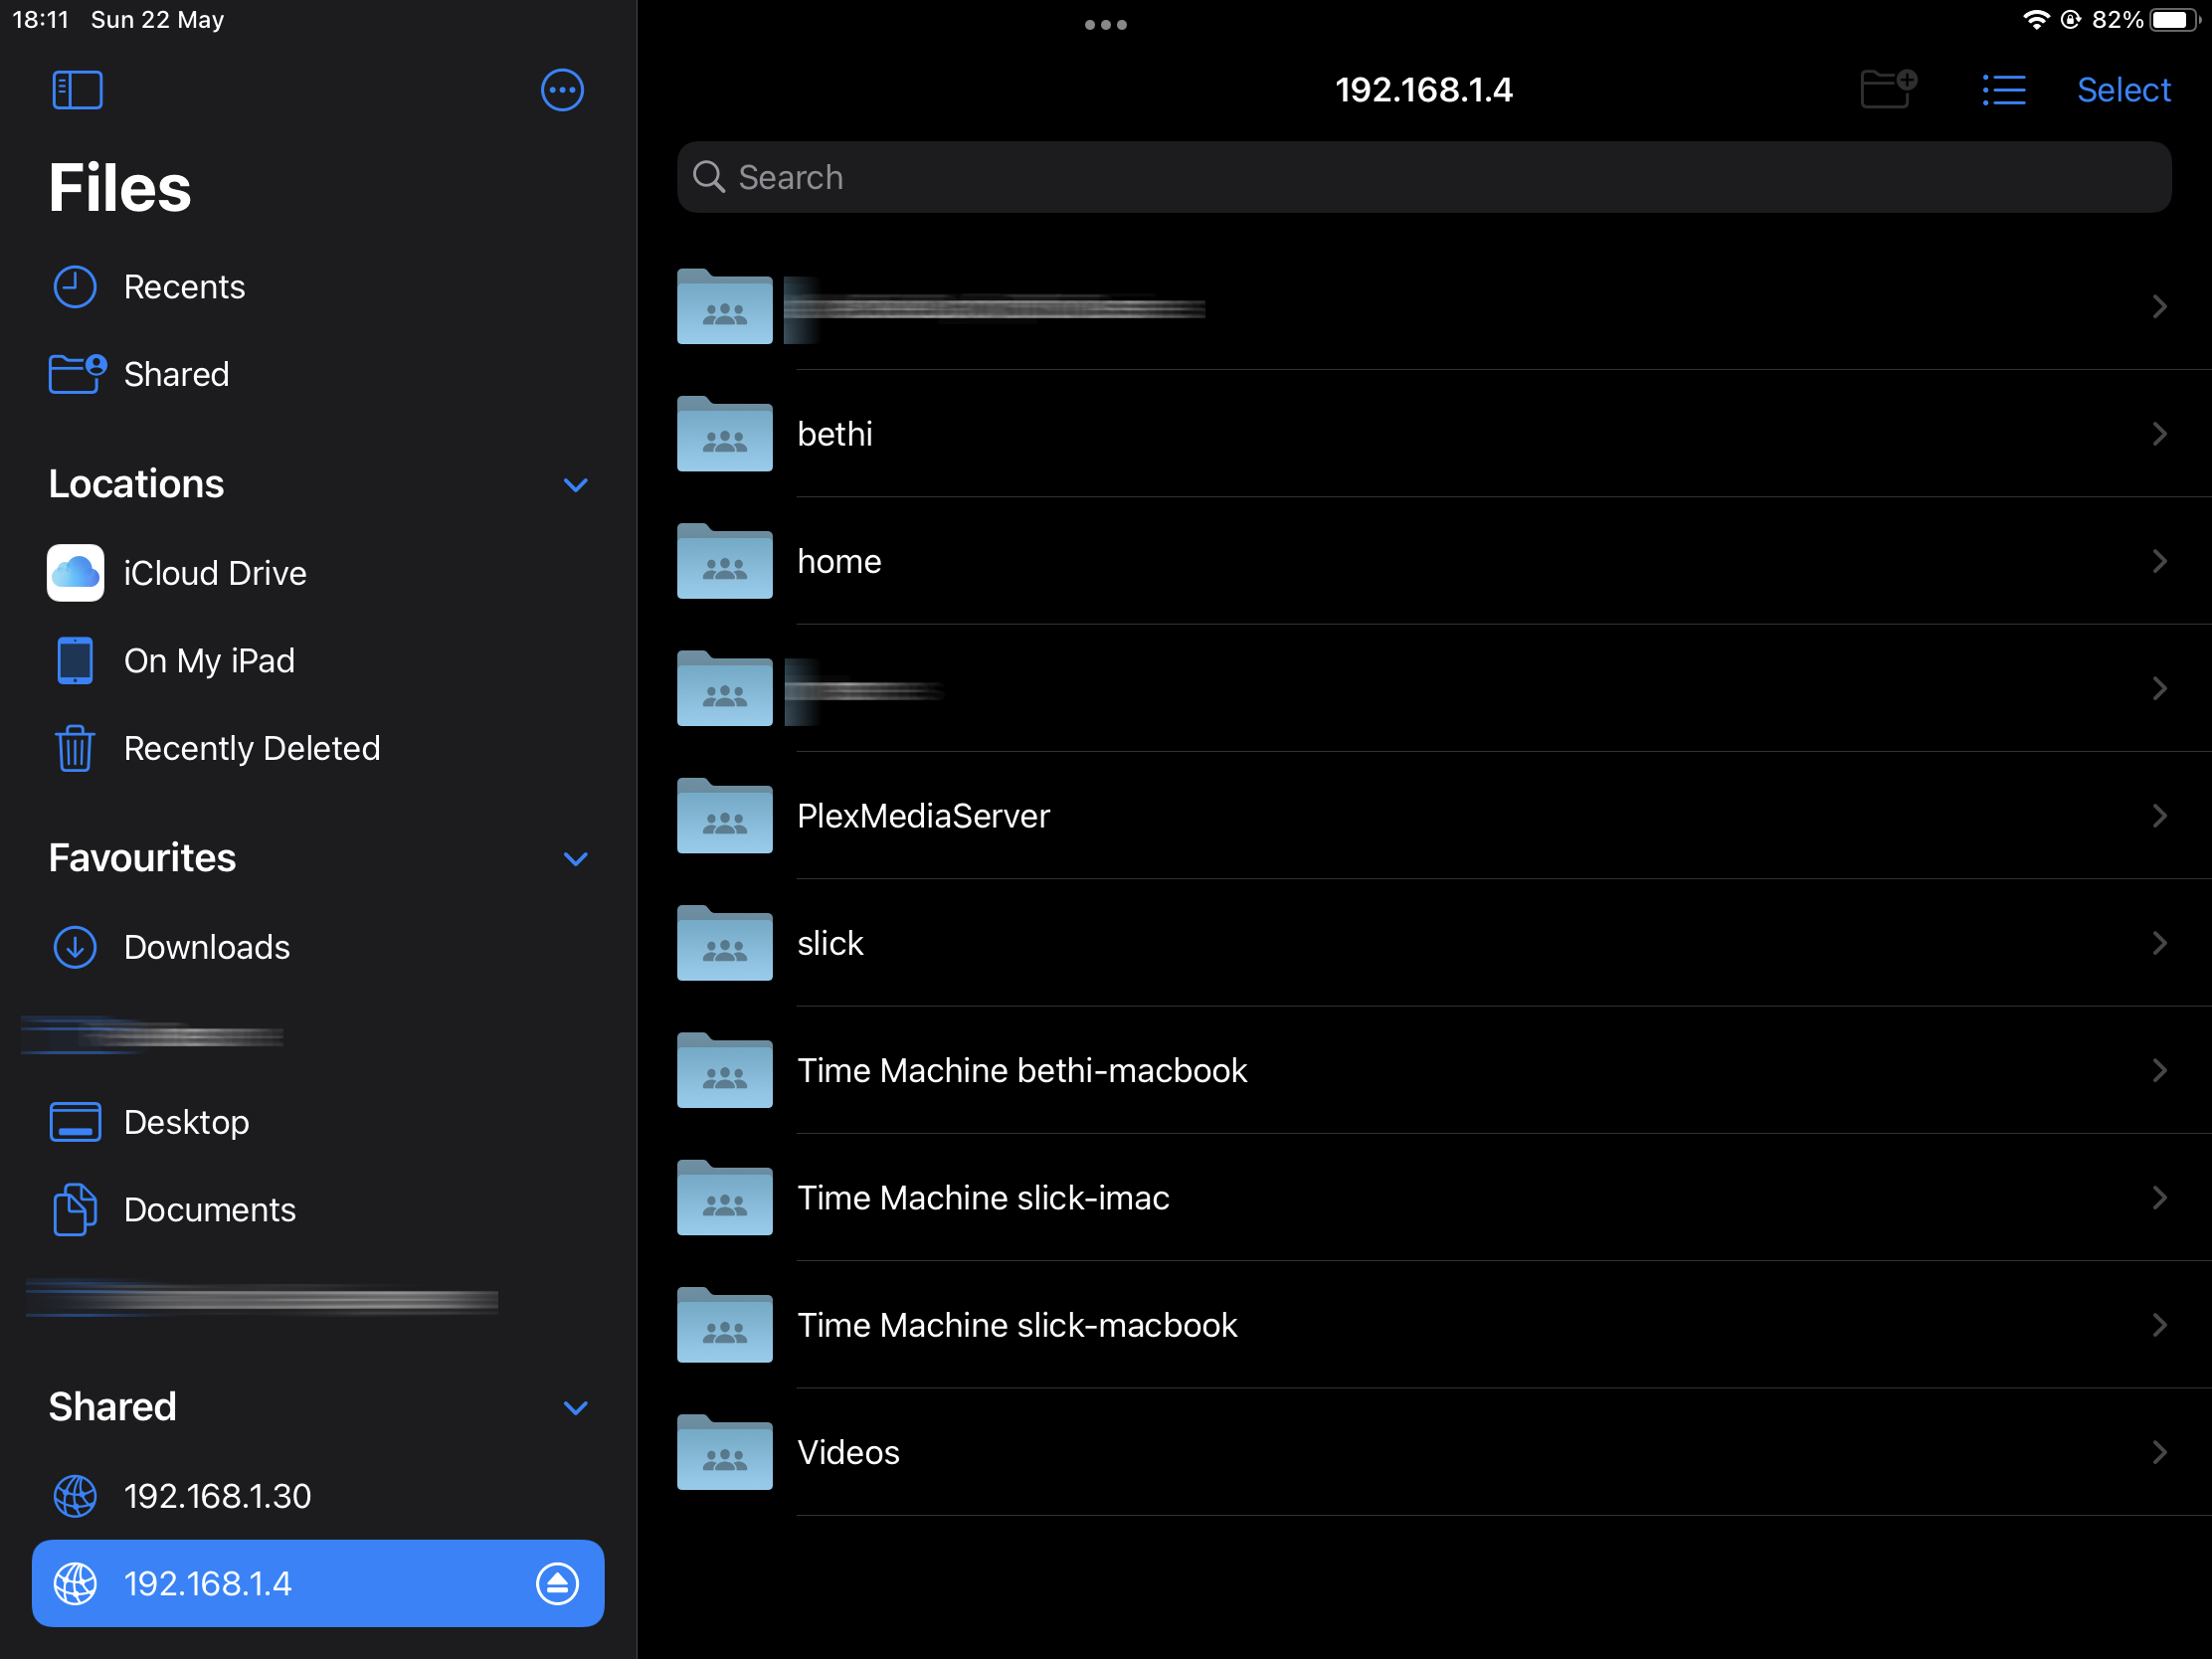
This is it. You have accessed files on your Synology NAS from a remote location.