A shared hosting wins over VPS with its simplicity but is also has pretty serious limitations and doesn't scale up very well. On the other hand managing your own server raises a variety of responsibilities. One in particular is crucial to your business - managing an e-mail server. It is a difficult and absorbing task - not only it requires advanced knowledge in terms of configuration but it also forces you to deal with spam, variety of malware and a range of other cases that are even hard to predict.
Perhaps it would be better to delegate this responsibility to a third-party provider and not reinvent the wheel? Let me show you how to use Amazon SES (Simple Email Service) and how to implement a complete solution in a sample Laravel / PHP application.
In this article we're going to build a very basic contact form that will allow your visitors to send an enquiry e-mails right into your mailbox. The remaining part of this article assumes that you have your basic Laravel application up and running and that you have an AWS account with full access to your dashboard.
Agenda
- AWS SES Setup
- Laravel Setup
- Creation of a Contact Form
AWS SES Setup
The very first thing that has to be done is a domain verification. You're going to verify the ownership of the domain from which you're going to send your e-mails.
Wait, what? Sending e-mails? Didn't we suppose to create a contact form where I was going to receive e-mails instead of sending them? I'm confused…
So was I. Bear with me and suddenly everything will be clear.
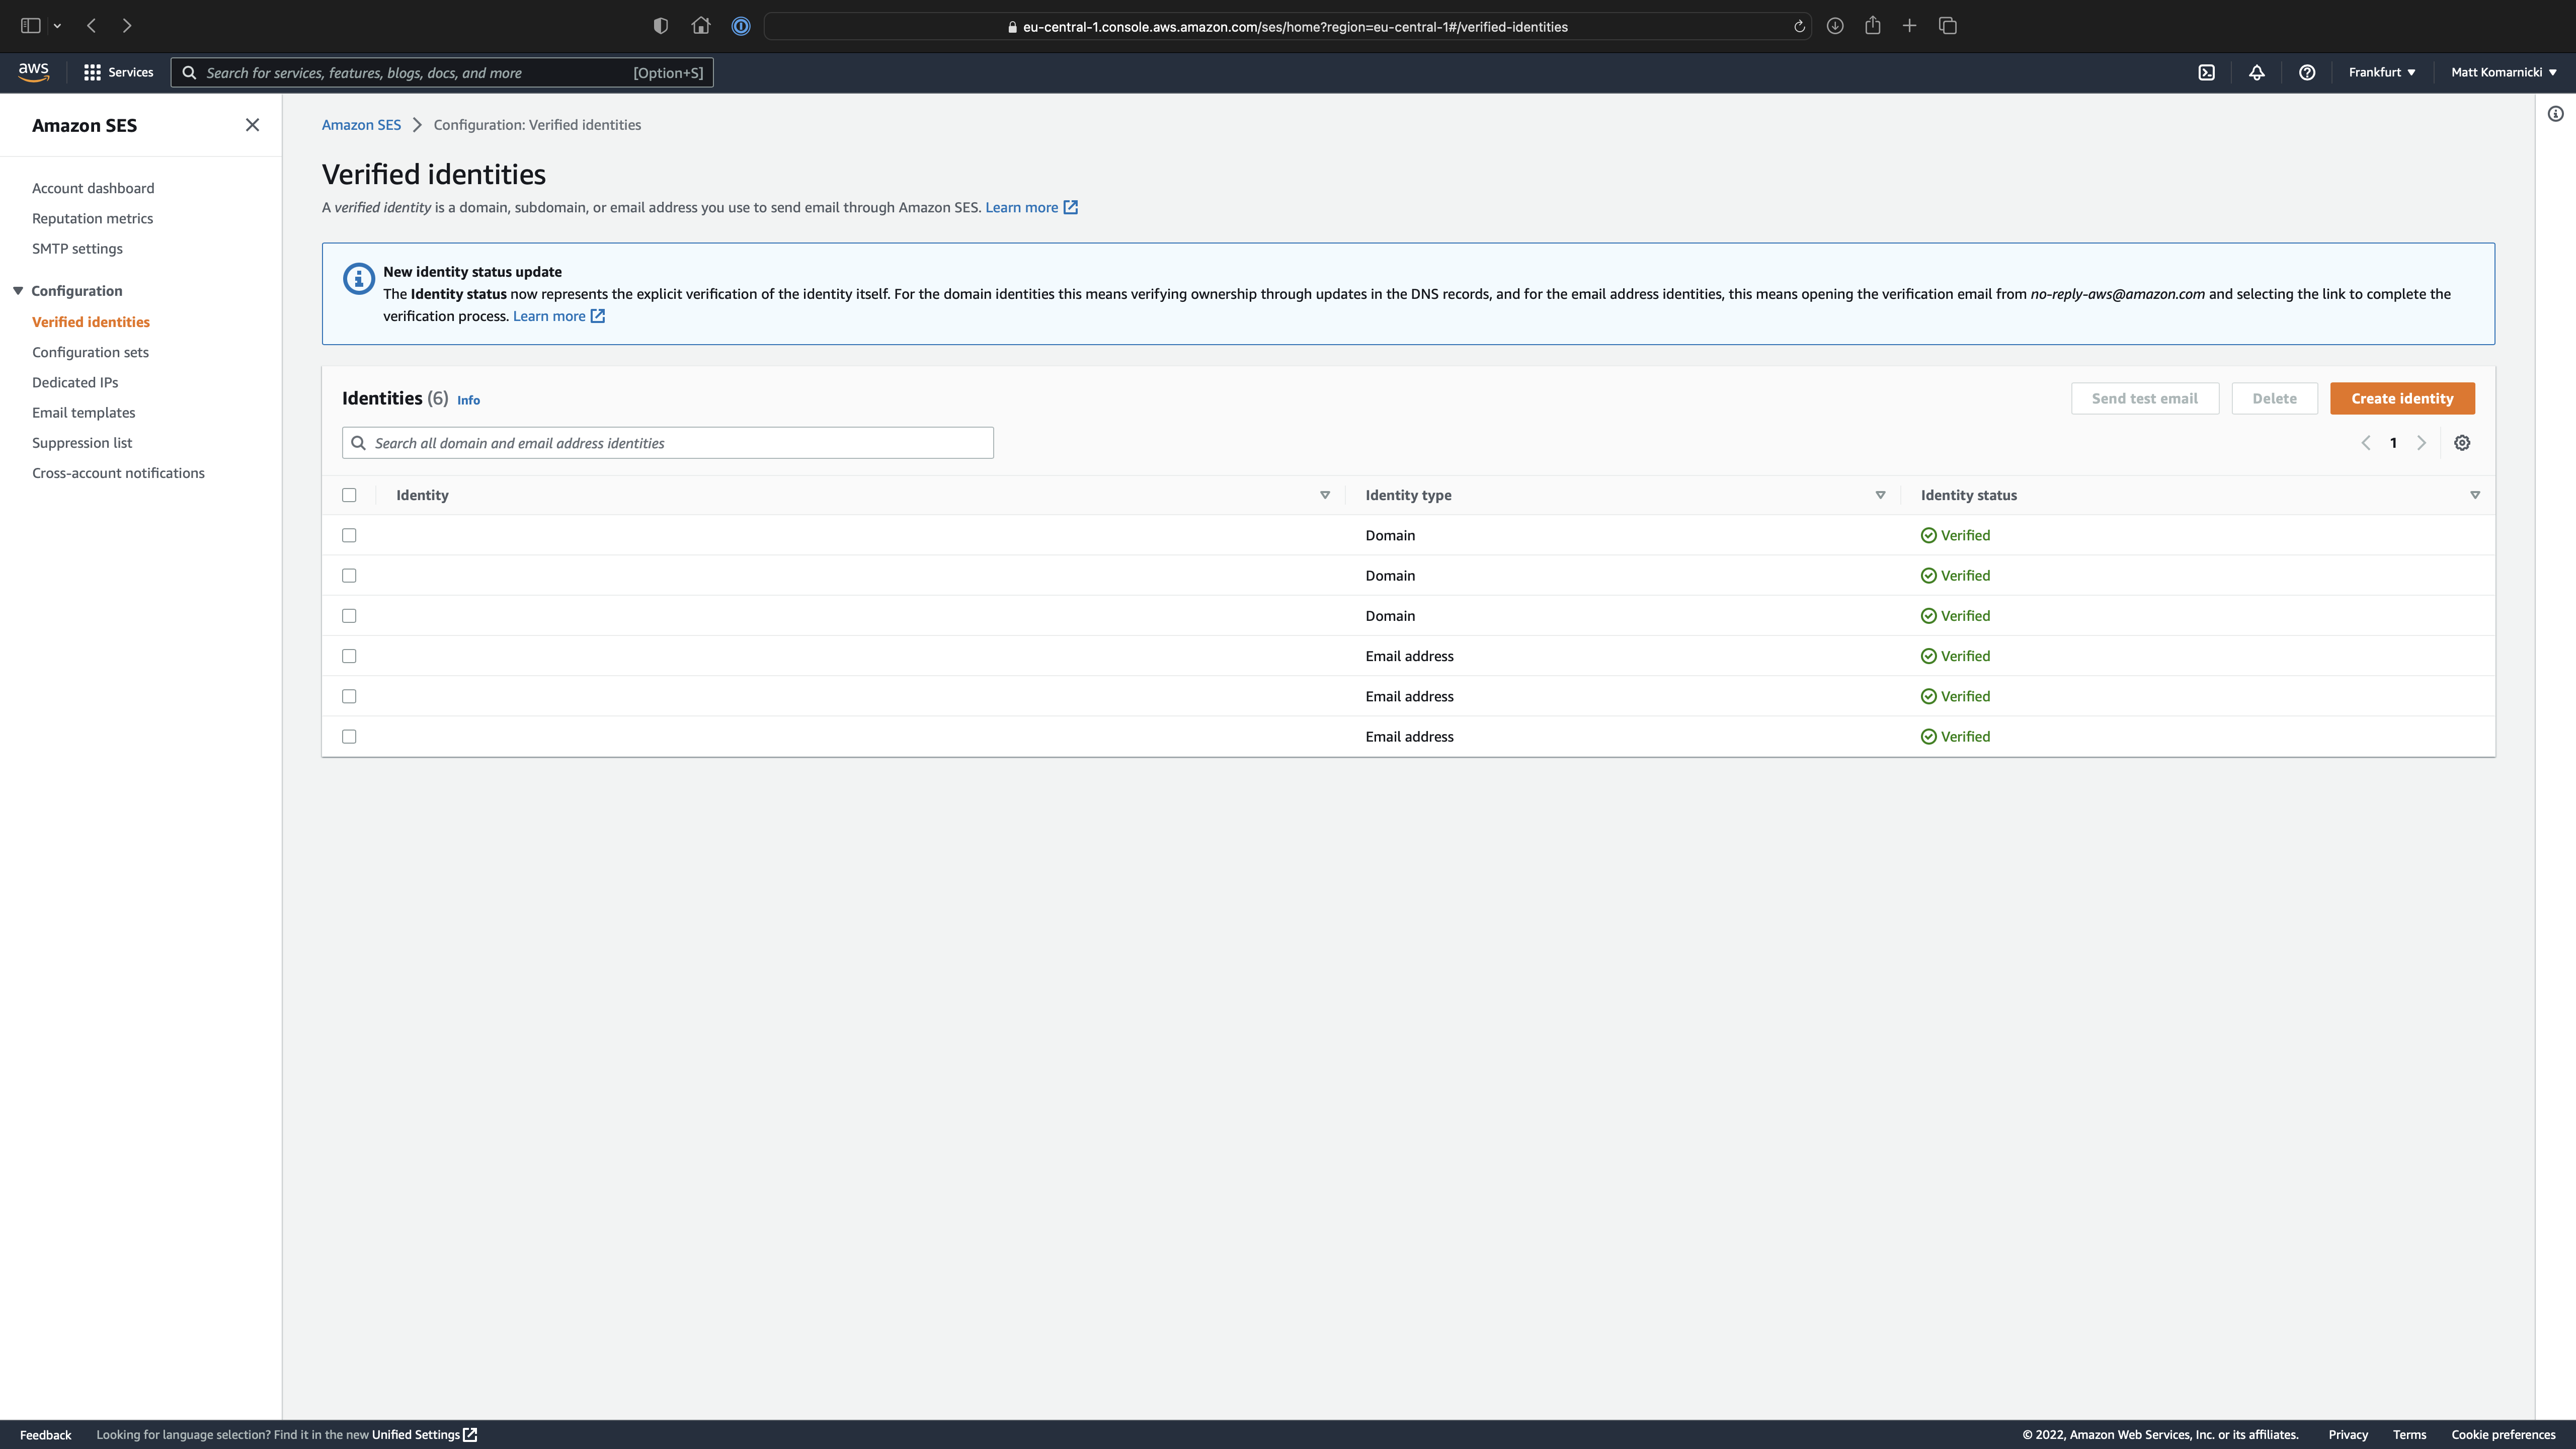
Go to your AWS dashboard and under Services, search for SES. Our goal here is to have a pair of verified identities that consists of:
- a domain we own and have full control over
- an e-mail address under this domain
Domain Verification
Let's start with domain verification. Create new Identity and under Identity Type, select Domain.
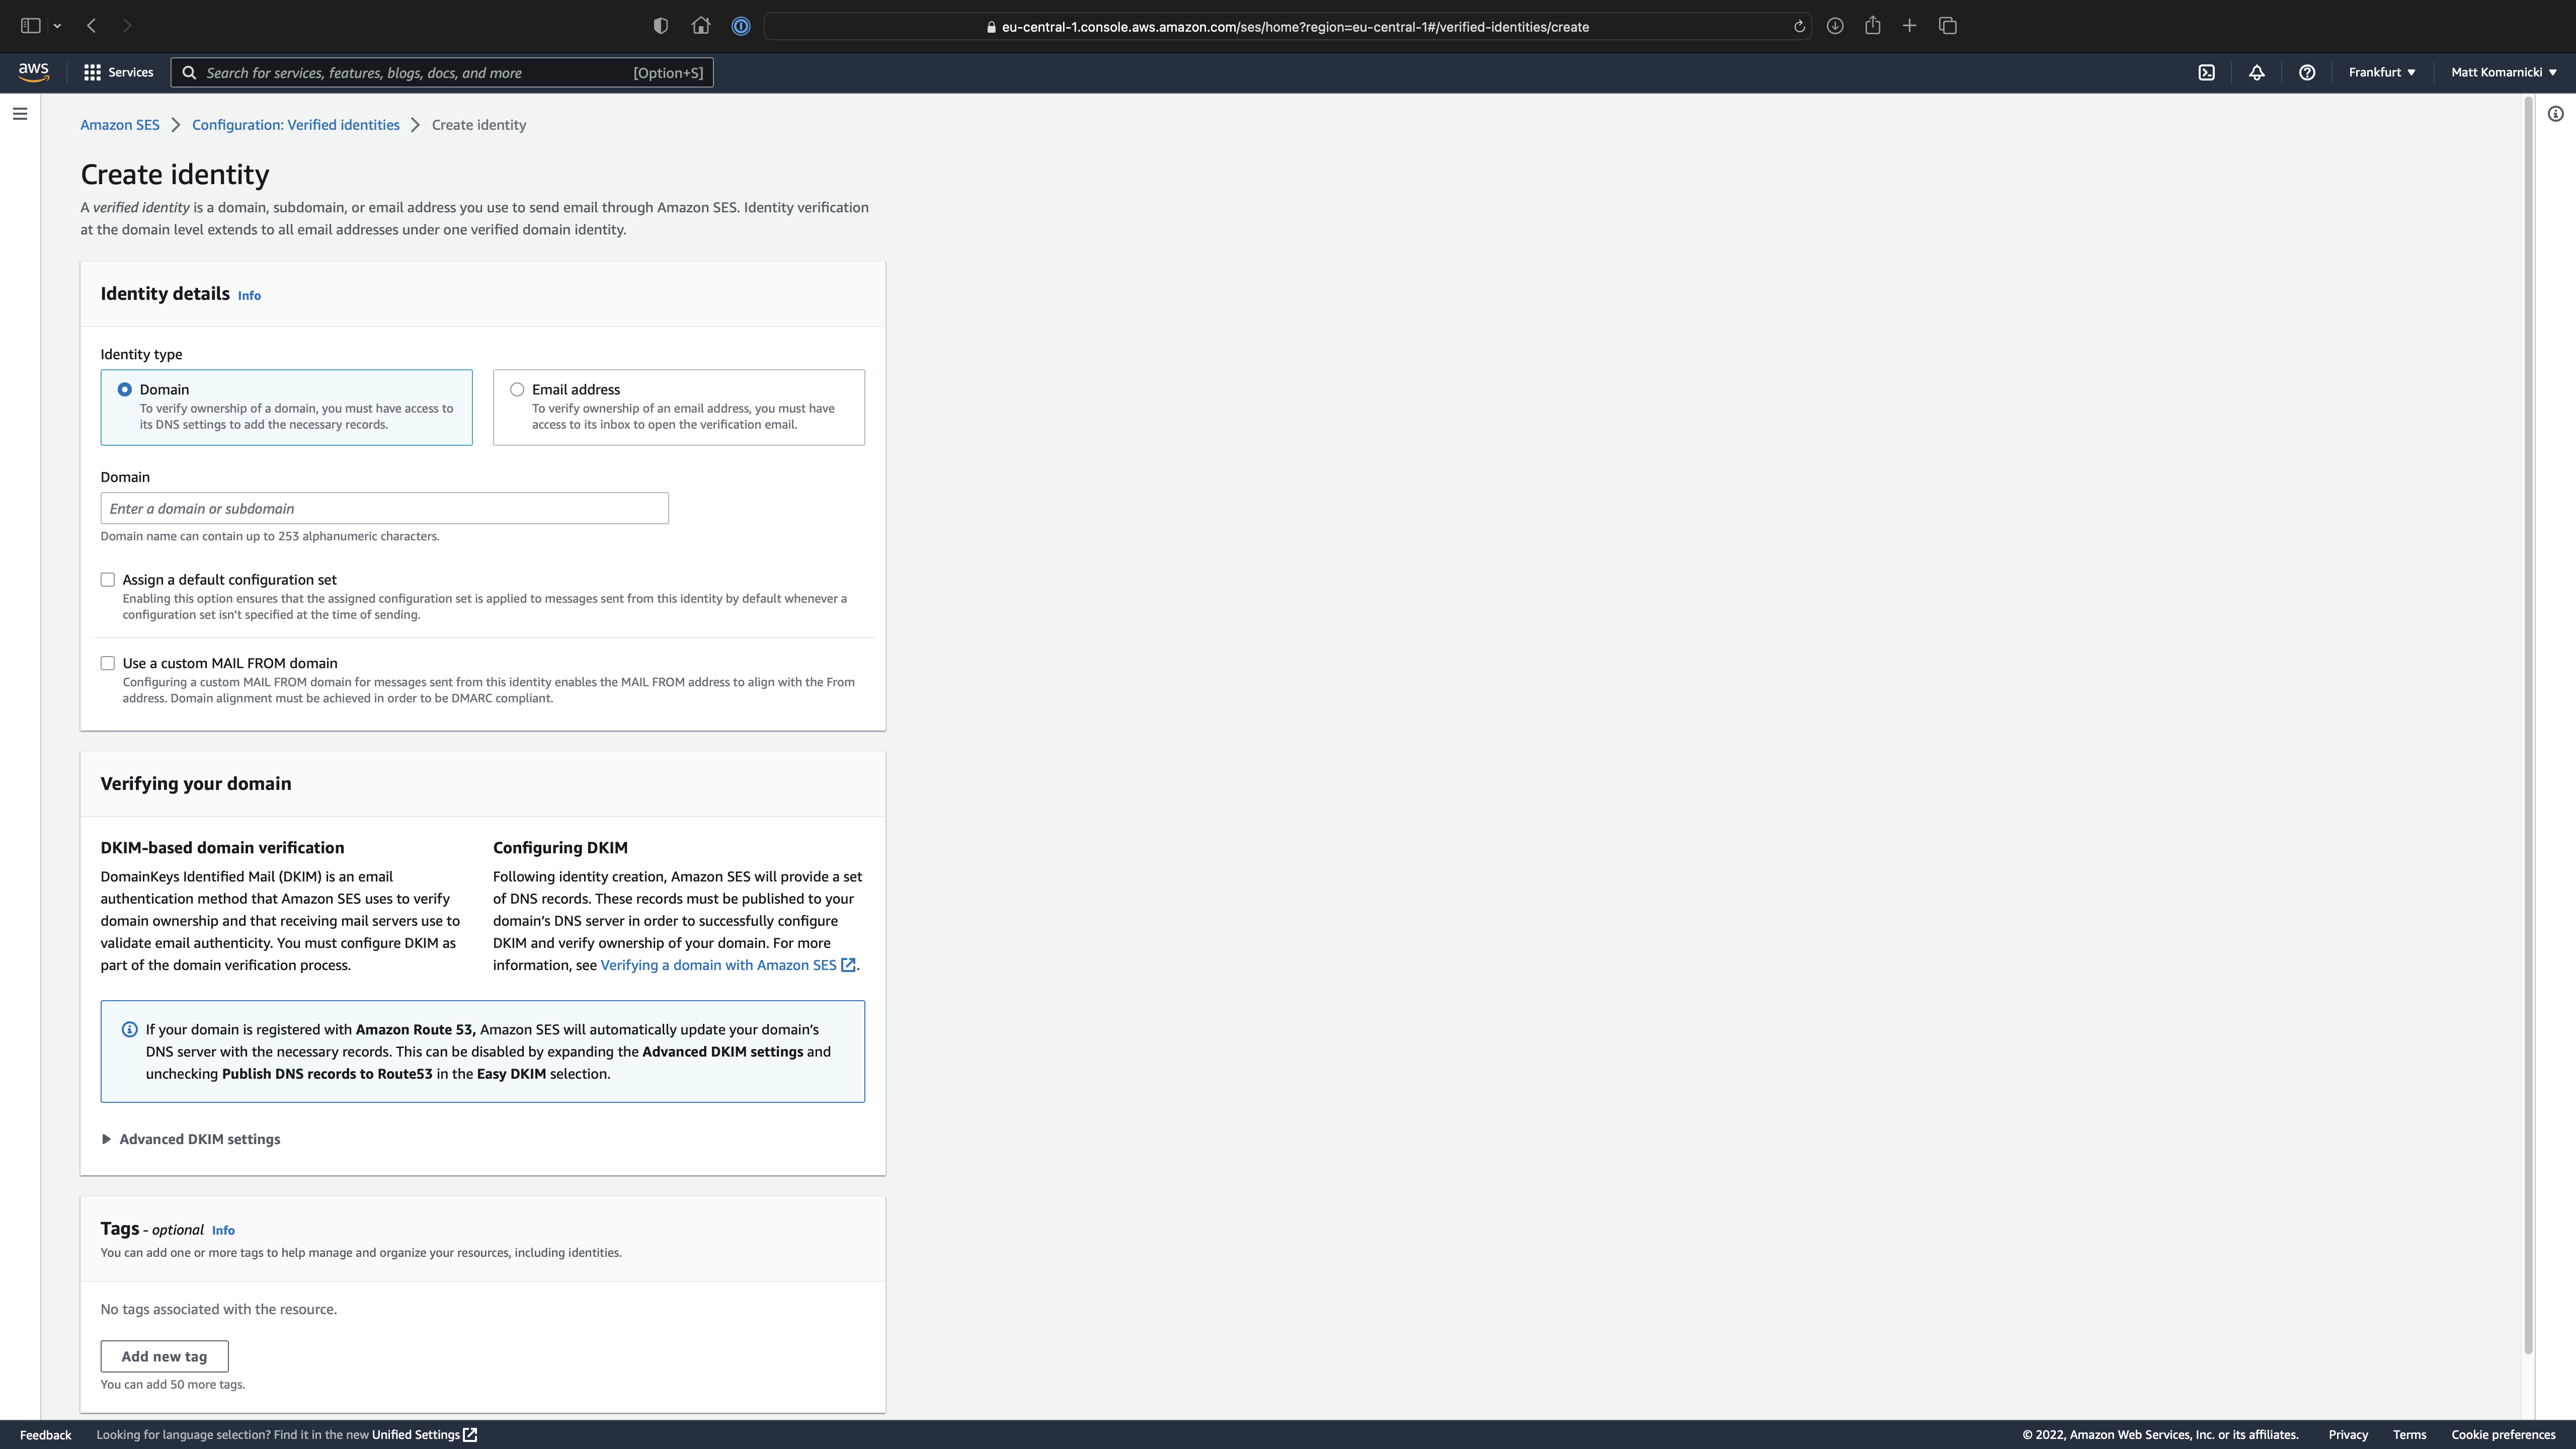
Follow the wizard until you reach to the page that indicates that the verification of newly created Identity is pending.
A set of 3 CNAME DNS records will be generated for us to perform the process. Add them to your domain. The exact process will depend on who is your domain provider.
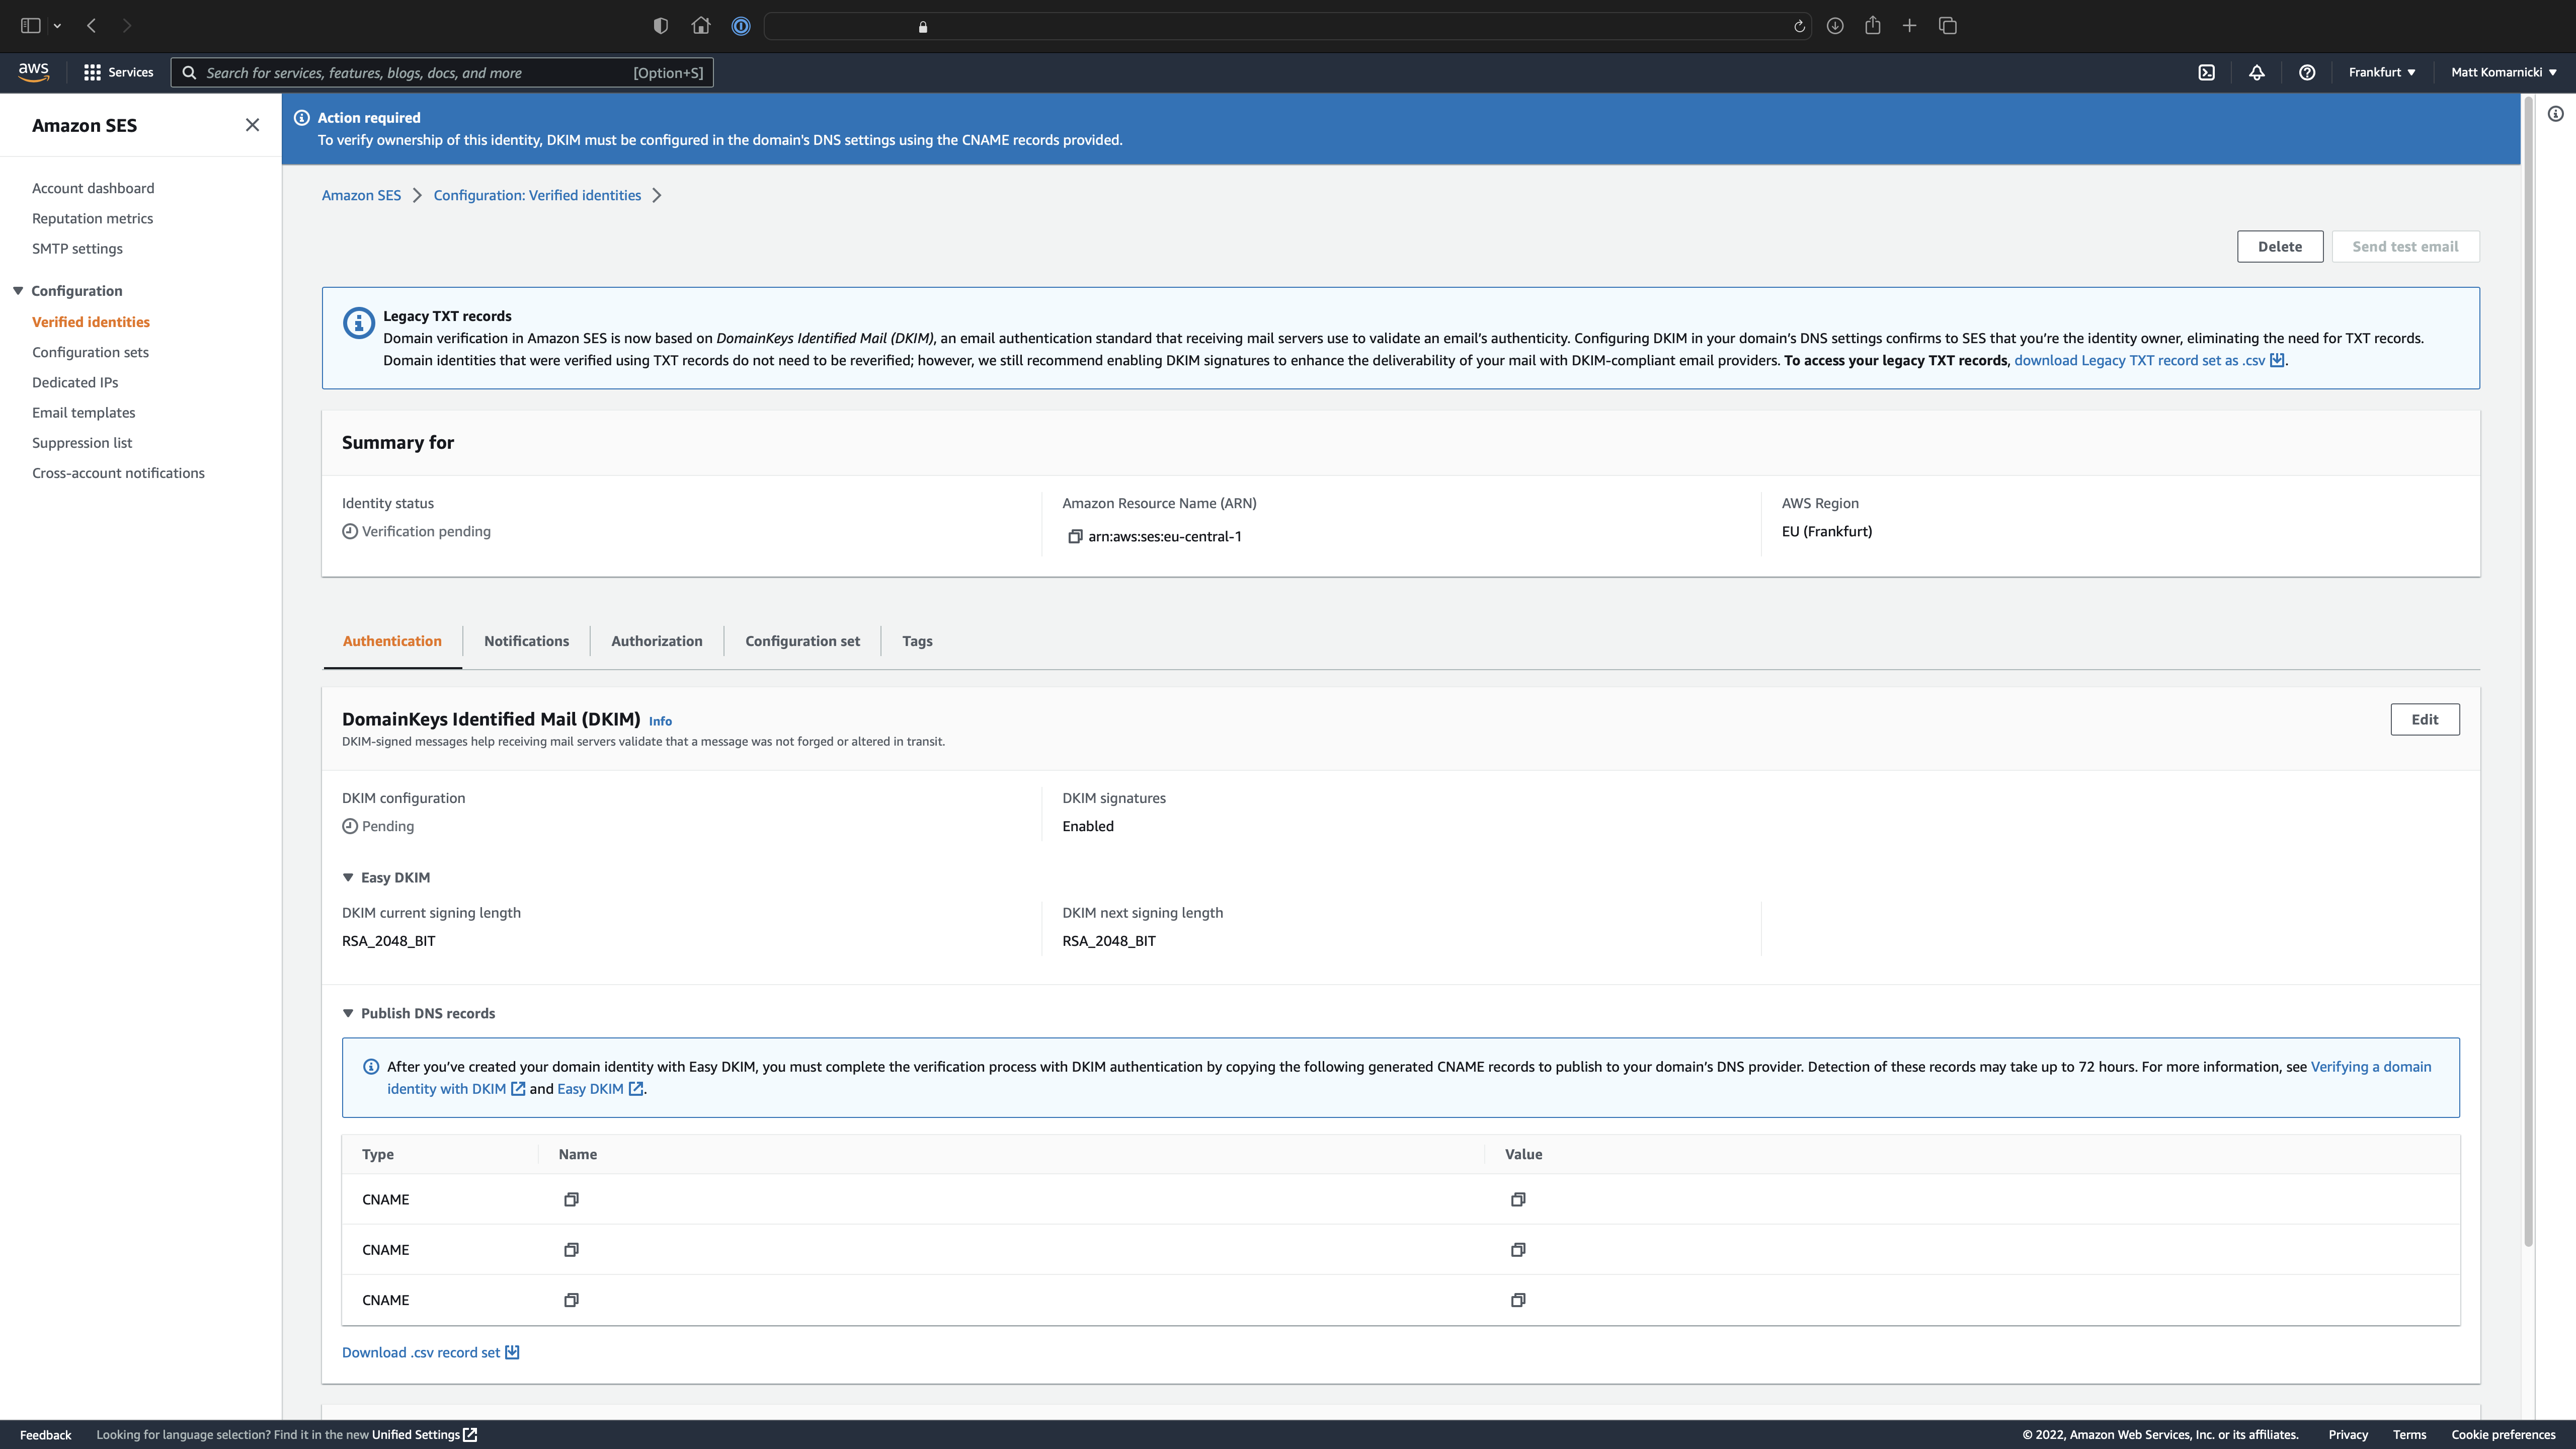
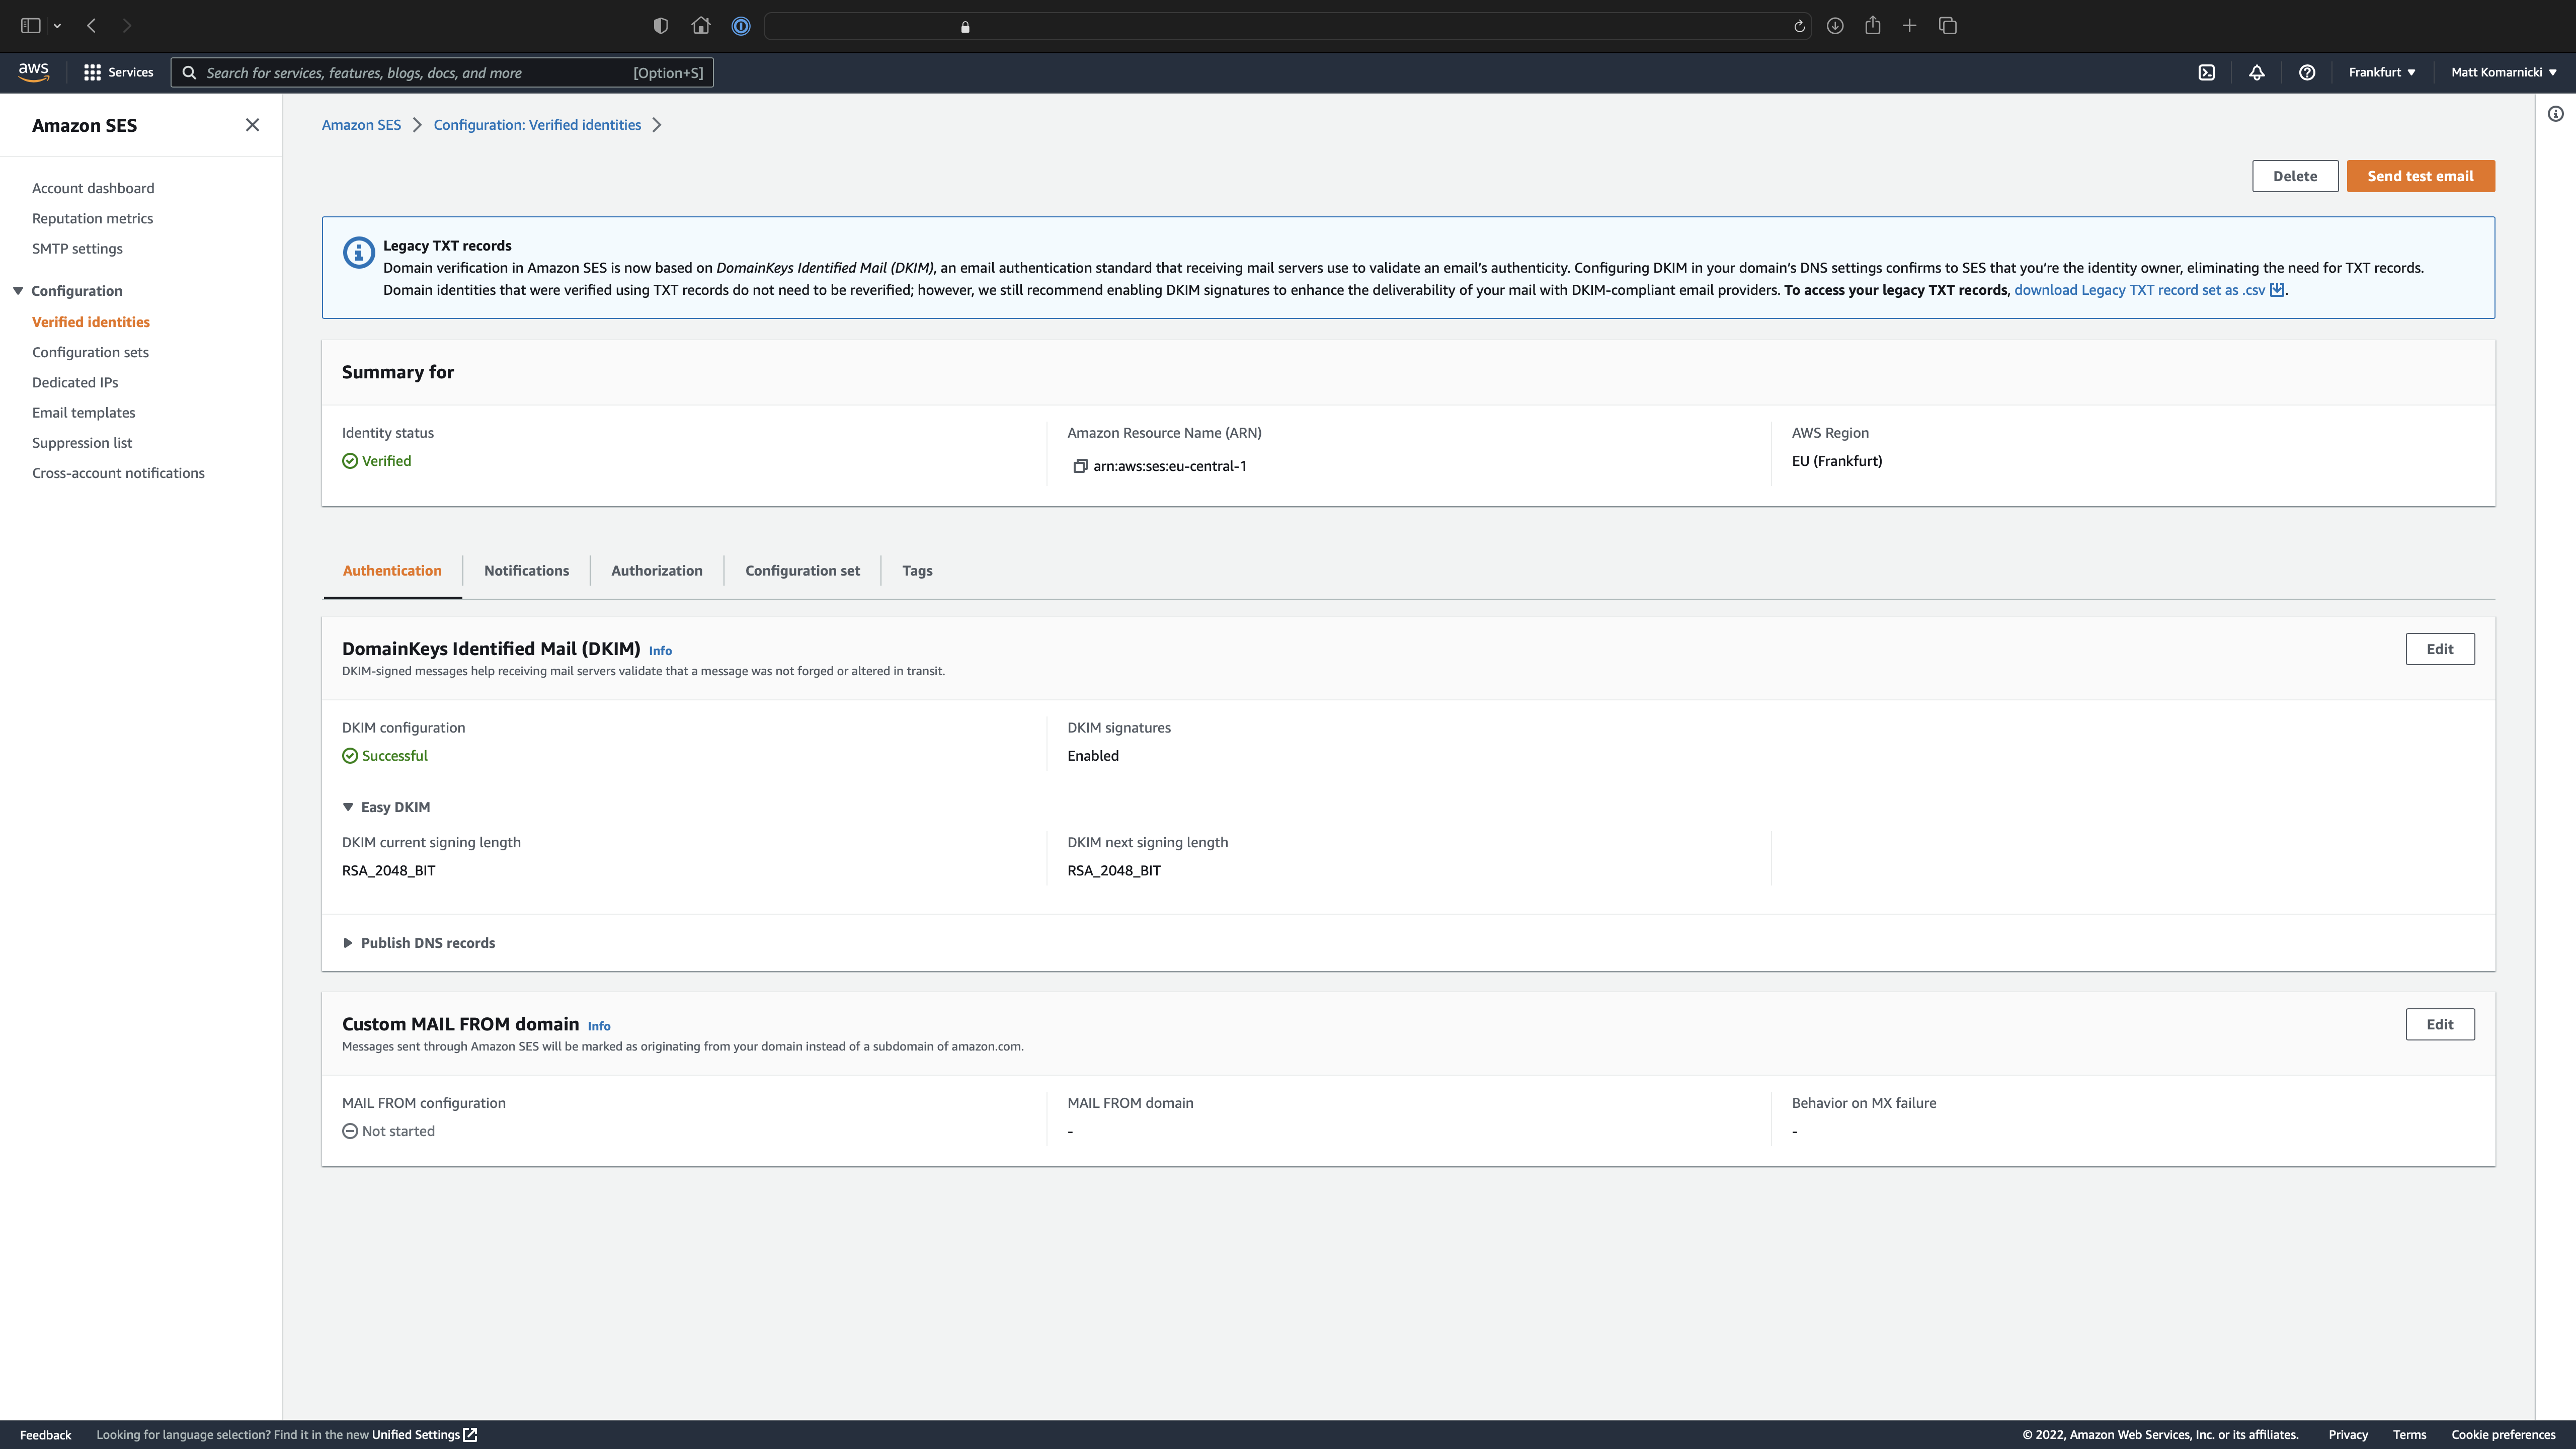
CNAME DNS records under your domain provider's dashboard and let Amazon SES do the lookup check.Once the domain is verified, a green status will indicate that this part is completed successfully.
E-mail Address Verification
Now it is time to verify an existing e-mail address that is going to be used in your application to send e-mails.
I think this goes without saying but the address we are talking about should be under the domain you have verified in the previous step.
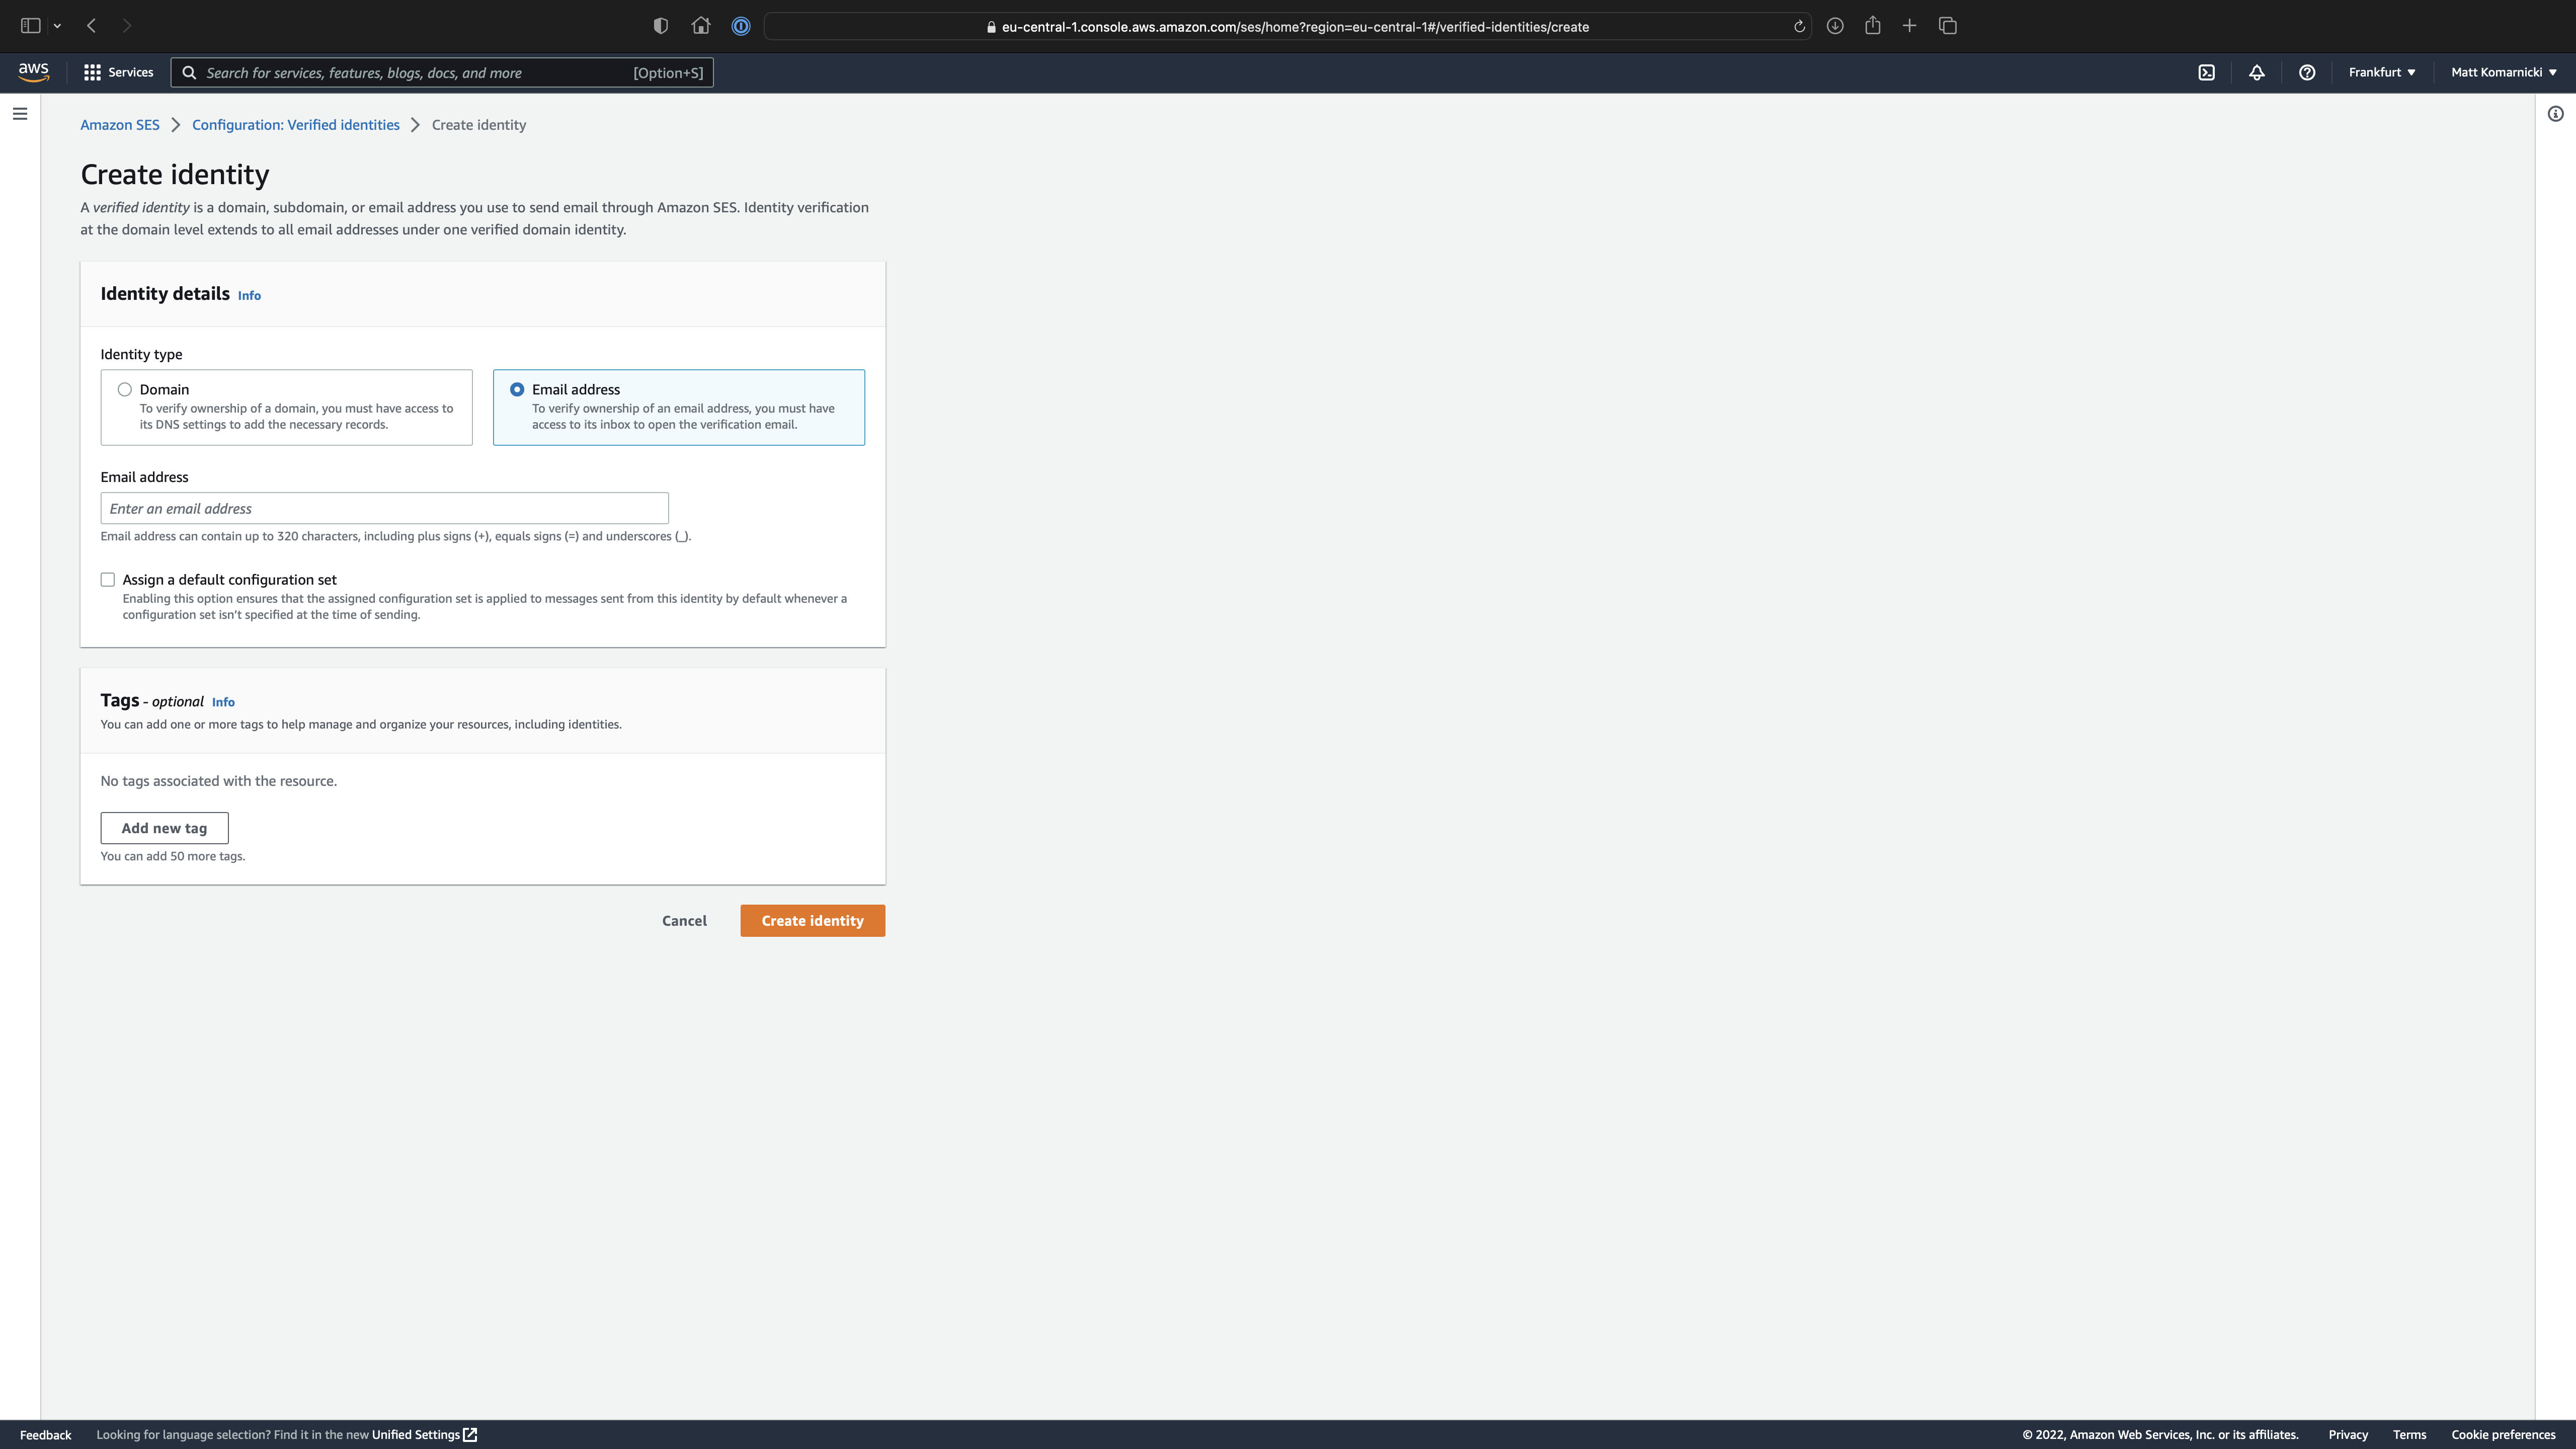
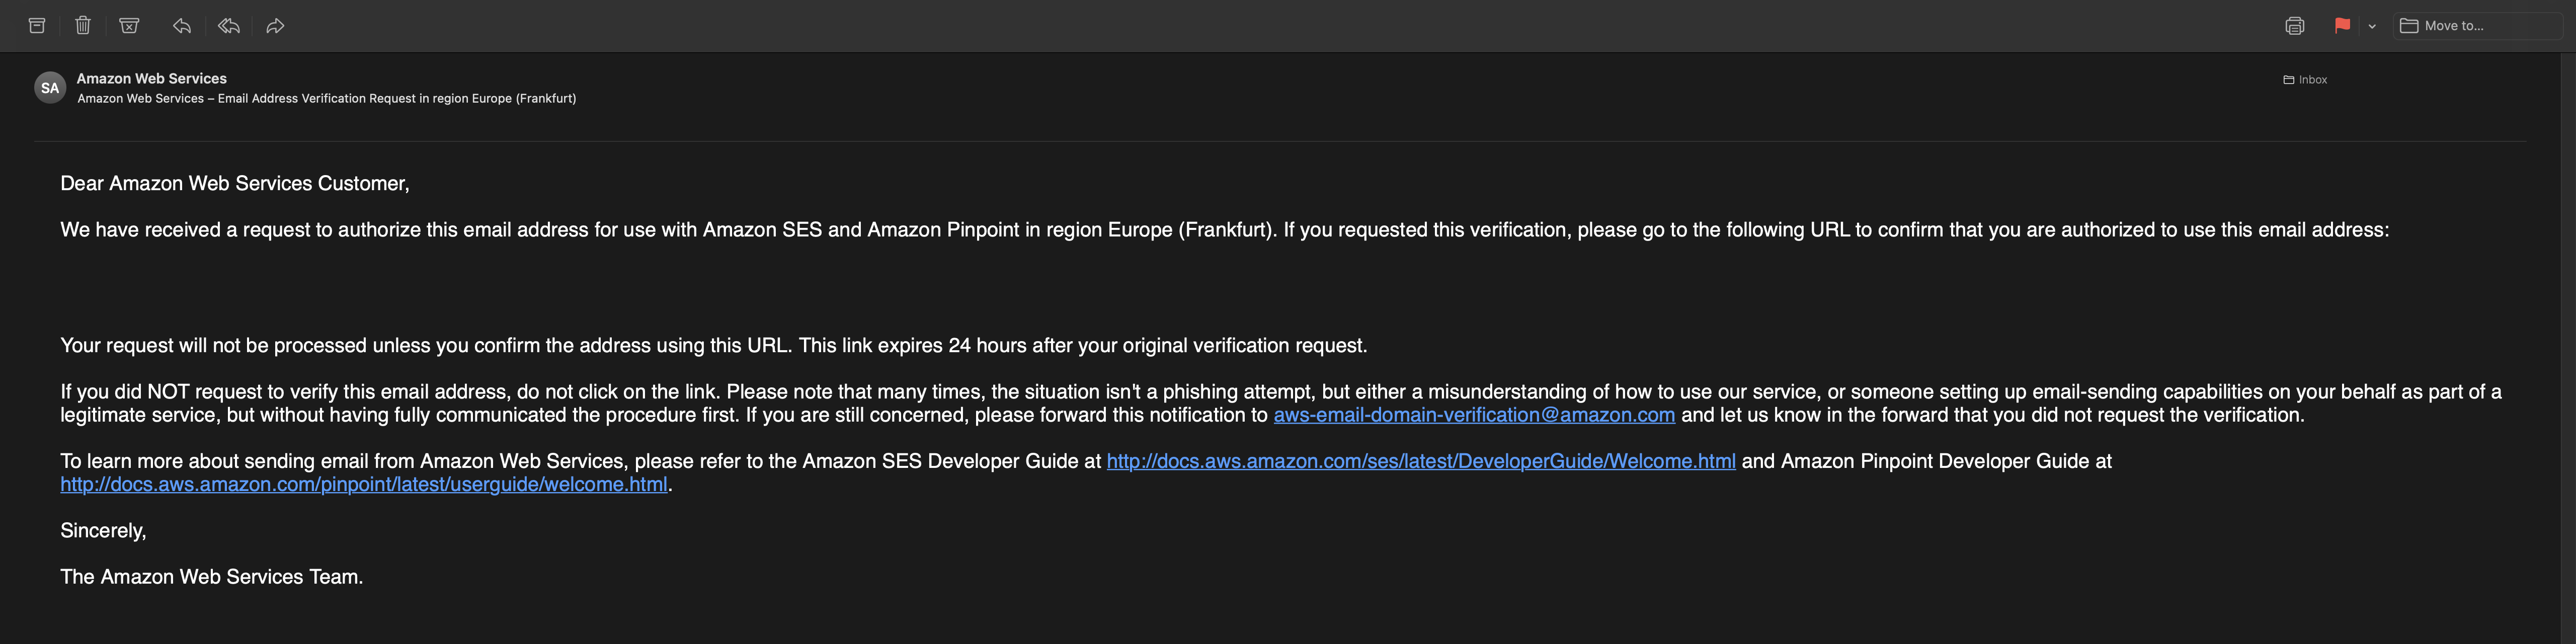
Follow the steps and perform the validation by clicking on the link you receive from AWS.
IAM User Creation
Now it is time to create new User so that we can obtain specific keys. Under Services, search for IAM.
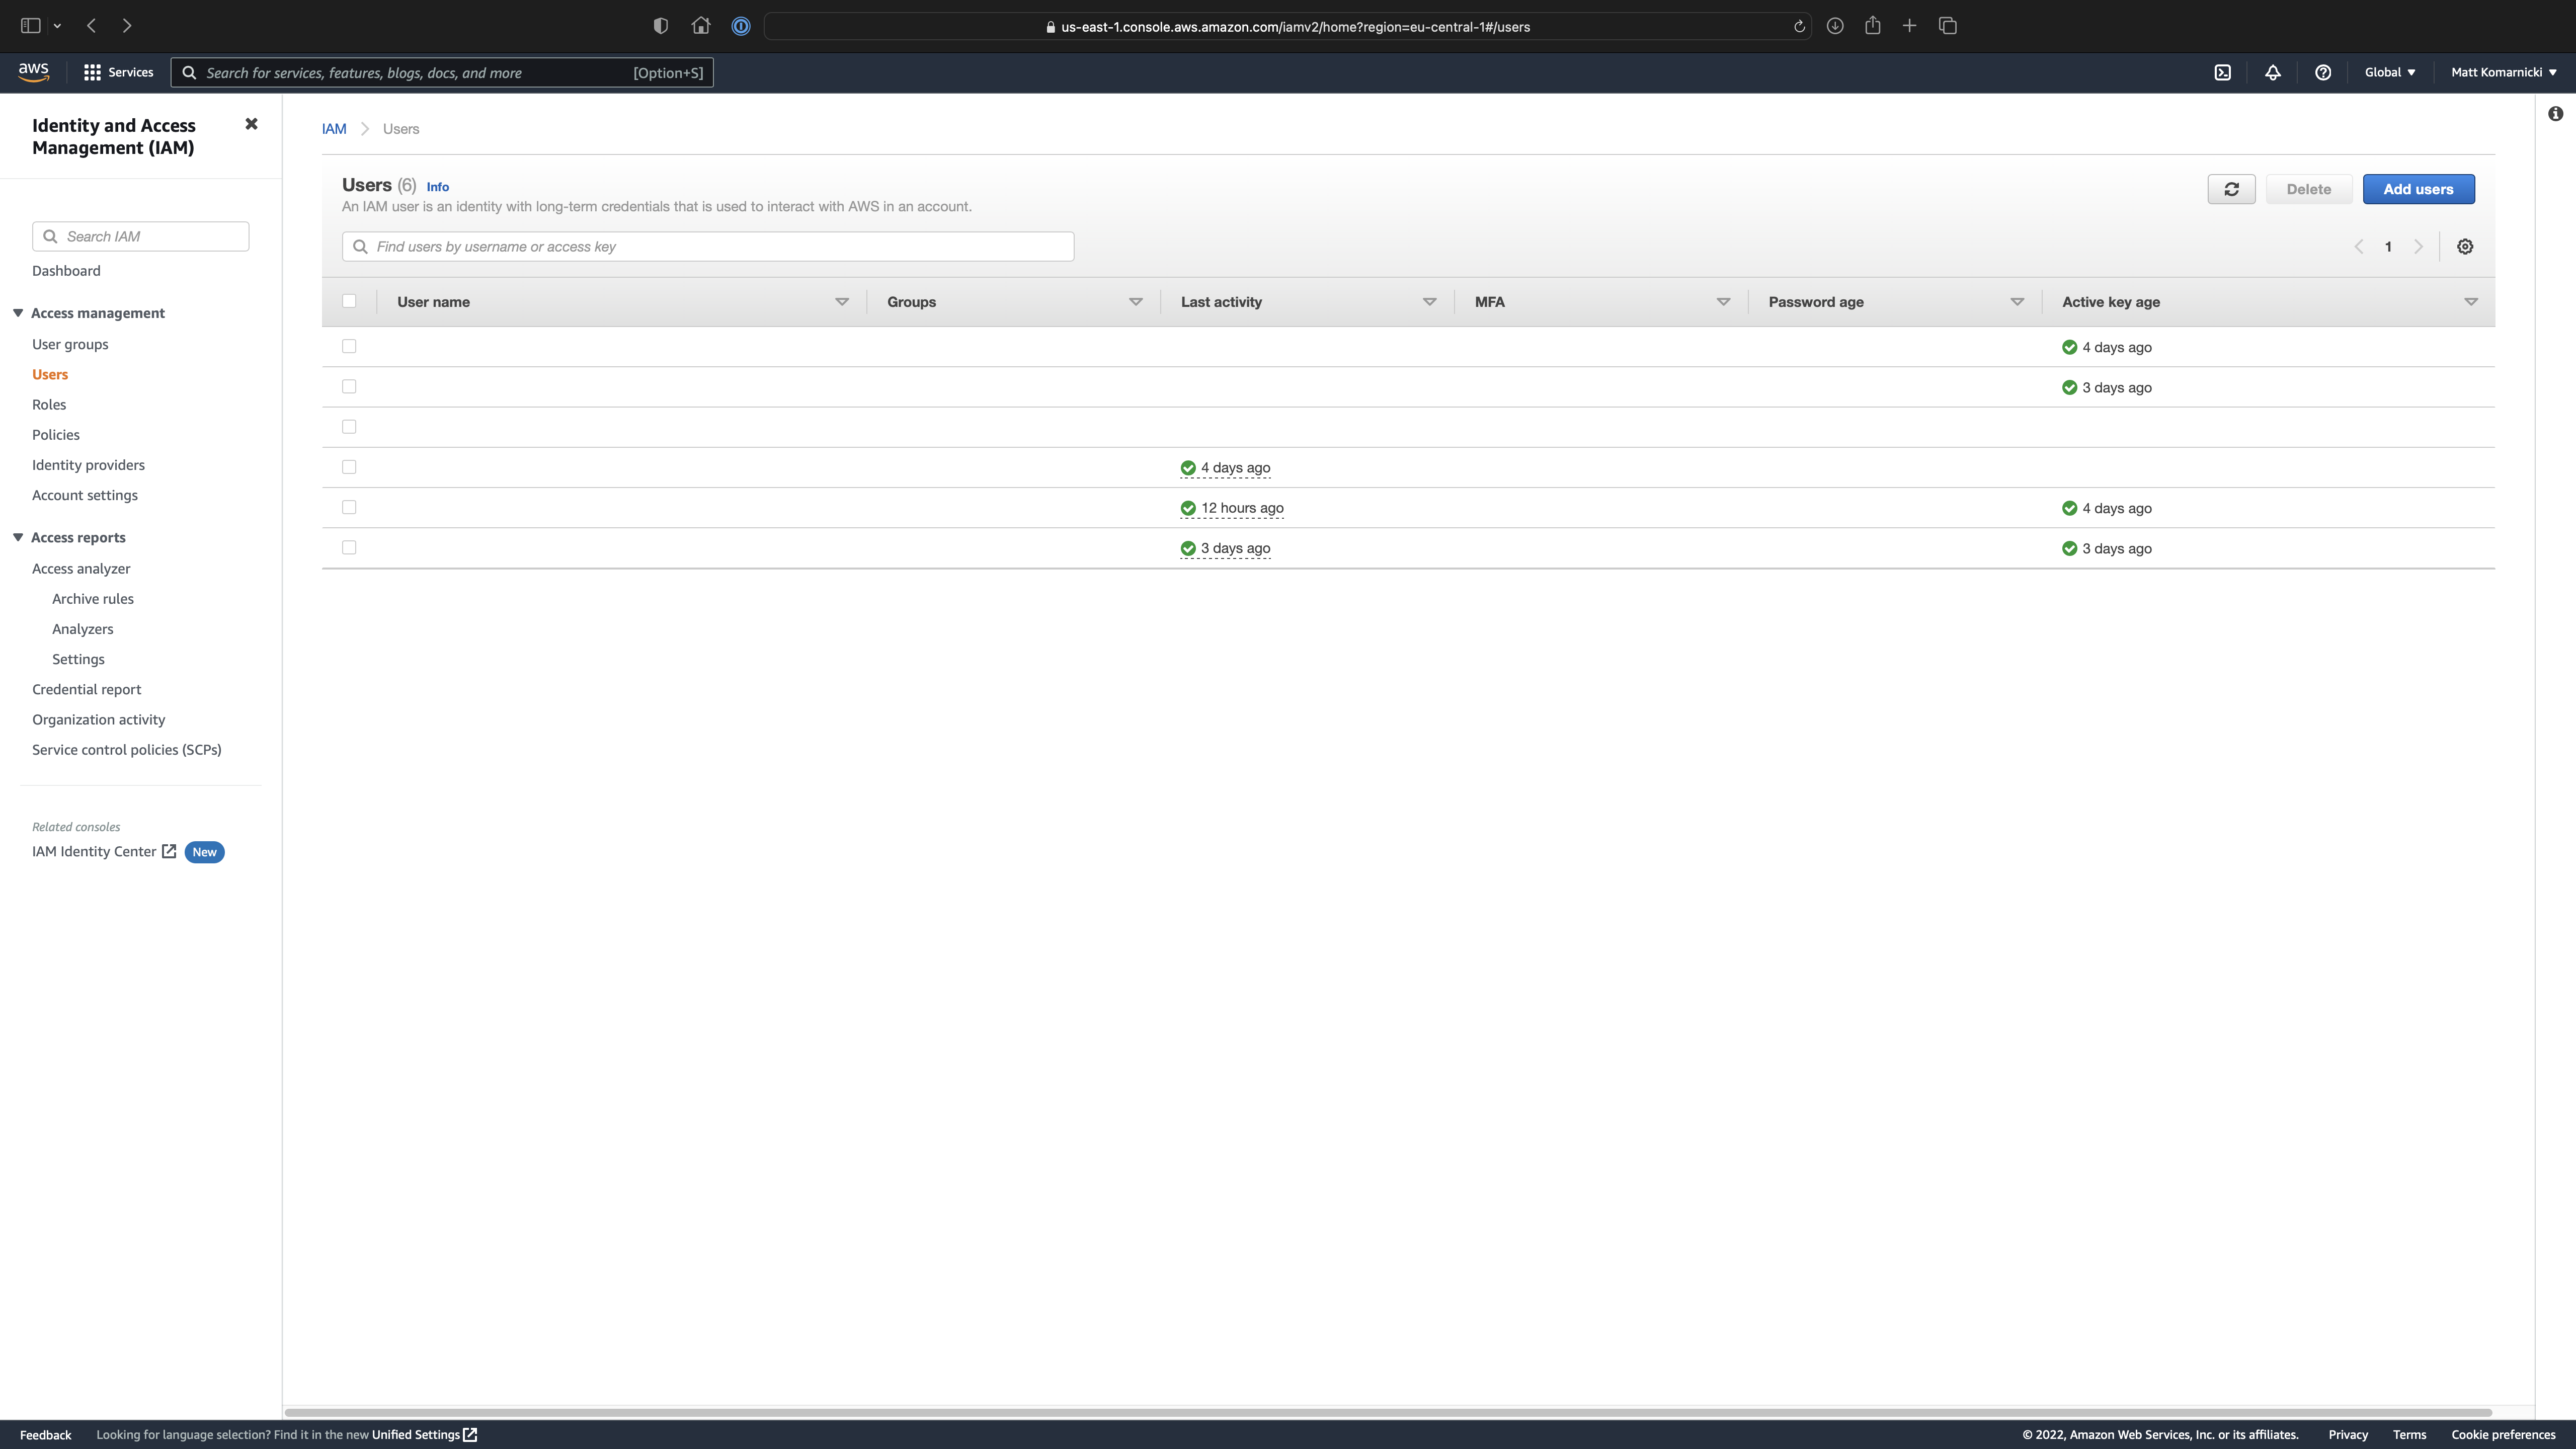
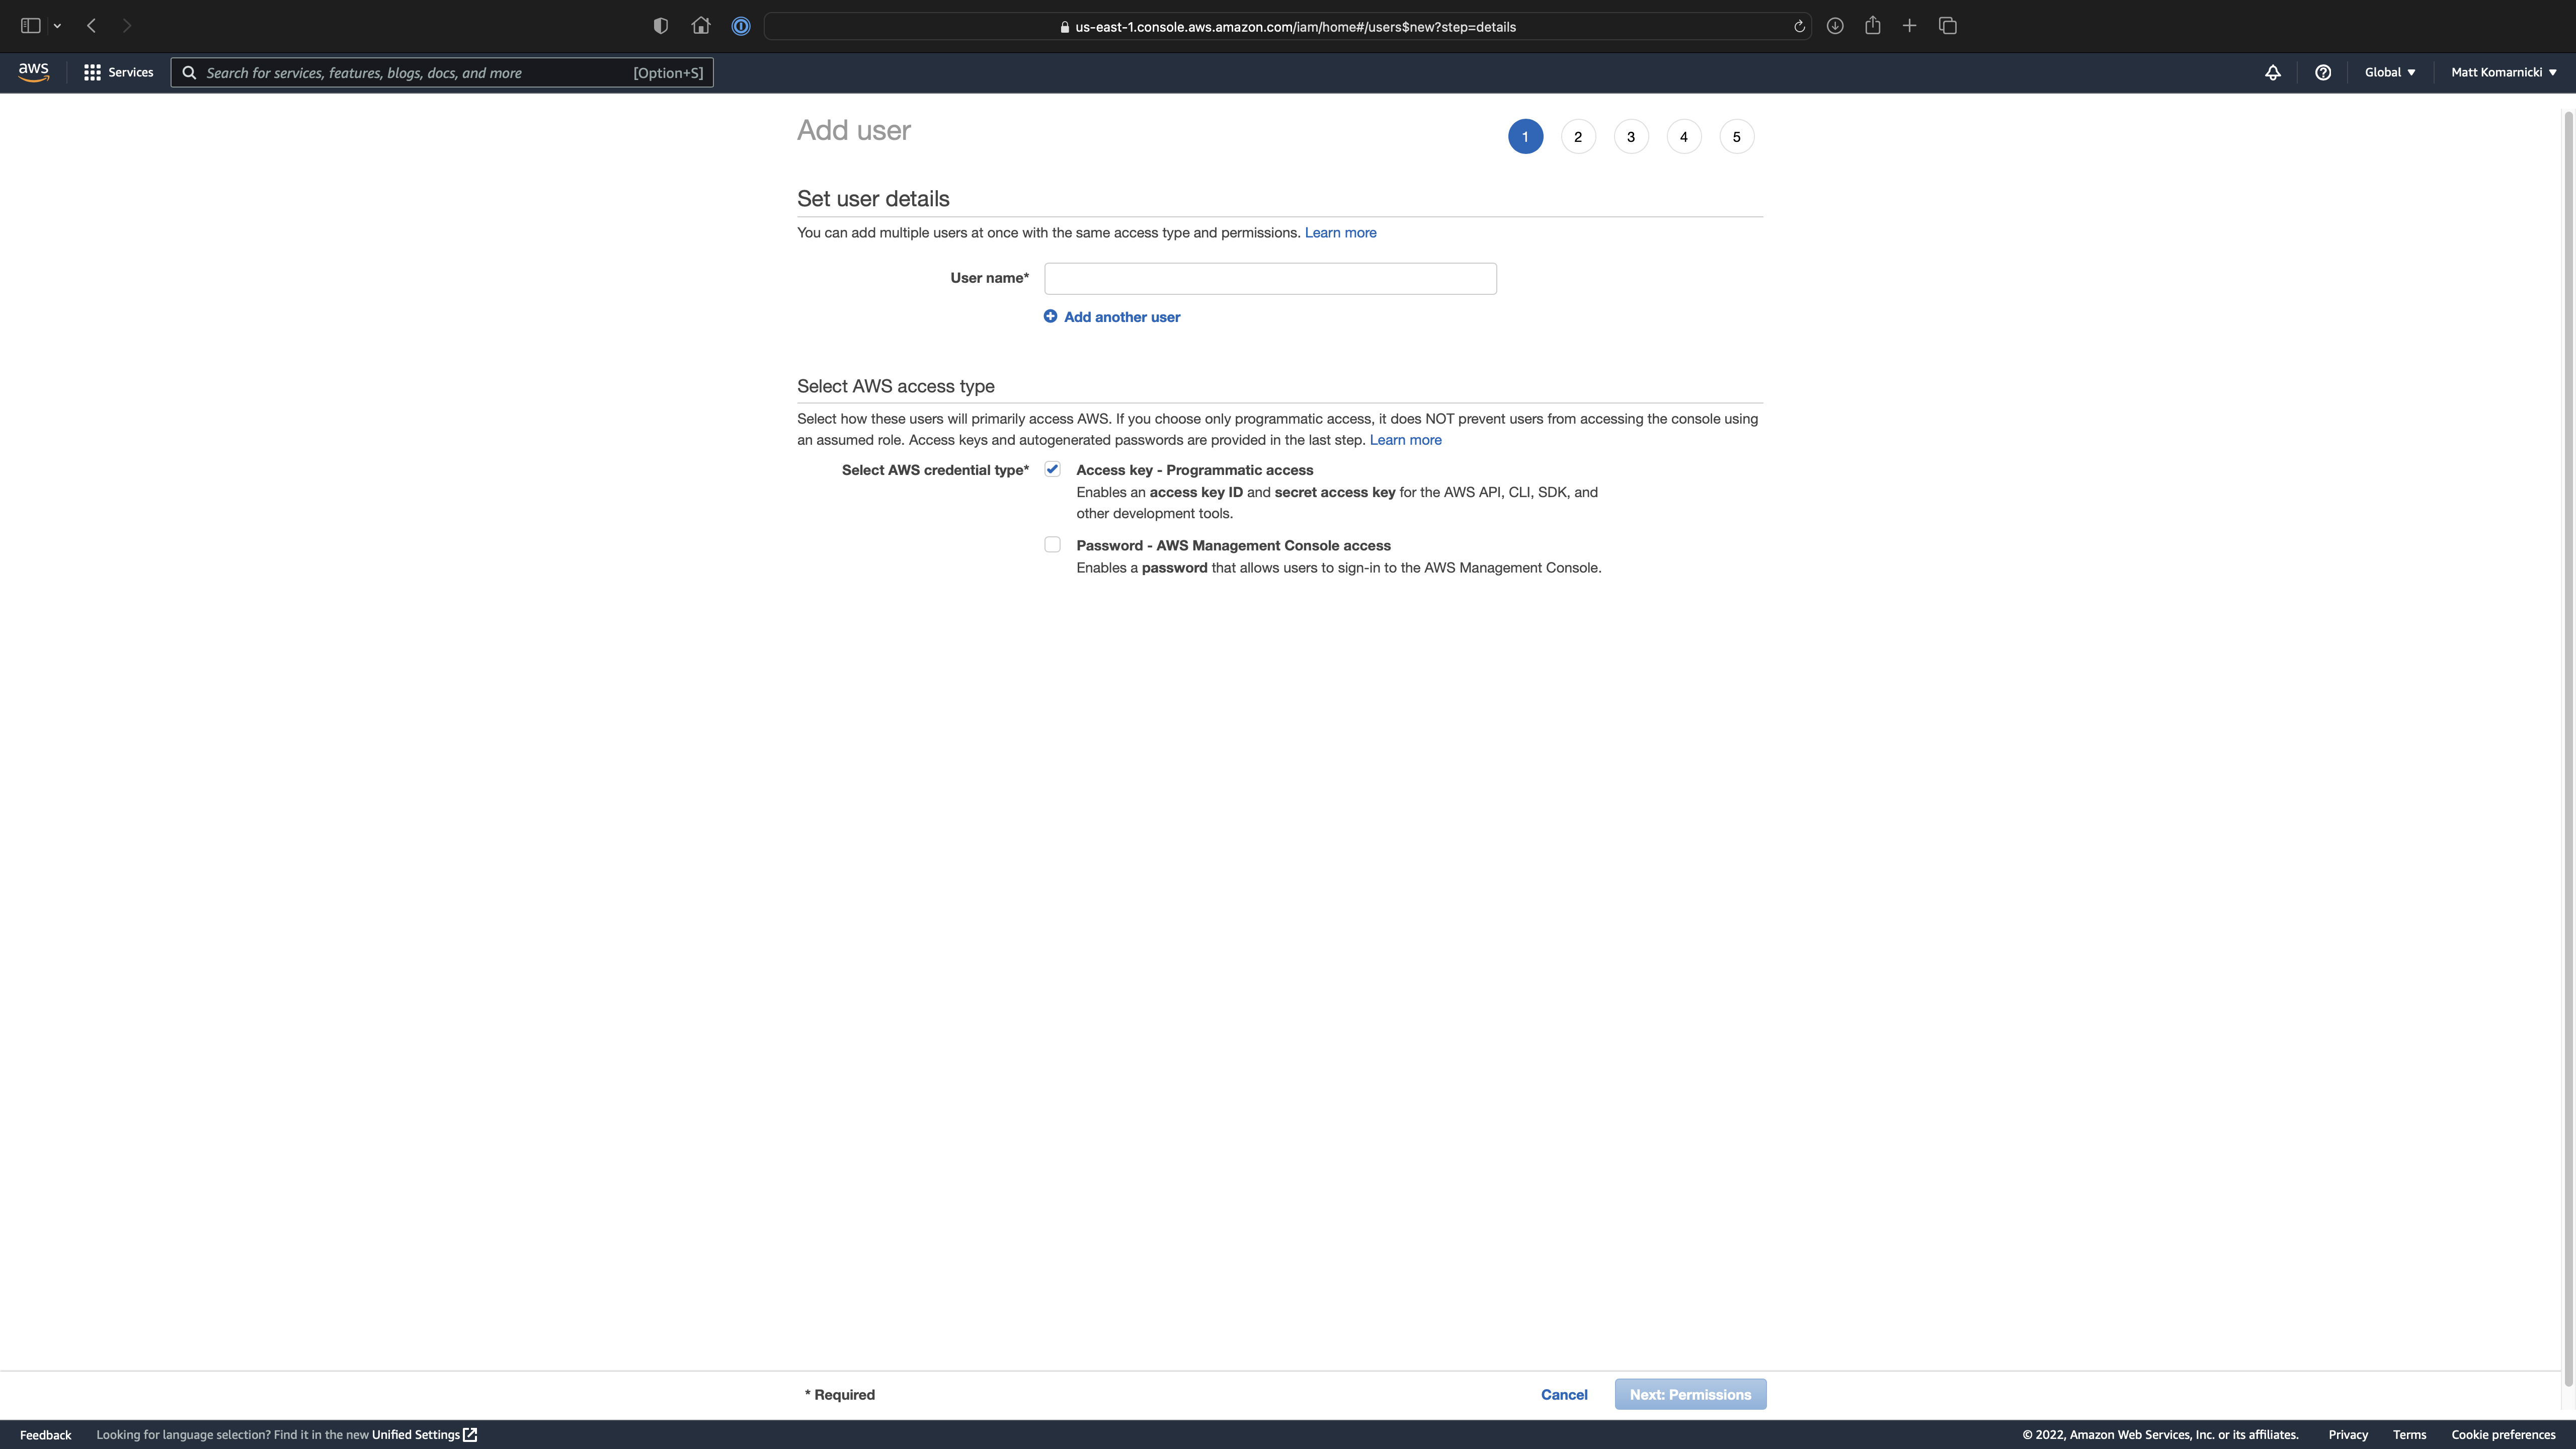
Click on Add users button to proceed with the 5-step wizard.
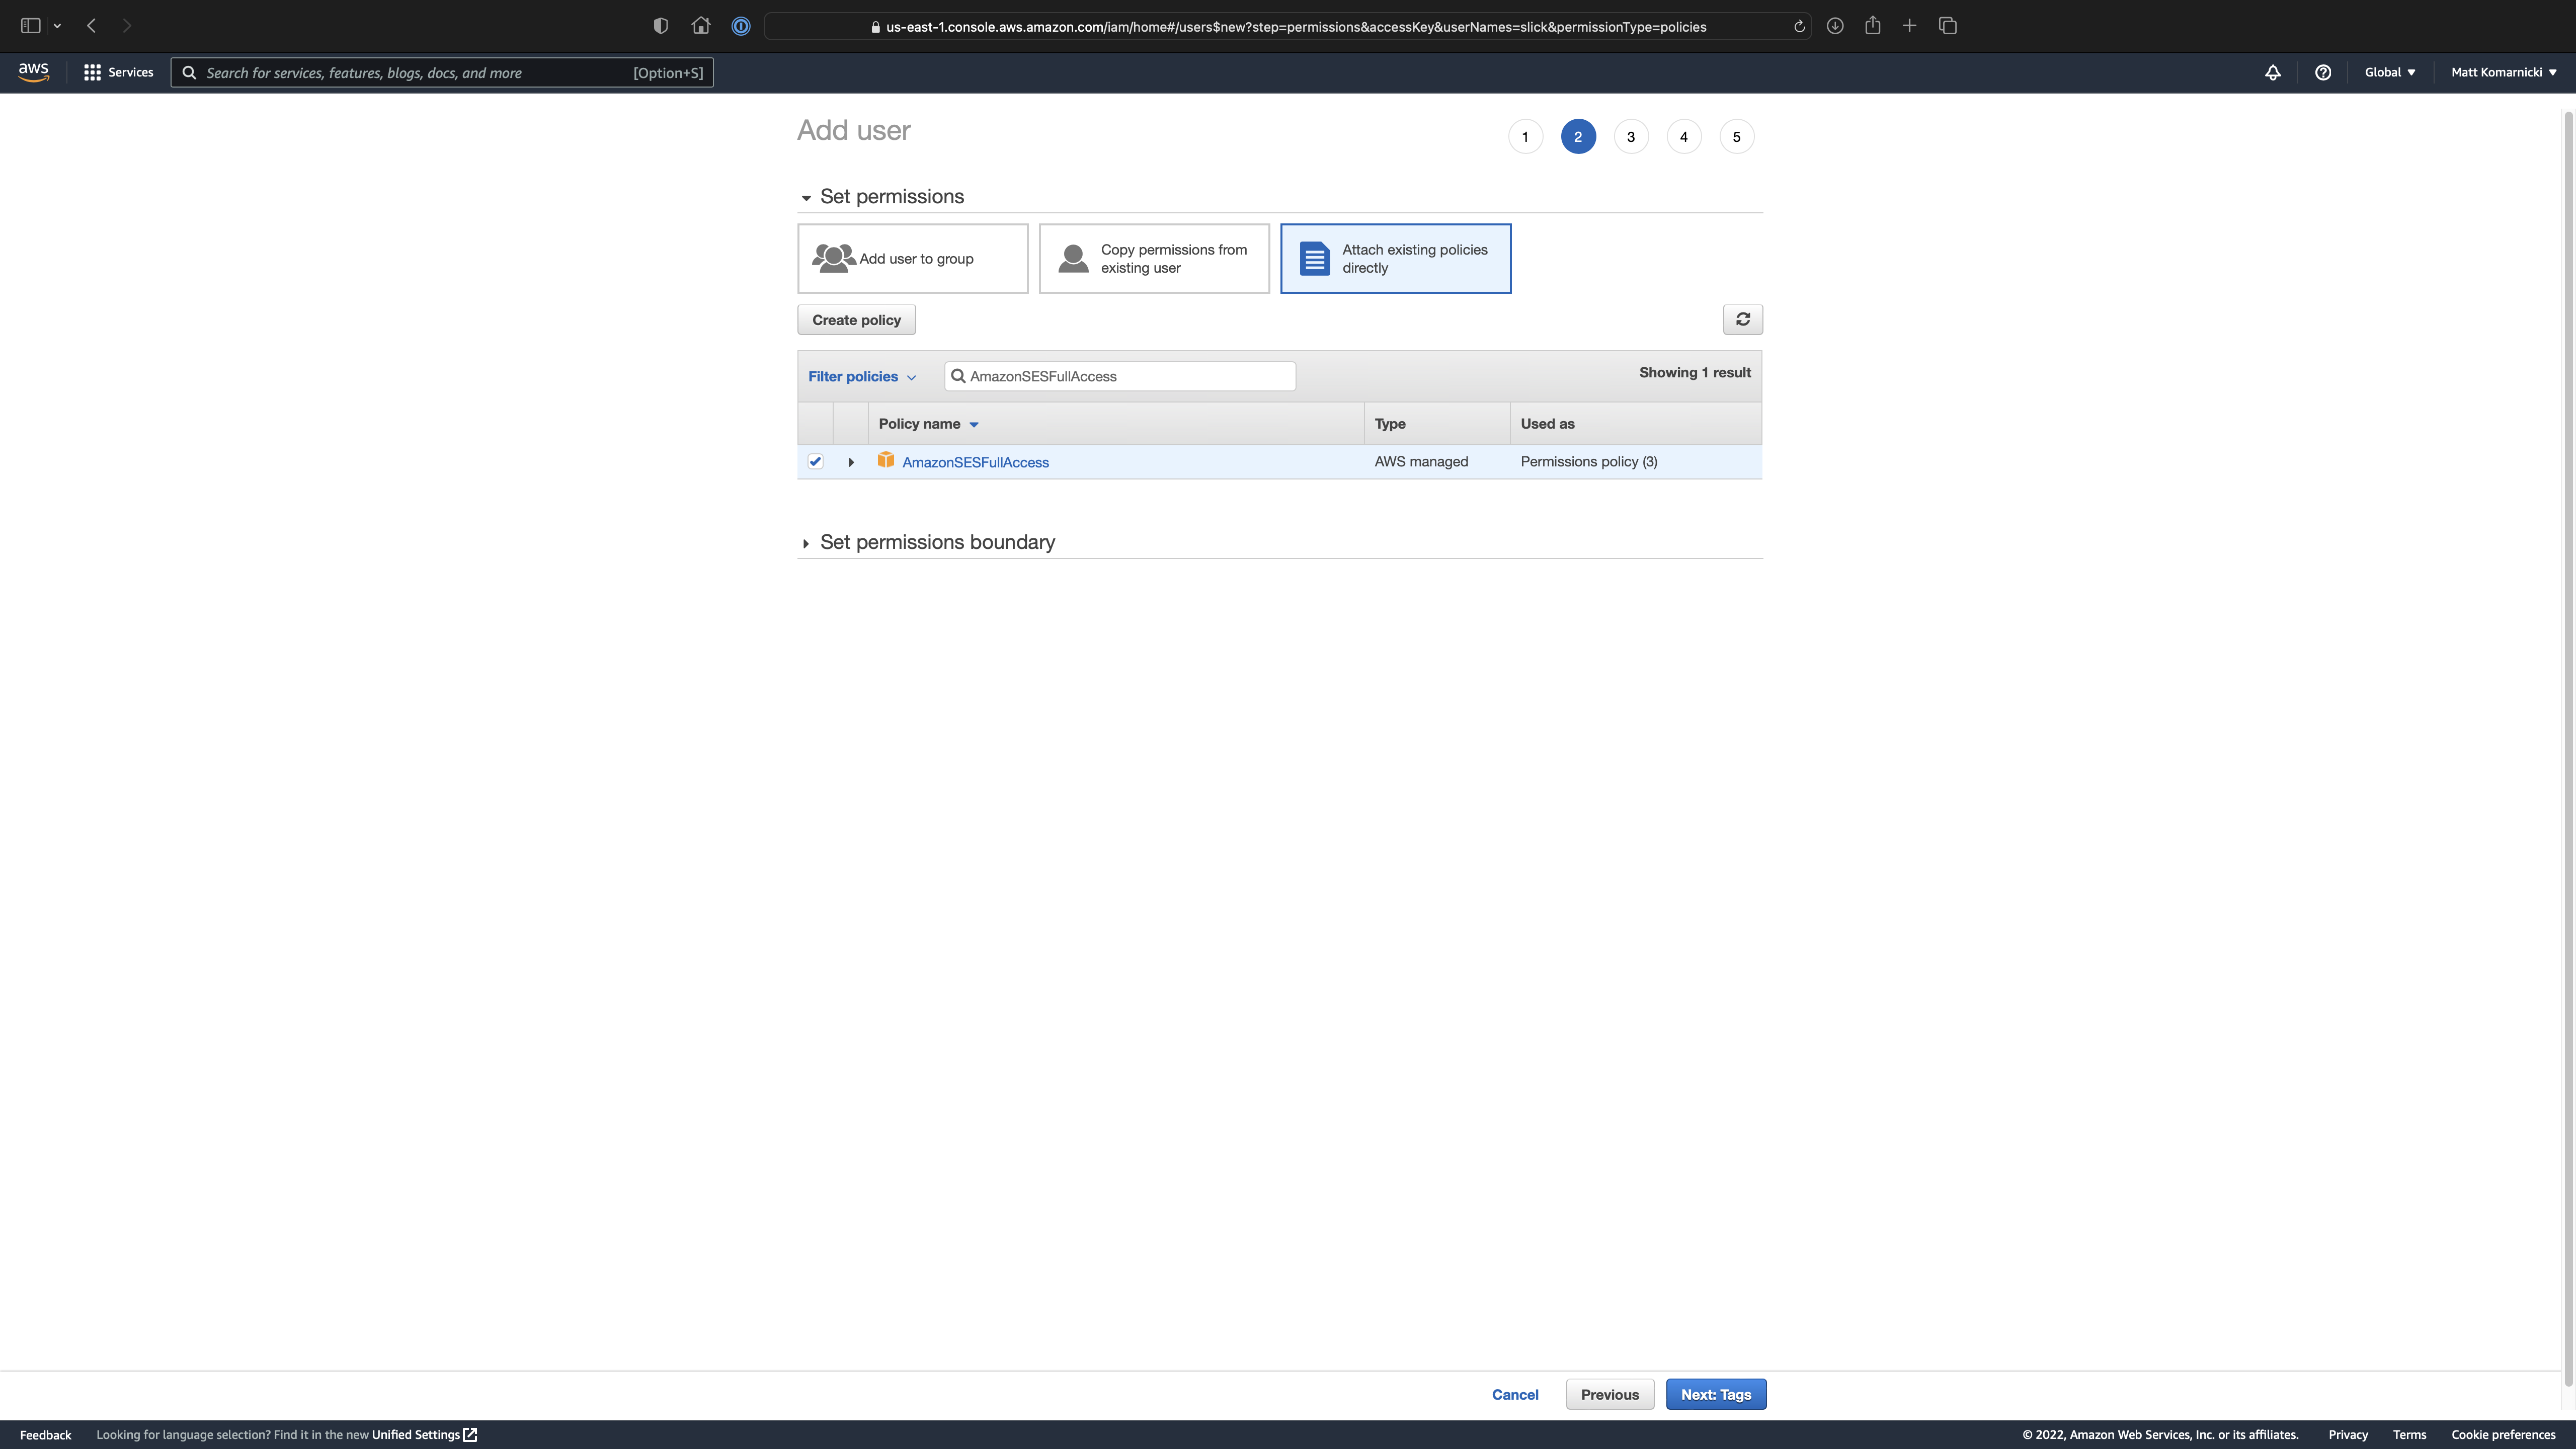
In the next step you're going to attach AmazonSESFullAccess policy.
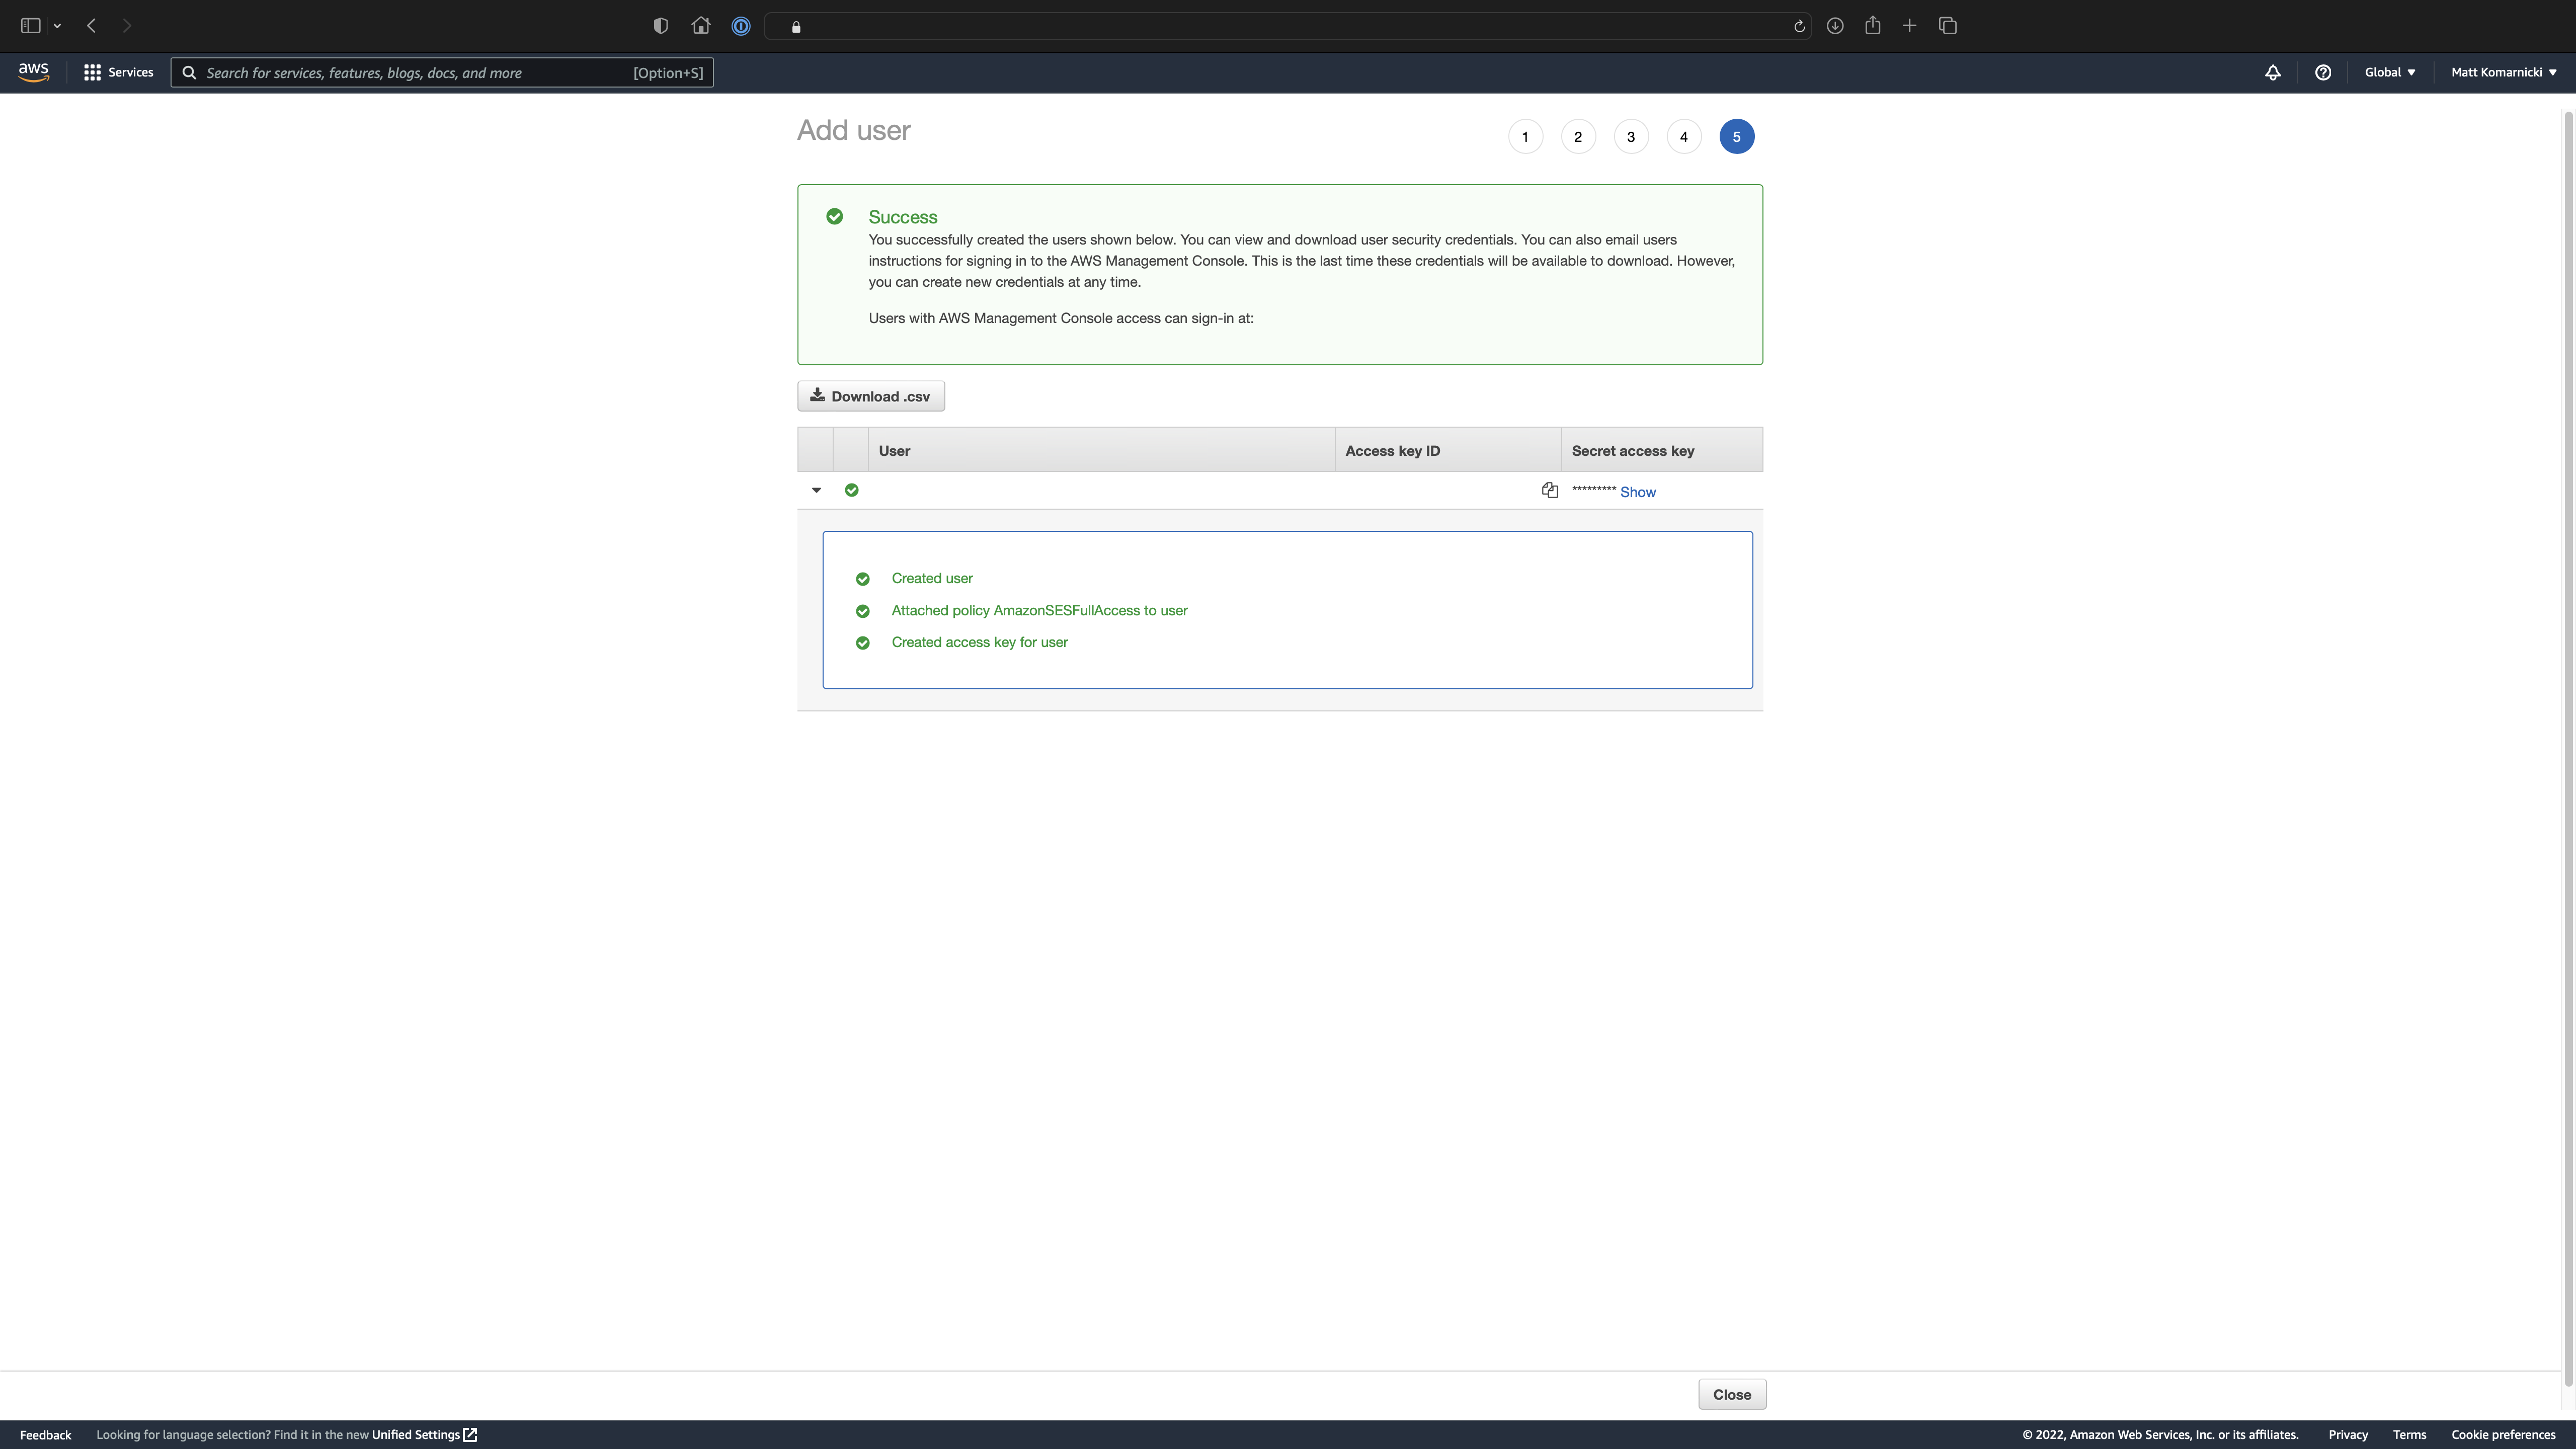
Summary of the 5-step-process is presented below.
Laravel Setup
First thing you have to do is to install AWS PHP SDK package.
Open your terminal and in the root of Laravel project type:
composer require aws/aws-sdk-phpNow open config/services.php and ensure that the key called ses contains the following sub-array:
'ses' => [
    'key' => env('AWS_ACCESS_KEY_ID'),
    'secret' => env('AWS_SECRET_ACCESS_KEY'),
    'region' => env('AWS_DEFAULT_REGION'),
],
Now edit .env file and provide values for these environmental variables:
AWS_ACCESS_KEY_ID=""
AWS_SECRET_ACCESS_KEY=""
AWS_DEFAULT_REGION=eu-central-1
Ensure that changes are applied by clearing application's cache. Type php artisan cache:clear to purge any cached data.
Now open config/mail.php and after the following comment section:
    /*
    |--------------------------------------------------------------------------
    | Global "From" Address
    |--------------------------------------------------------------------------
    |
    | You may wish for all e-mails sent by your application to be sent from
    | the same address. Here, you may specify a name and address that is
    | used globally for all e-mails that are sent by your application.
    |
    */
Paste the following code:
'from' => [
    'address' => env('MAIL_FROM_ADDRESS', null),
    'name' => env('MAIL_FROM_NAME', null),
],

'contact' => [
    'address' => env('MAIL_CONTACT_ADDRESS', null),
],
Finally open .env file to set all mail-related environmental variables:
MAIL_DRIVER=smtp
MAIL_HOST="email-smtp.eu-central-1.amazonaws.com"
MAIL_PORT=587
MAIL_USERNAME= # you will obtain in the the next step of this tutorial, stay tuned
MAIL_PASSWORD= # same as above
MAIL_ENCRYPTION=tls
MAIL_FROM_ADDRESS= # e-mail address you have verified in the previous steps
MAIL_FROM_NAME="Foo"
MAIL_CONTACT_ADDRESS= # e-mail address you have verified in the previous steps
We can easily obtain MAIL_USERNAME and MAIL_PASSWORD directly from AWS Console.
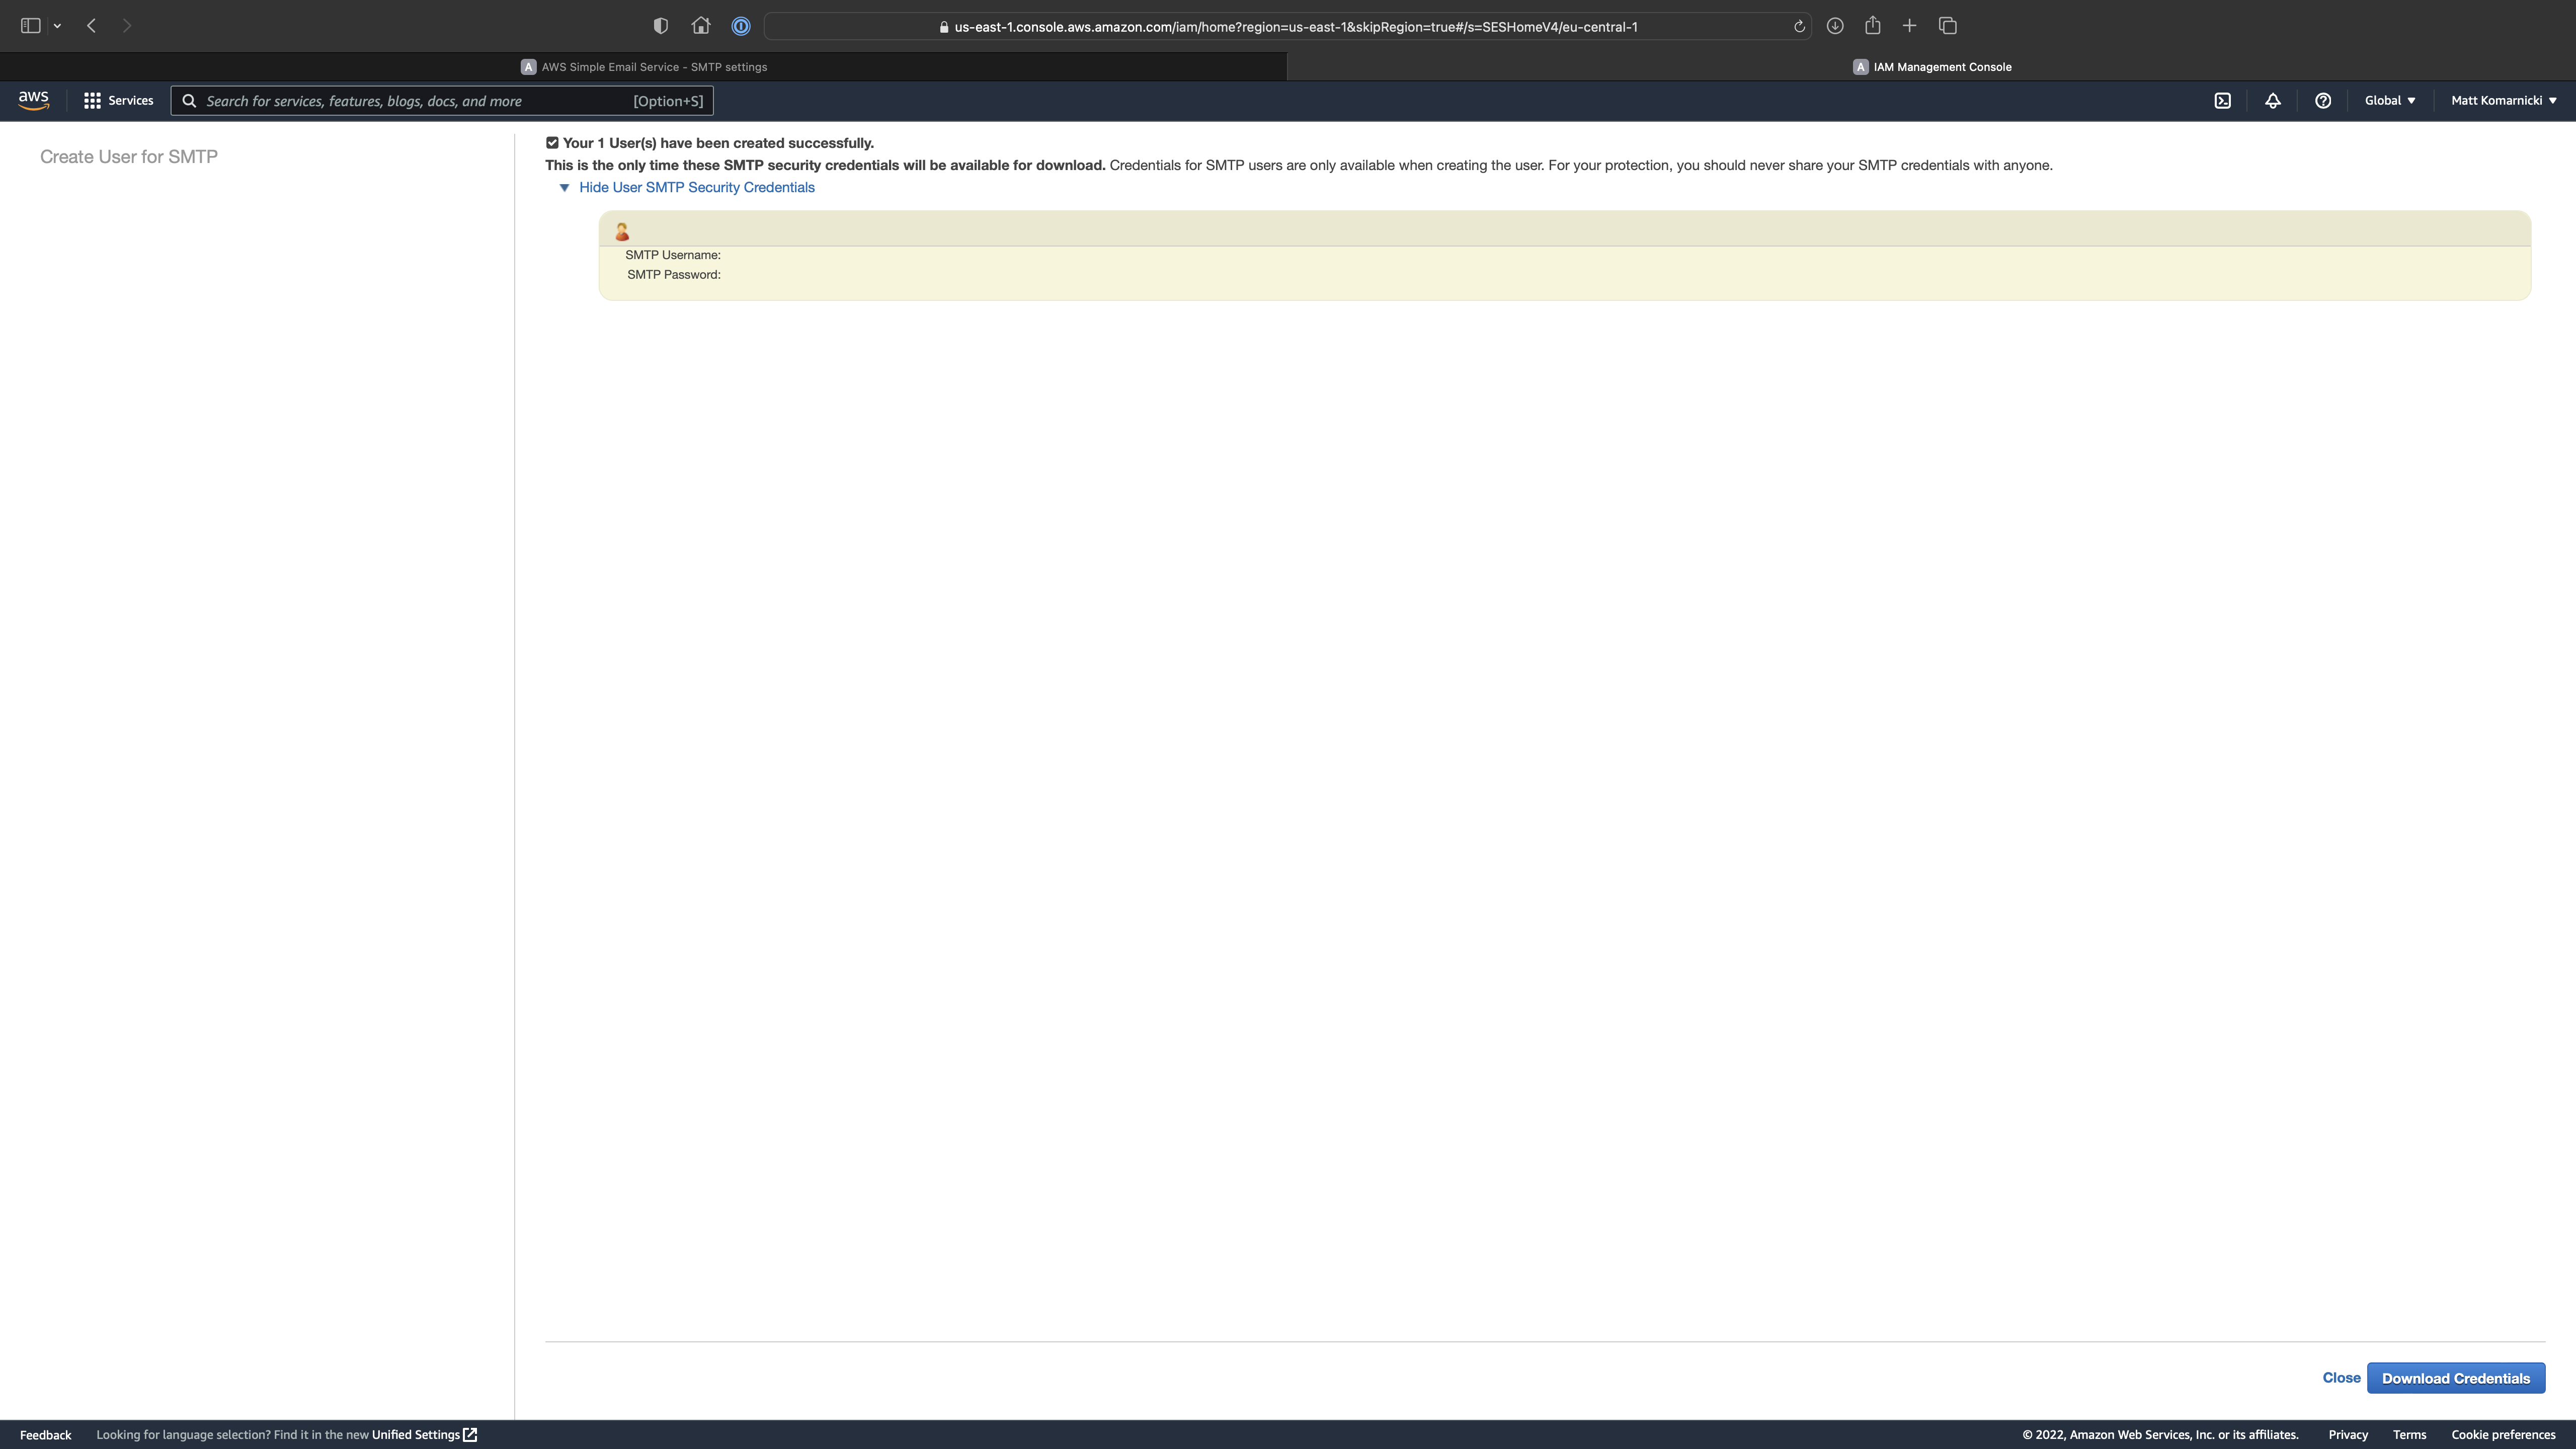
Under Amazon SES, click on SMTP Settings and follow the steps. Remember that you will have just a single chance to see (copy) your credentials.
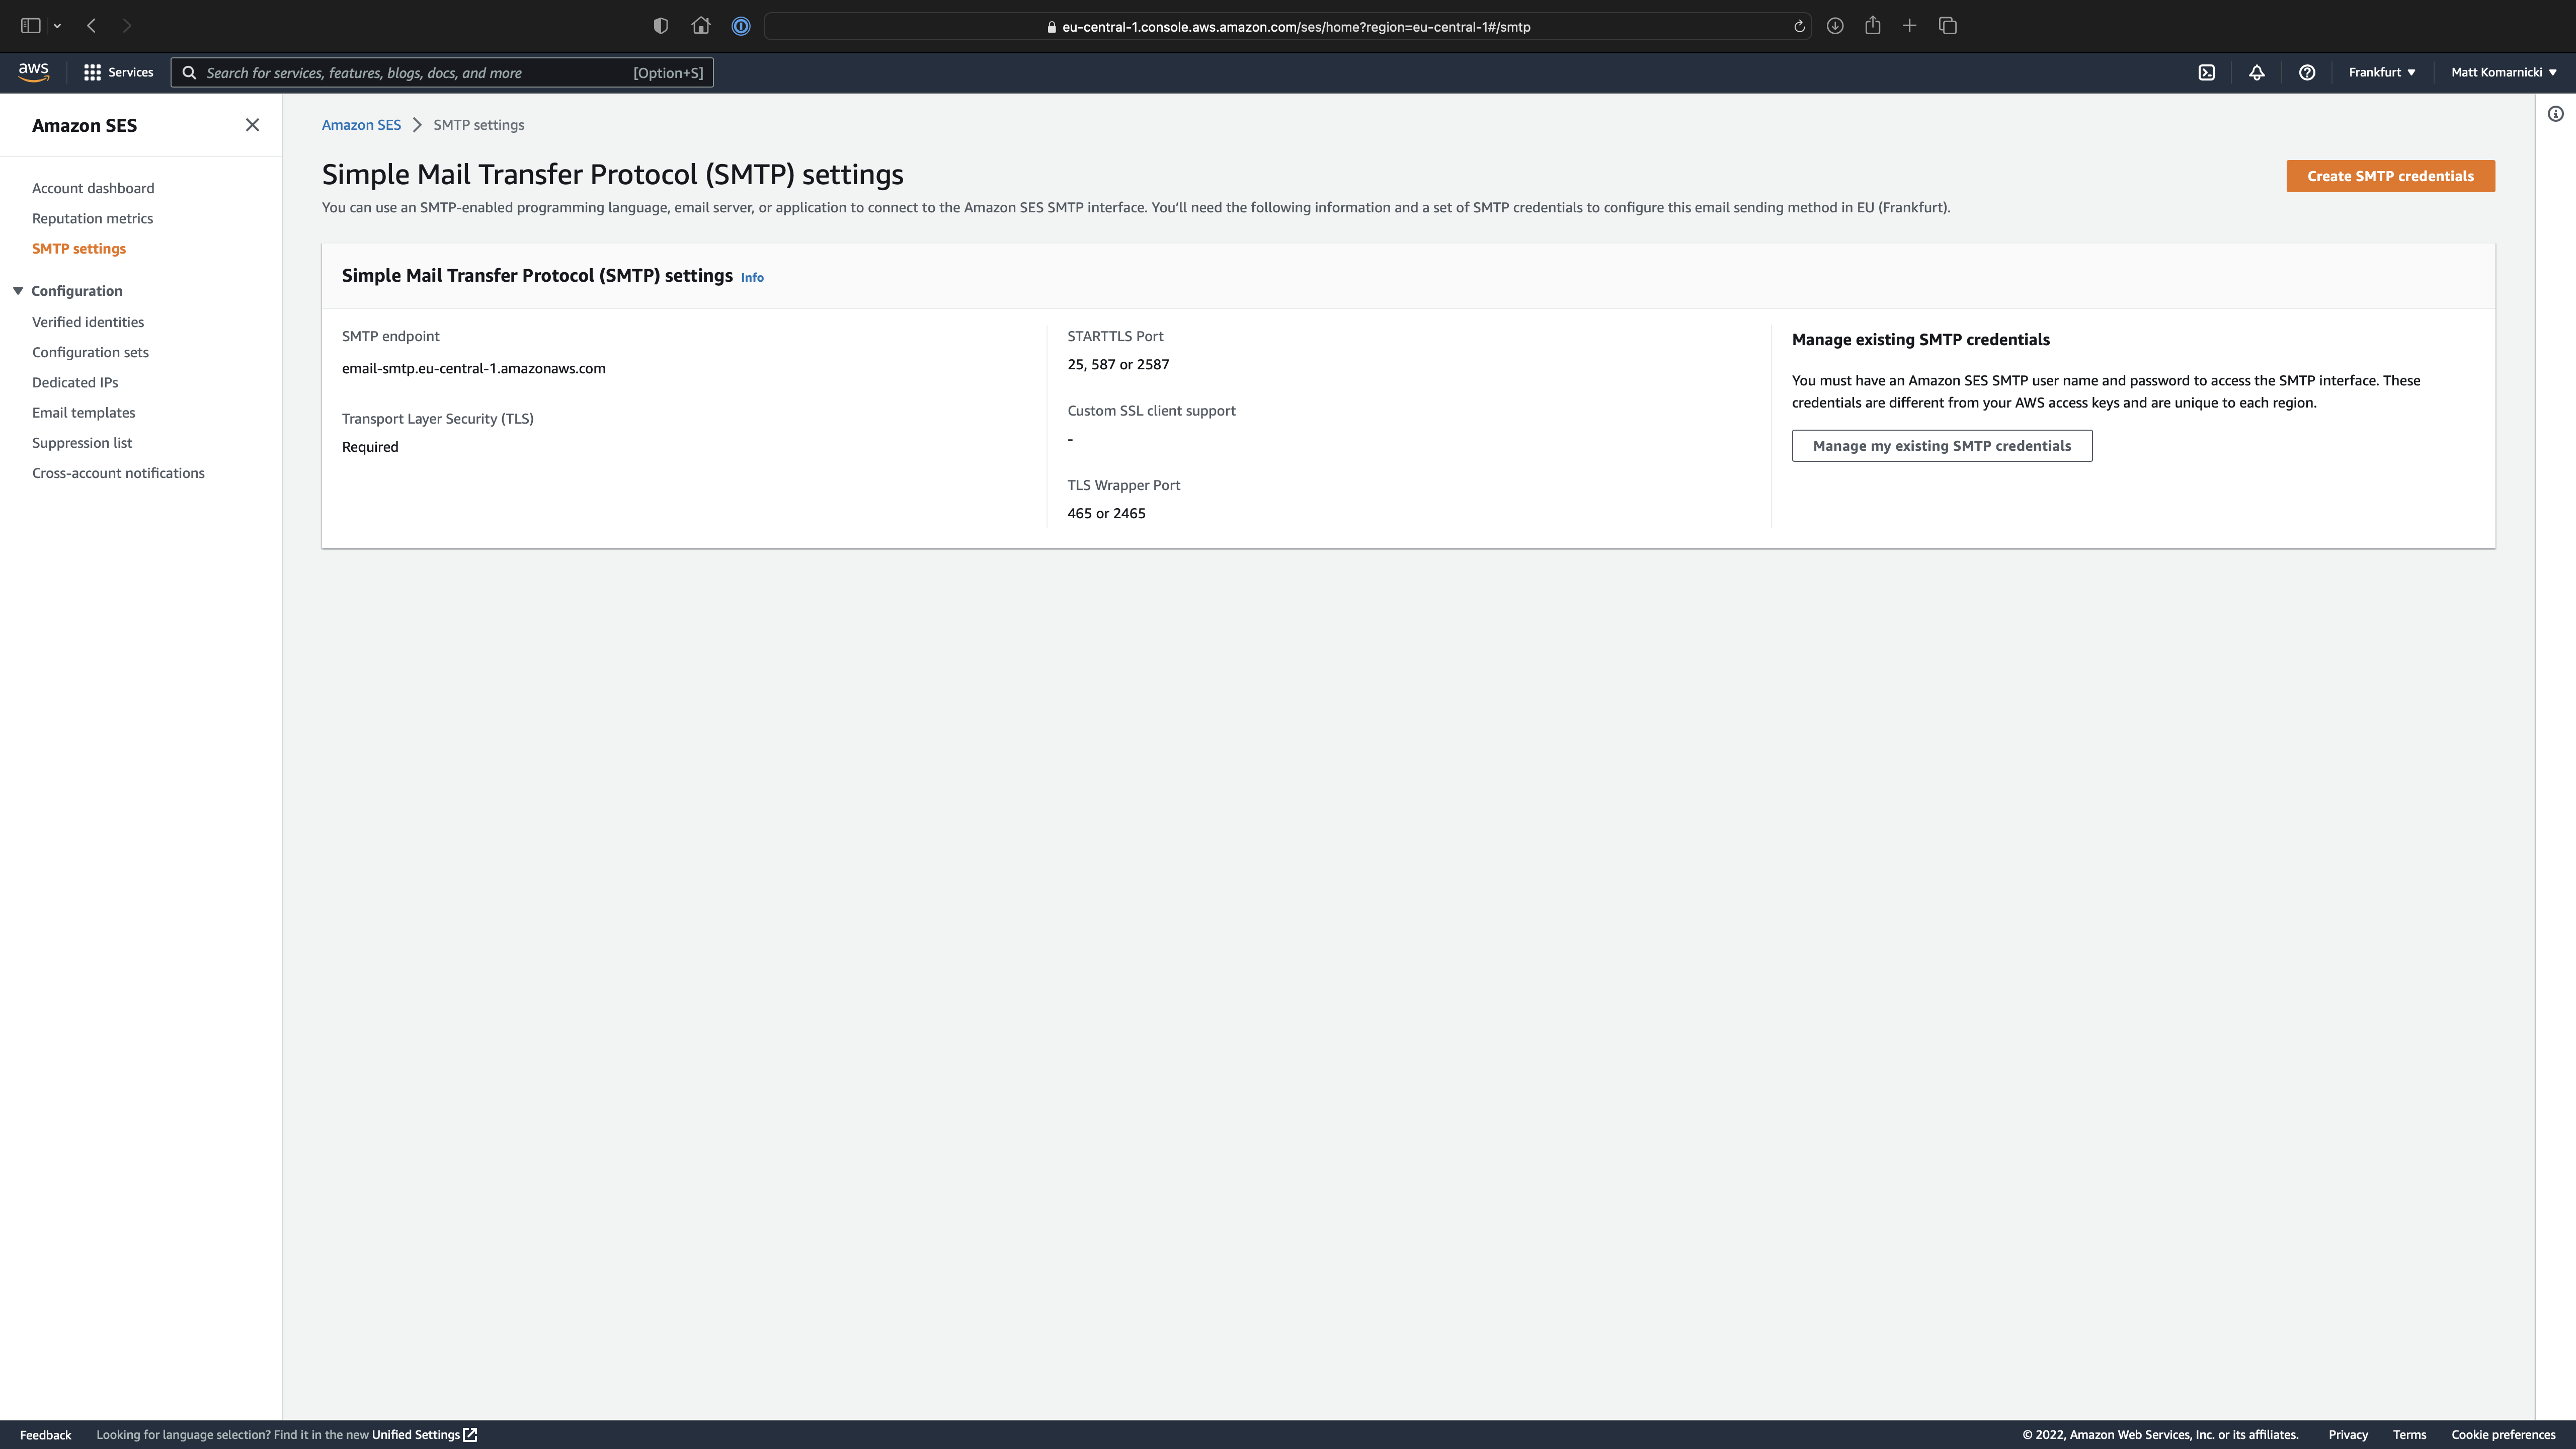
Preview of your credentials:
At this point we have everything we need in terms of configuration and credentials. Time to do a bit of coding.
Creation of a Contact Form
It's time to test if everything works correctly. Let's create a simple contact form as an example.
First of all you have to create a new controller class called ContactController. In terminal go to the root of your project and type:
php artisan make:controller ContactControllerNext, define two routes:
- for displaying the contact form:
getContactForm() - for sending e-mails:
postContactForm()
Route::get('/contact', [ContactController::class, 'getContactForm'])->name('contact.get');
Route::post('/contact', [ContactController::class, 'postContactForm'])->name('contact.post');
The getContactForm() method is responsible only for displaying a simple contact form page.
public function getContactForm()
{
    return view('frontend.pages.contact');
}
The fields we care about in this form are:
- two text inputs for name and e-mail
- one textarea for message content
The basic shape of the form itself (the view layer) is presented below. I have only left the necessary code.
<form action="{{ route('frontend.contact.post') }}" method="post">
    {{ csrf_field() }}

    <input name="name" type="text" value="{{ old('name') }}">
    <input name="email" type="text" value="{{ old('email') }}">
    <textarea name="message">{{ old('message') }}</textarea>

    <input type="submit" value="Submit">
</form>
The postContactForm() method is a bit thicker.
public function postContactForm(
    ContactFormRequest $request
) {
    $this->mailer->to(config('mail.contact.address'))->send(new ContactForm());
}
Where
$this->mailercomes from?
I'm glad you're asking. I don't like the Facade syntax hence I prefer to inject classes through constructor when possible.
In your constructor inject the Mailer class (namespace is Illuminate\Mail\Mailer) - this is much nicer IMHO than the Mail::to syntax.
private Mailer $mailer;

public function __construct(
    Mailer $mailer
) {
    $this->mailer = $mailer;
}
Go to your terminal and in the root of your project type:
php artisan make:request ContactFormRequestto create a new FormRequest class in\App\Http\Requestsnamespace.php artisan make:mail ContactFormto create a new Mailable class in\App\Mailnamespace.
Validation of any incoming data is crucial, contact form is no excuse. Here's a potential content of our FormRequest class.
<?php

namespace App\Http\Requests;

use Illuminate\Foundation\Http\FormRequest;

class ContactFormRequest extends FormRequest
{
    public const MIN_MESSAGE_LENGTH = 10;
    public const MAX_MESSAGE_LENGTH = 1000;

    public function authorize(): bool
    {
        return true;
    }

    public function rules(): array
    {
        return [
            'name' => [
                'required',
                'string',
            ],

            'email' => [
                'required',
                'string',
                'email',
            ],

            'message' => [
                'required',
                'string',
                'min:' . static::MIN_MESSAGE_LENGTH,
                'max:' . static::MAX_MESSAGE_LENGTH,
            ],
        ];
    }

    public function messages(): array
    {
        return [
            'name.required' => 'Please provide your name.',
            'email.required' => 'Please provide your e-mail address.',
            'email.email' => 'Please provide a valid e-mail address.',
            'message.required' => 'Please provide your message.',
            'message.min' => sprintf('Provided message is too short. Type at least %d character%s.', static::MIN_MESSAGE_LENGTH, static::MIN_MESSAGE_LENGTH === 1 ? '' : 's'),
            'message.max' => sprintf('Provided message is too long. Type not more than %d character%s.', static::MAX_MESSAGE_LENGTH, static::MAX_MESSAGE_LENGTH === 1 ? '' : 's'),
        ];
    }
}
Now the Mailable class.
<?php

namespace App\Mail;

use Illuminate\Bus\Queueable;
use Illuminate\Http\Request;
use Illuminate\Mail\Mailable;
use Illuminate\Queue\SerializesModels;

class ContactForm extends Mailable
{
    use Queueable, SerializesModels;

    public function build(Request $request)
    {
        $senderEmail = $request->get('email');
        $senderMessage = strip_tags($request->get('message'));
        $senderName = $request->get('name');

        $data = [
            'senderEmail' => $senderEmail,
            'senderMessage' => $senderMessage,
            'senderName' => $senderName,
        ];

        return $this
            ->from(config('mail.contact.address'))
            ->replyTo($senderEmail, $senderName)
            ->view('email.contact-form')
            ->with($data);
    }
}
Keep in mind that nothing stops user from sending you a rich text content. Using strip_tags function can help you get rid of any clutter content as well as any malicious scripts.
Finally let's see the email.contact-form template for your e-mails.
<div>
    <h1>New contact enquiry from {{ config('app.name') }}</h1>

    <hr />

    <p><strong>Sender Name:</strong> {{ $senderName }}</p>
    <p><strong>Sender E-mail:</strong> <a href="mailto:{{ $senderEmail }}">{{ $senderEmail }}</a></p>

    <hr />

    <p><strong>Message:</strong></p>
    <p>{!! nl2br($senderMessage) !!}</p>
</div>
This is it.
This tutorial was pretty detailed but at this point you should have a broad knowledge on setting up a basic contact form logic with the ability to send e-mails through your Amazon SES service with SMTP.