Turning your external drive to a bootable startup disk from which you can install your OS X is a great way to avoid downloading a huge installer file on each Mac you want the system to be installed.
Pulling The Installer
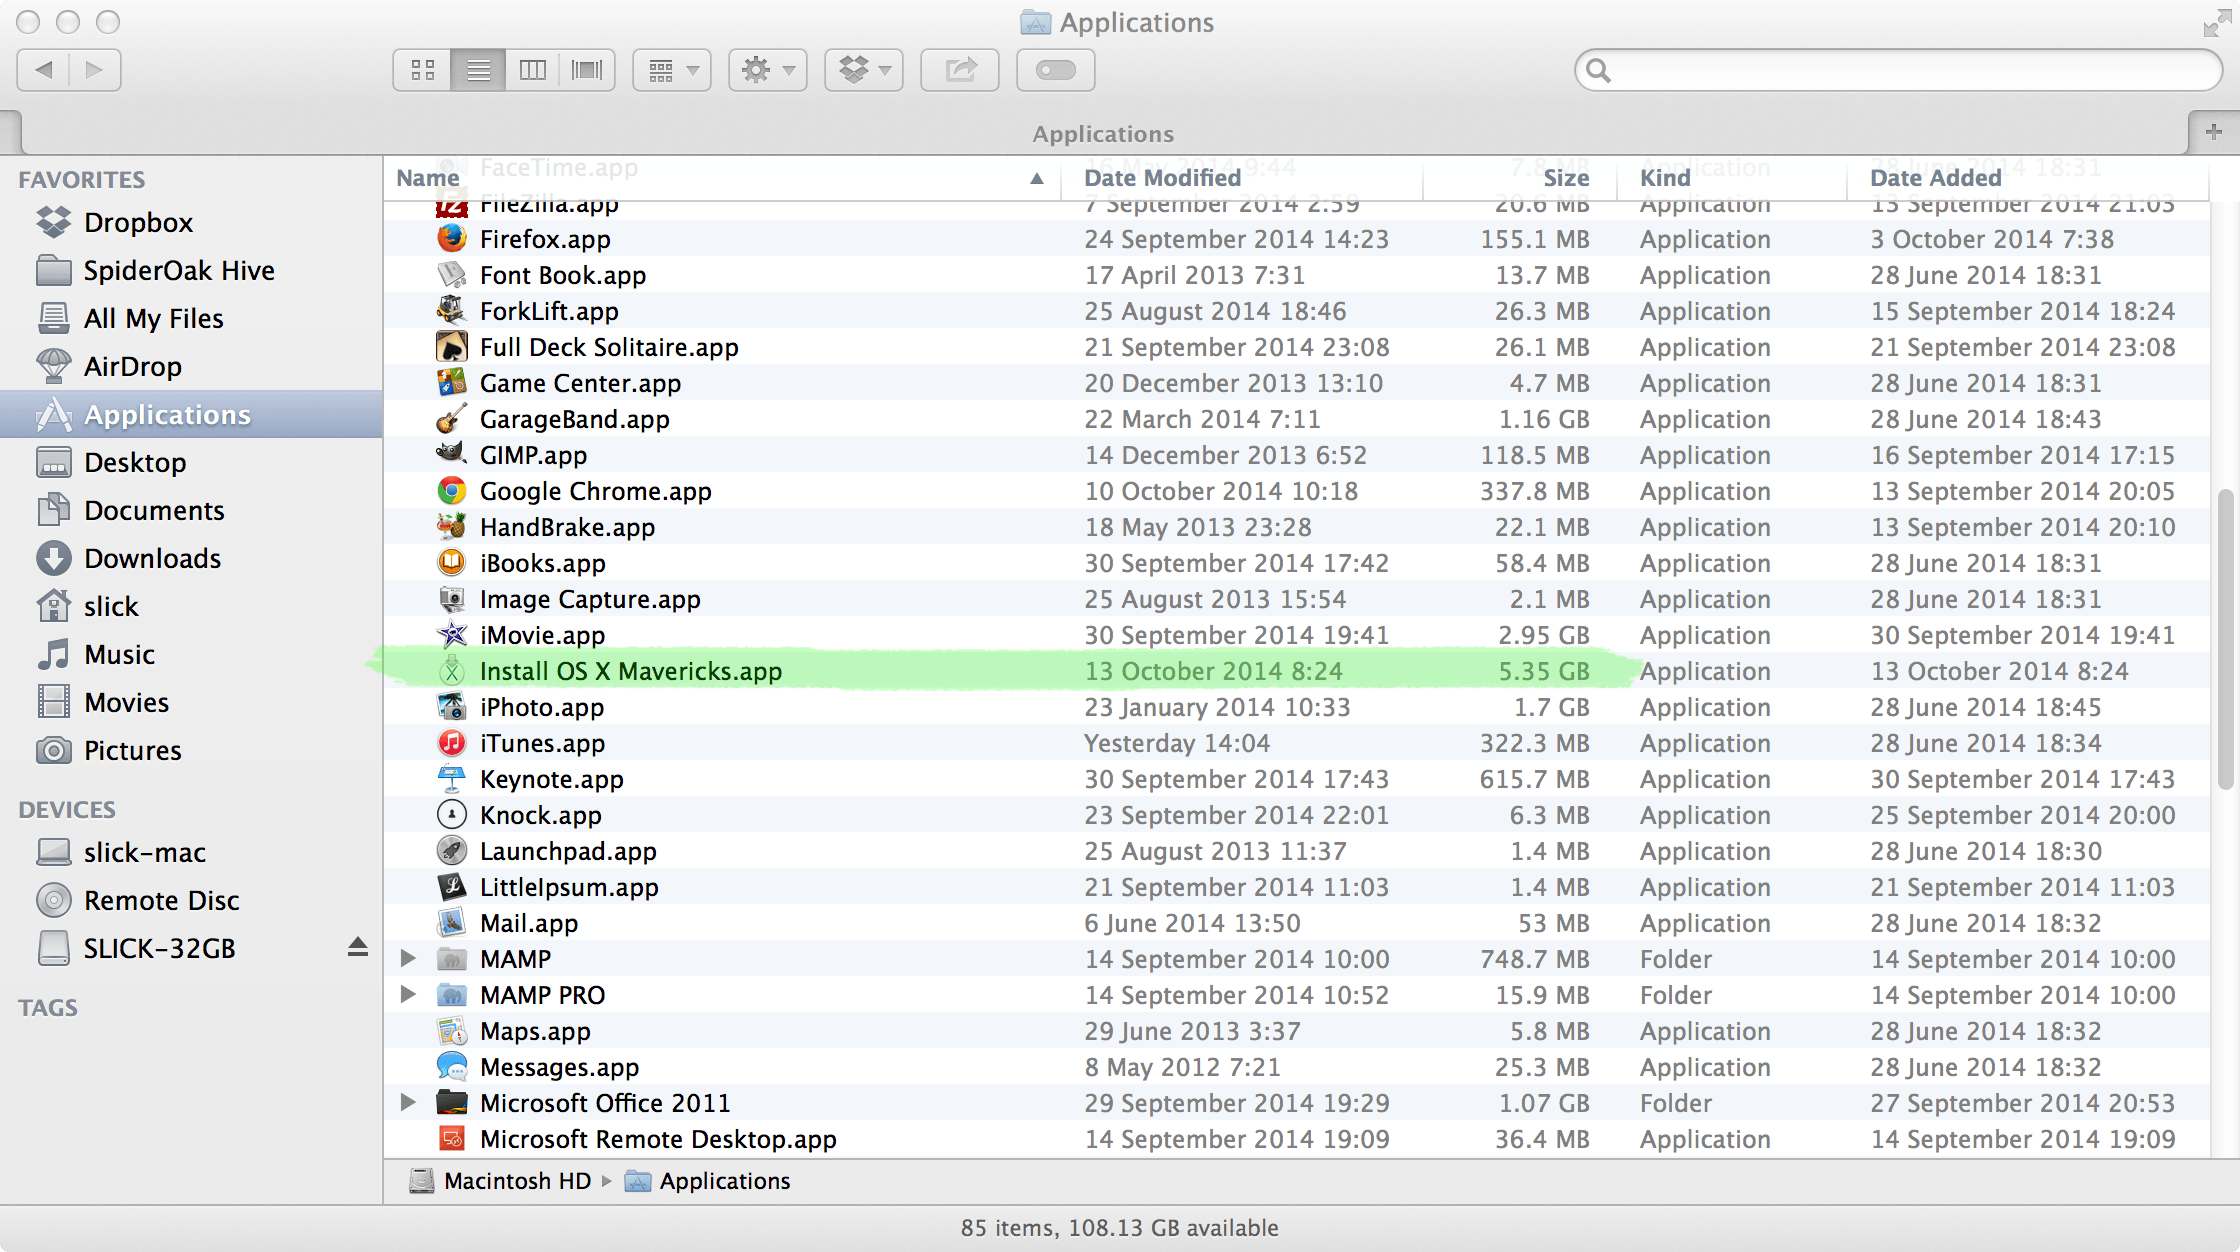
Before we begin, I assume that you've already downloaded OS X Mavericks Installer from Apple Store. Connect your Mac to a power supply and prepare USB flash drive with at least 8 gigabytes of free space.
Preparing USB Drive
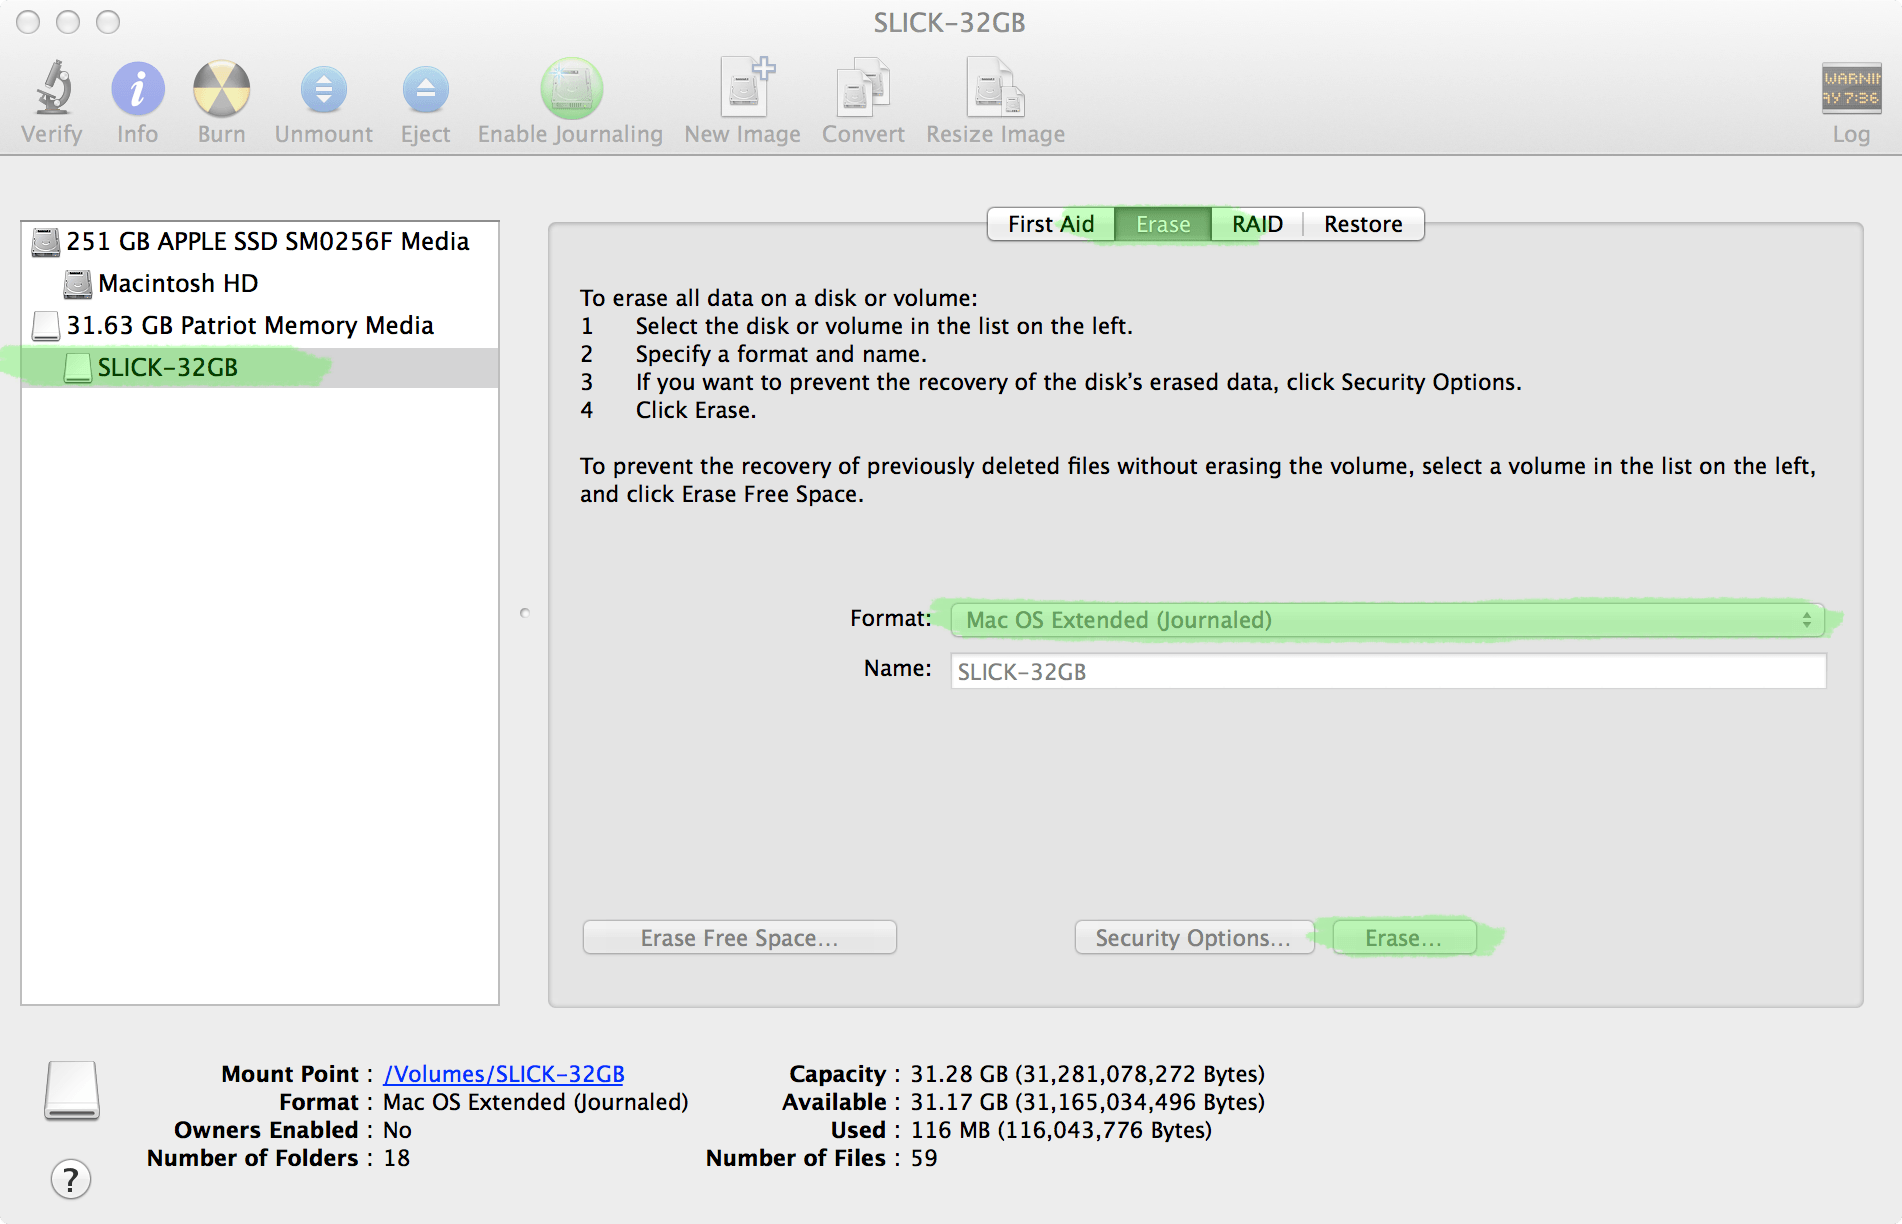
Plug any USB drive of your choice into your Mac and open Disk Utility.
Just a brief tip - to quickly open any application in OS X press ⌘ + Space and type the name of the application into Spotlight's bar.
Newly plugged-in drive should appear on the left sidebar in Disk Utility window. Select it and proceed to the Erase tab. Now choose format as Mac OS Extended (Journaled) and click Erase. You are going to loose anything that was stored on the selected drive but I think it goes without saying.
Terminal
When this is done, do not unplug your drive. Close Disk Utility and proceed to the Terminal application. Open it and type the following command:
sudo /Applications/Install\ OS\ X\ Mavericks.app/Contents/Resources/createinstallmedia --volume /Volumes/SLICK-32GB/ --applicationpath /Applications/Install\ OS\ X\ Mavericks.app --nointeraction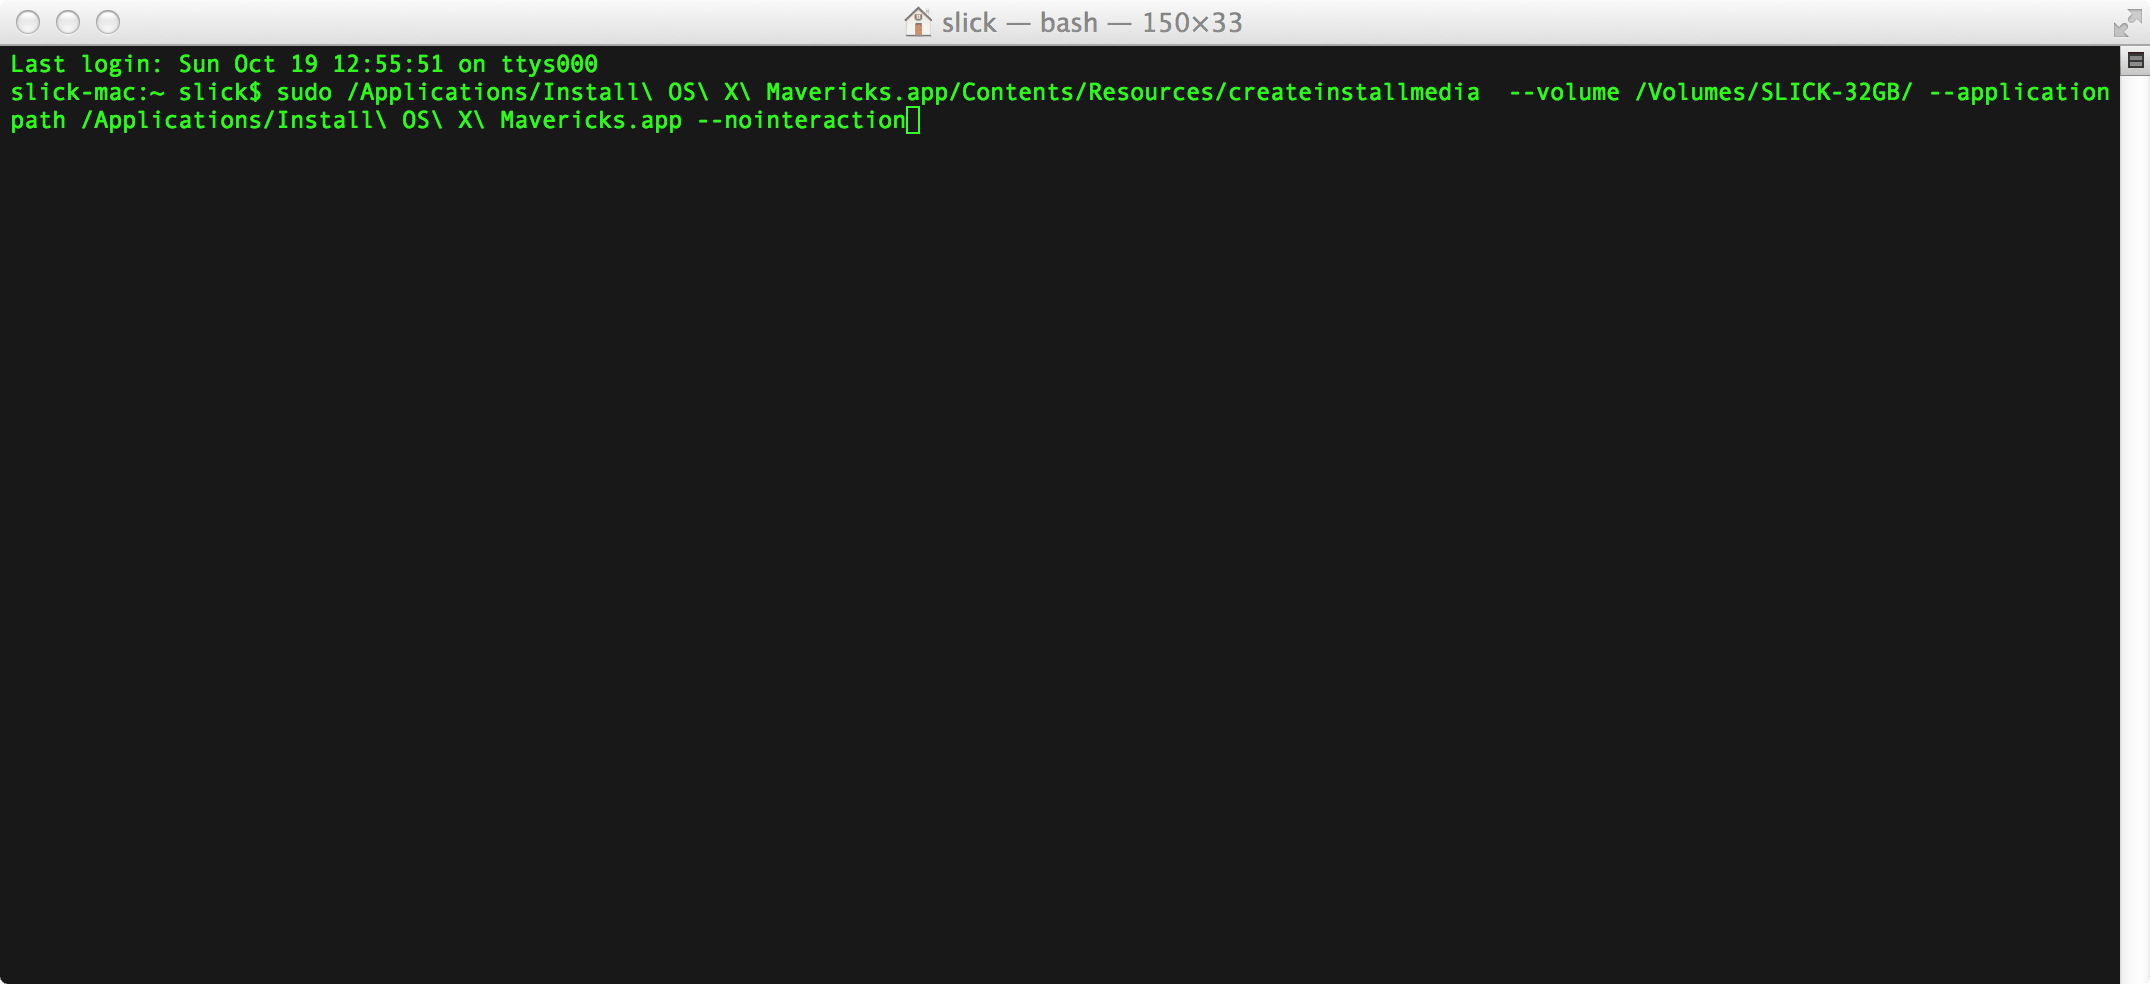
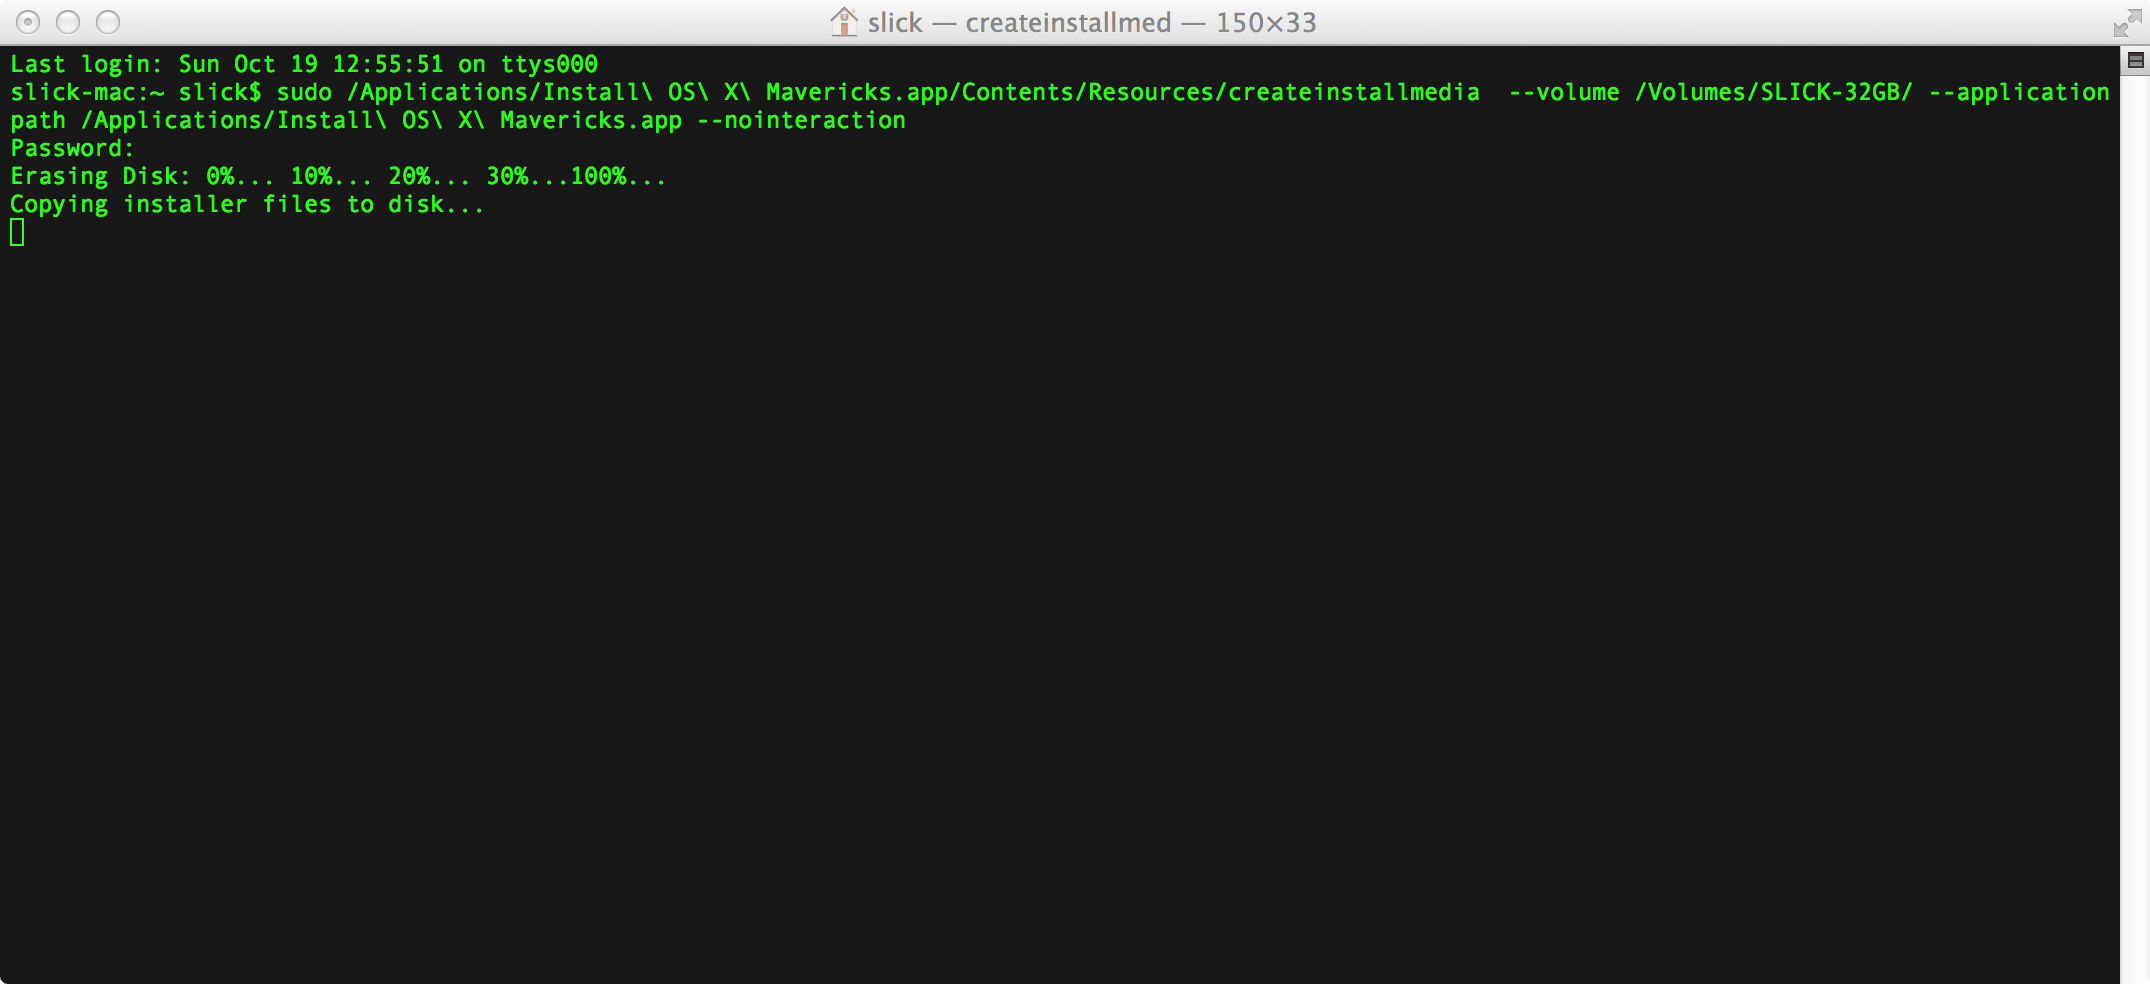
Once everything is correct, press Enter and provide administrator's password (because of the sudo) and be patient. This process will take a while.
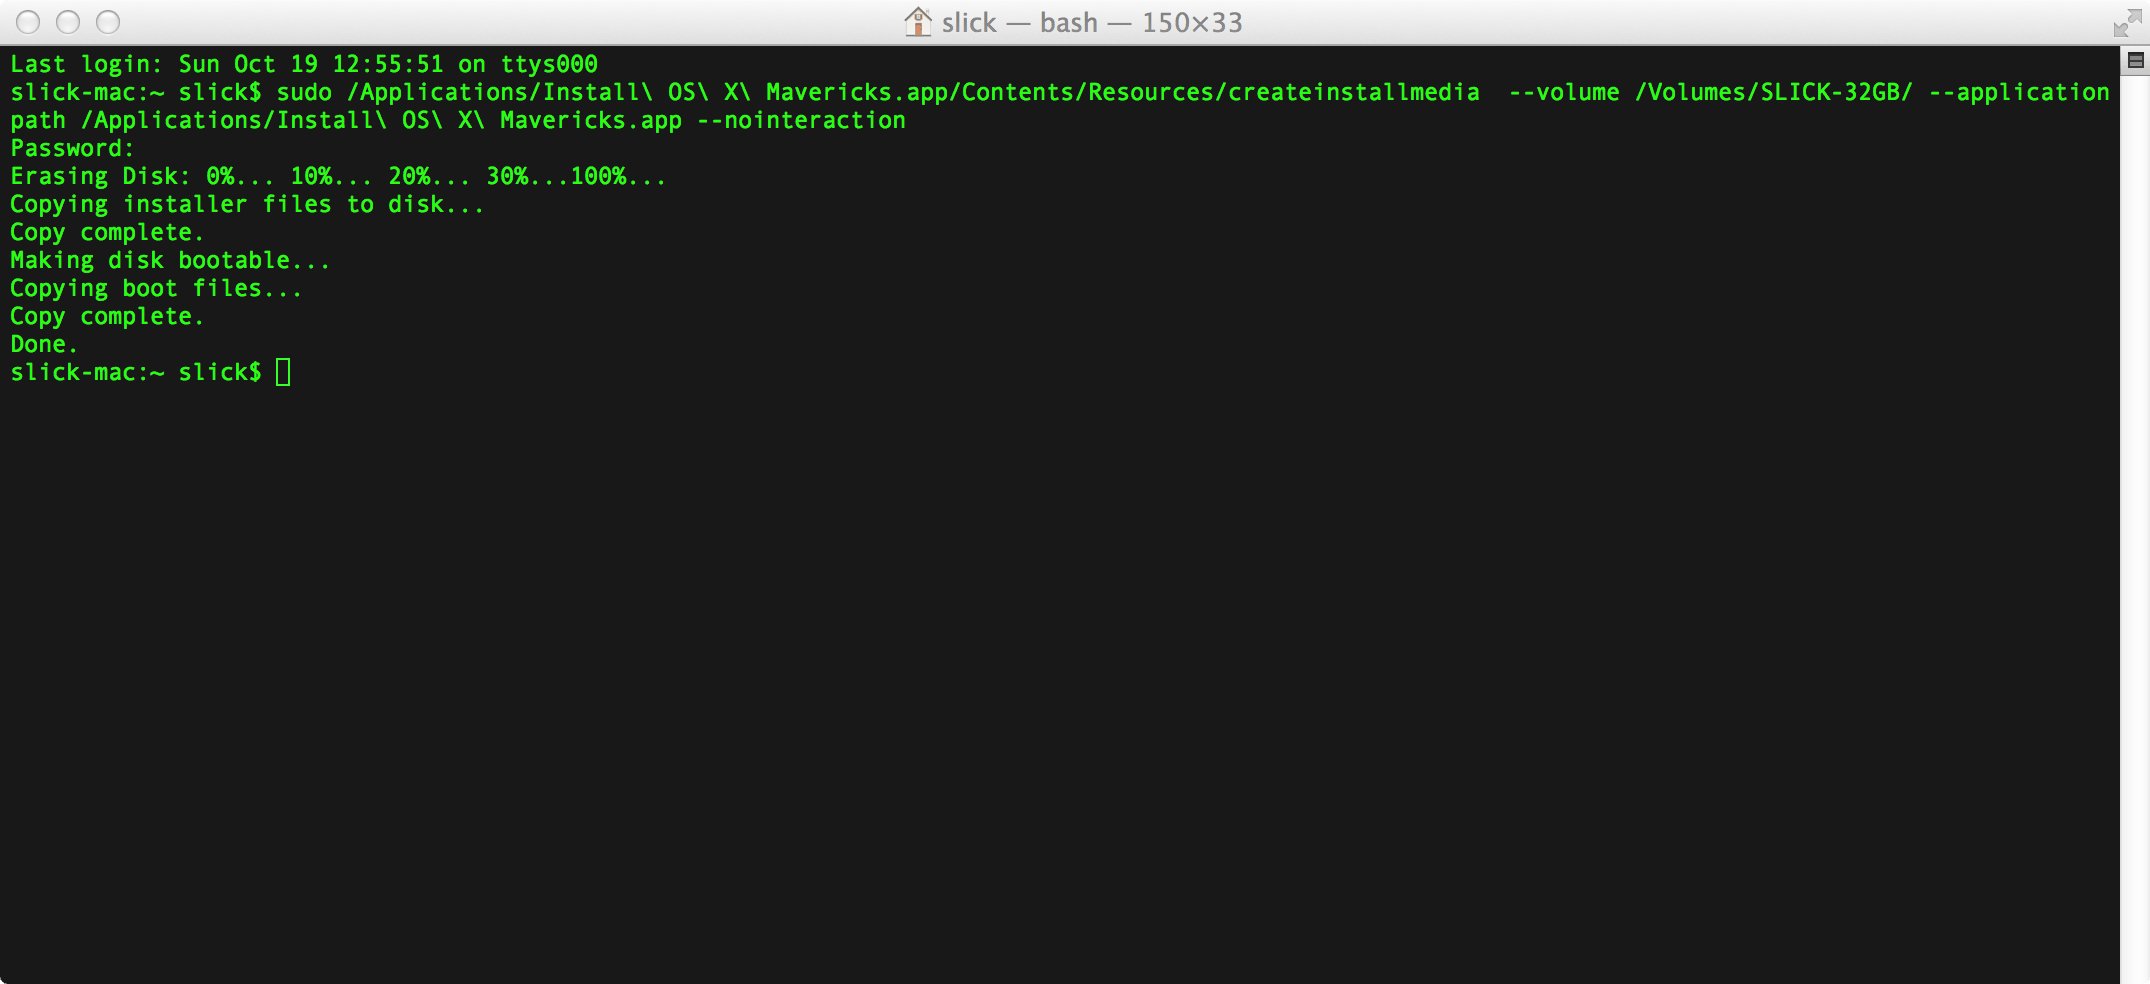
Finally you should see an output message indicating that the entire process has finished successfully.
Usage
Now you can restart your Mac. Do not eject the USB drive. After you see Apple logo, hold down Option key (⌥) to access boot menu. Follow what you see on the screen.
